P14821
P04002
125 mm
EM7639
P03829
P03828
EM--72
--
ENGINE MECHANICAL
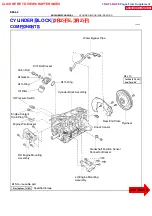
CYLINDER BLOCK (2RZ--FE, 3RZ--F)
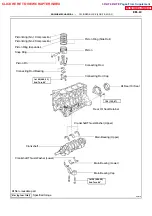
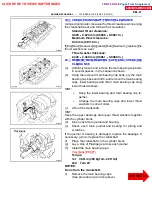
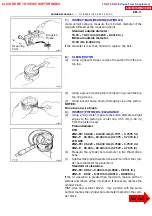
10. INSPECT PISTON RING GROOVE CLEARANCE
Using a thickness gauge, measure the clearance between new
piston ring and the wall of the piston ring groove.
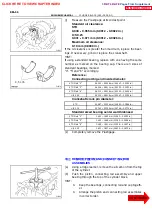
Ring groove clearance:
No.1
2RZ -- FE: 0.020 -- 0.070 mm (0 .0008 -- 0.0028 in.)
3RZ--F: 0.030 -- 0.080 mm (0.0012 -- 0.0031 in.)
No.2
2RZ--FE: 0.030 -- 0.070 mm (0.0012 -- 0.0028 in.)
3RZ--F: 0.040 -- 0.080 mm (0.0016 -- 0.0031 in.)
If the clearance is not as specified, replace the piston.
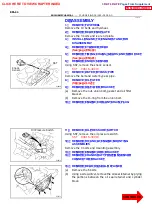
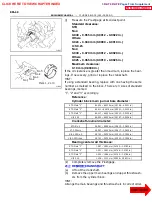
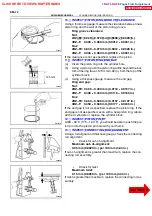
11 . INSPECT PISTON RING END GAP
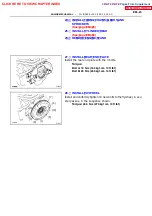
(a)
Insert the piston ring into the cylinder bore.
(b)
Using a piston, push the piston ring a little beyond the bot-
tom of the ring travel, 125 mm (4.92 in.) from the top of the
cylinder block.
(c)
Using a thickness gauge, measure the end gap.
Ring end gap:
No.1
2RZ--FE: 0.300 -- 0.400 mm (0.0118 -- 0.0157 in.)
3RZ--F: 0.300 -- 0.430 mm (0.0118 -- 0.0169 in.)
No.2
2RZ--FE: 0.400 -- 0.500 mm (0.0157 -- 0.0197 in.)
3RZ--F: 0.450 -- 0.600 mm (0.0177 -- 0.0236 in.)
If the end gap is not as specified, replace the piston ring. If the
end gap is not as specified, even with a new piston ring, rebore
all the 4 cylinders or replace the cylinder block.
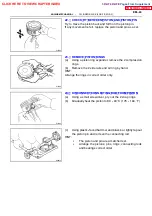
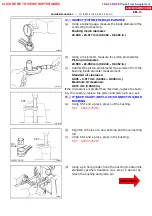
12. INSPECT PISTON PIN FIT
At 80 -- 90
˚
C (176 -- 194
˚
F), you should be able to push the pis-
ton pin into the piston pin hole with your thumb.
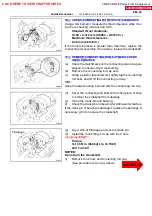
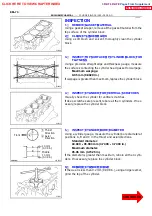
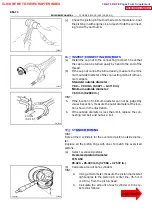
13. INSPECT CONNECTING ROD ALIGNMENT
Using a rod aligner and thickness gauge, check the connecting
rod alignment.
S
Check for out--of--alignment.
Maximum out--of--alignment:
0.05 mm (0.0020 in.) per 100 mm (3.94 in.)
If out--of--alignment is greater than maximum, replace the con-
necting rod assembly.
S
Check for twist
Maximum twist:
0.15 mm (0.0059 in. ) per 100 mm (3.94 in.)
If twist is greater than maximum, replace the connecting rod as-
sembly.
CLICK HERE TO VIEW CHAPTER INDEX
Pages From Supplement
3RZ-F,3RZ-FE

