8
Register online at www.towerhousewares.co.uk for your
FREE
extended guarantee.
3 USING YOUR APPLIANCE
Before first use:
1. Remove all packaging materials.
2. Wash the egg rack and poaching tray in
warm soapy water and dry thoroughly.
3. Your Egg Cooker is now ready for use.
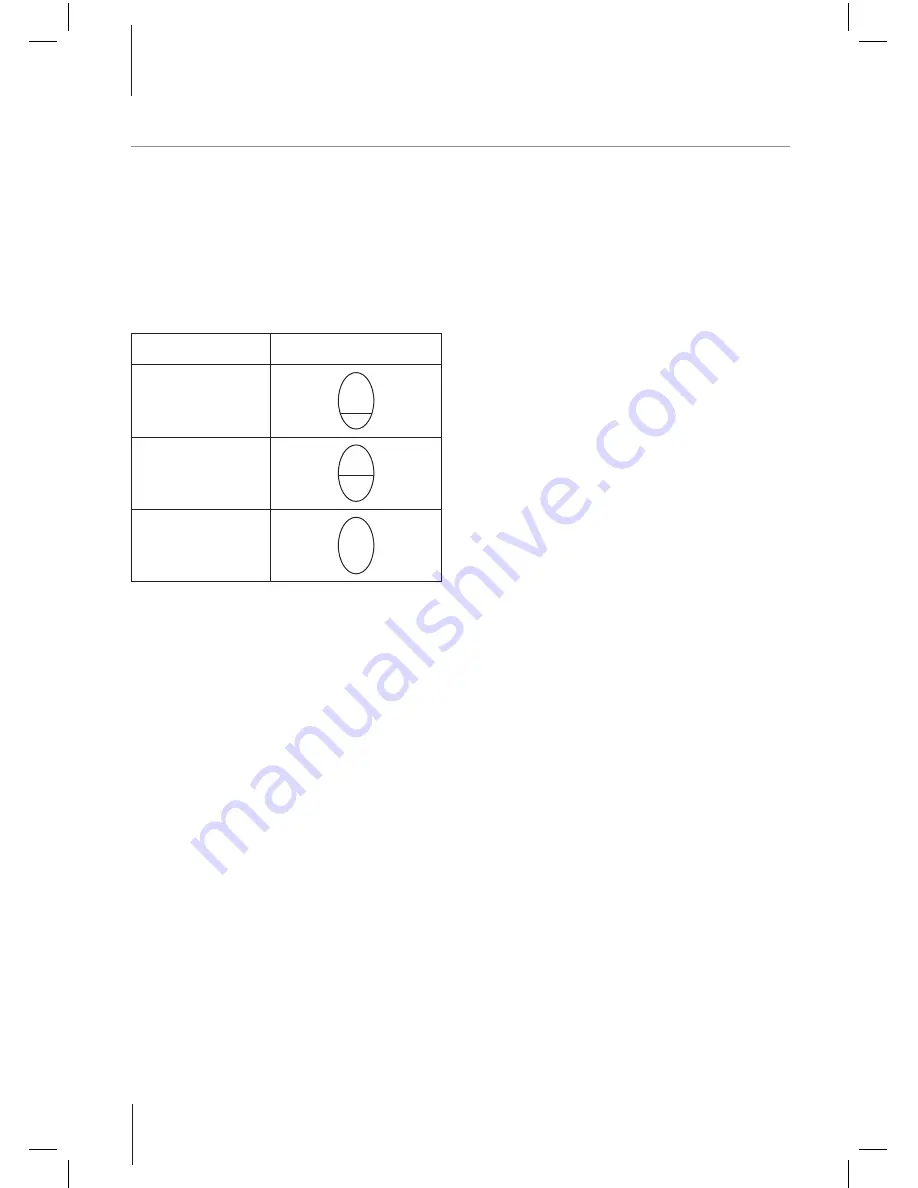
Firmness
Symbol
Soft
Medium
Hard
Using the measuring cup:
The measuring cup has firmness markings,
making it easy to cook your eggs exactly how
you want them. On the bottom of the measuring
cup there is a piercing pin. This is to pierce a hole
in the larger end of each egg you are boiling.
1. Fill the measuring cup to the desired
firmness mark, taking into account how
many eggs you will be boiling.
2. Pour the water onto the cooking plate and
then follow the instructions for use, for
perfectly done eggs every time
Caution:
The piercing pin is sharp, handle with
care.
Boiling:
1. Fill the measuring cup to the desired level
with cold water.
2. Pour the water on to the cooking plate.
3. Sit the egg rack on top.
4. Use the piercing needle to pierce the
larger end of each egg. This allows the
pressure to release from the egg for perfect
steaming.
5. Place the eggs in the egg rack with the
pierced holes facing upwards.
6. Close the lid.
7. Plug the Egg Cooker in and switch on at
the wall.
8. Press the On button. The indicator light will
illuminate to indicate that the Egg Cooker is
now working.
9. The indicator light will turn off when the
eggs are ready. Unplug the Egg Cooker and
remove the lid.
10. Take the eggs from the egg rack and serve,
or run under cold water for easier shell
removal.
11. When the water has evaporated and your
eggs are cooked to your preference, the
Egg Cooker will automatically switch off.
Poaching:
1. Fill the measuring cup with cold water to the
level marked ‘medium – 1 egg’.
2. Pour the water onto the cooking plate and
place the egg rack on top.
3. Lightly grease the poaching tray with butter
or margarine.
4. Break 1 – 2 eggs into the poaching tray.


