For Better Results
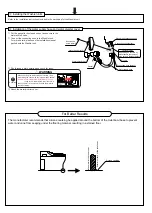
The manufacturer recommends that silicone caulking be applied around the bottom of the toilet bowl base to prevent
water and urine from seeping under the flooring material, resulting in a stained floor.
Silicone caulking
Interior
wall
of
the
toilet
bowl
Exterior
surface
of
the
toilet
bowl
6
Installation of the water supply hose and water diverter cover
5
Installing the Washlet units
Refer to the installation instructions included in the packaging for the Washlet unit.
When checking the water flow the first time, if you
are making the check with the "manual flush handle",
be sure to turn it toward the front (toward the rim).
If you turn it "towards the rear," there is a
chance that air in the pipes will cause the water to
continue flowing.
Round head
screw (small)
Water diverter cover
Gasket
Water shutoff valve
Diverter
Connecting hose fastener
Water supply hose
Fastener Guide
Depending on the time of
manufacture, there may or
may not be a fastener guide.
Washlet unit connecting hose
Connecting hose fastener
Toward the
front
Manual Flush
Handle
①
Put the gasket in the closed end nut and secure to the
water shutoff valve.
②
Connect the connecting hose in the Washlet unit.
For more details, please see the installation manual
packed with the Washlet unit.
1
WARNING
2
Required
③
Run through a trial operation and check for leaks.
④
Attach the water diverter cover.


