


The benefits of Tosibox
Take in use only in 5 minutes
High sophisticated information
security
Flexible and scaling architecture
Operates trustworthy in all internet
interfaces
1. Introduction
2. Setup
The purpose of this document is to illustrate the
deployment of Tosibox Central Lock and its most
important properties. The creation and administration
of Keys for Central Lock and the user interface are also
presented here.
Please note that this document concentrates only on the
properties of Central Lock. The basics of Key and Lock
products are explained in the Key and Lock user manual.
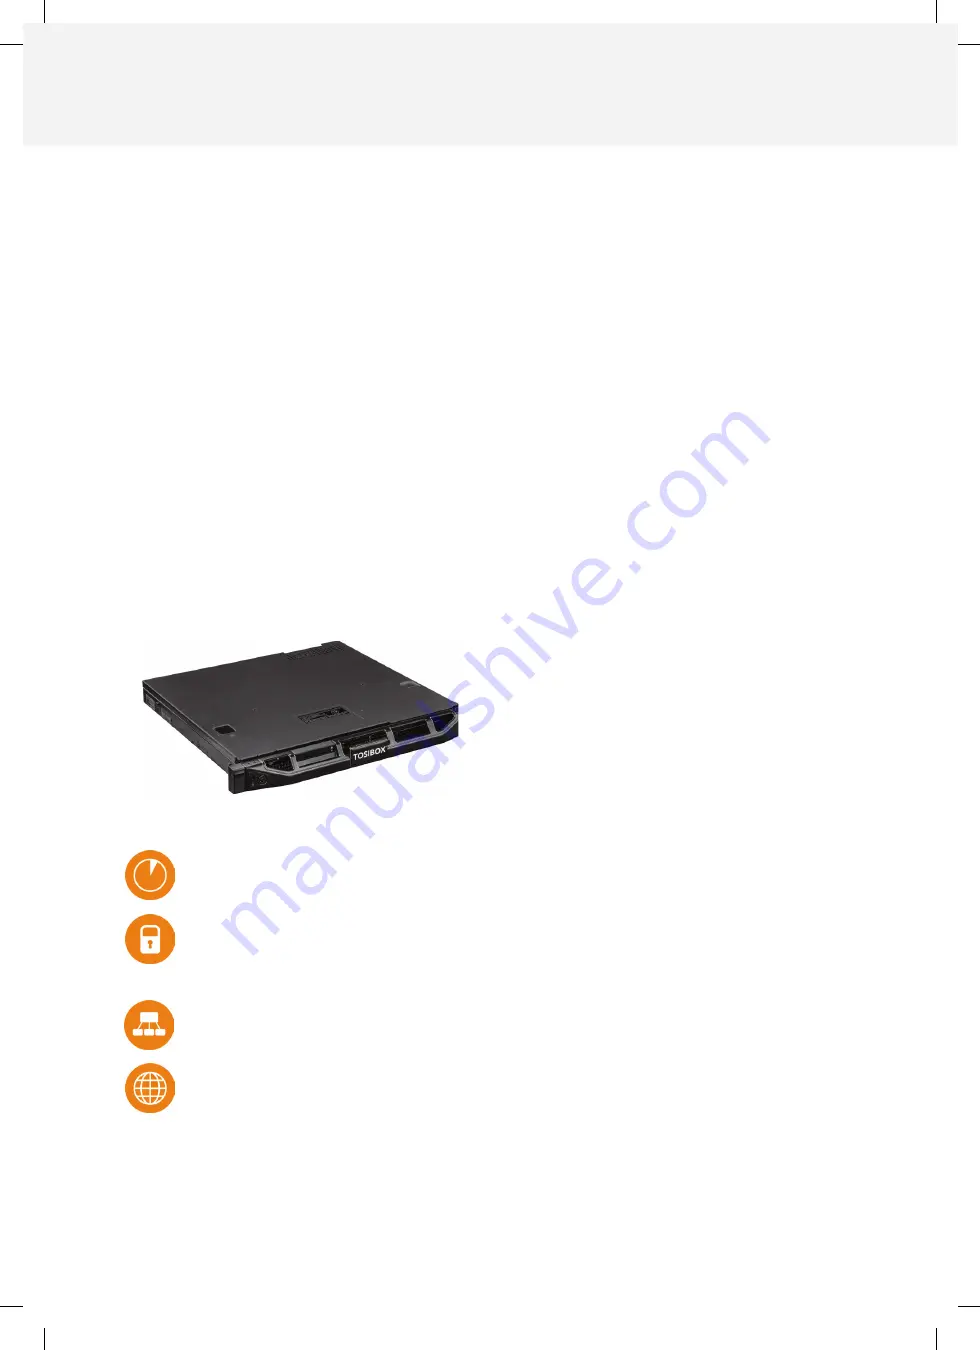
1.1 Central Lock in brief
The Central Lock operates on the same basic properties as
the Lock, but has better throughput and encryption capacity.
This allows the building of large-scale systems that provide
simultaneous access to as many as 4000 Locks and Keys and
the devices behind them.
The Central Lock also has three additional features not found
in the Lock, but are usually needed in more complex network
systems. These are:
Concurrent usage of sites with overlapping IP addresses
»
Collecting audit log data
»
Monitoring and alert services to detect and notify the user
»
about connection problems
Basic requirements
The deployment of Central Lock has a few basic requirements
to operate. It needs:
A wired network
1.
One non-firewalled public IP-address
2.
An Internet connection with speed of at least 10/10 Mbit/s.
3.
Physical installation
After the basic requirements of deployment are met, you can
start the physical installation of the Central Lock. Please check
that the following items are included in the sales package:
Ethernet cable – RJ45, 1 m
1.
Power cord
2.
Extension power cord
3.
The steps of physical installation:
Proper mechanical mounting of device
1.
Plugging in the power cord
2.
Connecting the network cable to the WAN port of the
3.
Central Lock
Serialization
Powering on the Central Lock starts the deployment. After 2
minutes, the Key can be inserted to the Central Lock’s USB port.
Once the LED light in the Key stops blinking, the serialization is
completed and the Key can be removed from the Central Lock.
Configuration
Configuring the Central Lock is done from the Web user
interface (see chapter Web User Interface). The Internet
connections for the Central Lock are configured in the WAN
settings of the Network tab. The protocol can be set to a
fixed IP-address or a DHCP-client, in which case the address is
fetched from a DHCP server. By assigning the protocol to the
static address, the IP-address and subnet mask are written to
the fields below. When a static address is used, it is important
to set the address of the domain name server.
Deployment
After the serialization and configuration are done, the
deployment of Central Lock is completed and Locks, Keys and
network devices can be added to the system.


