CONTENTS
38
Camera
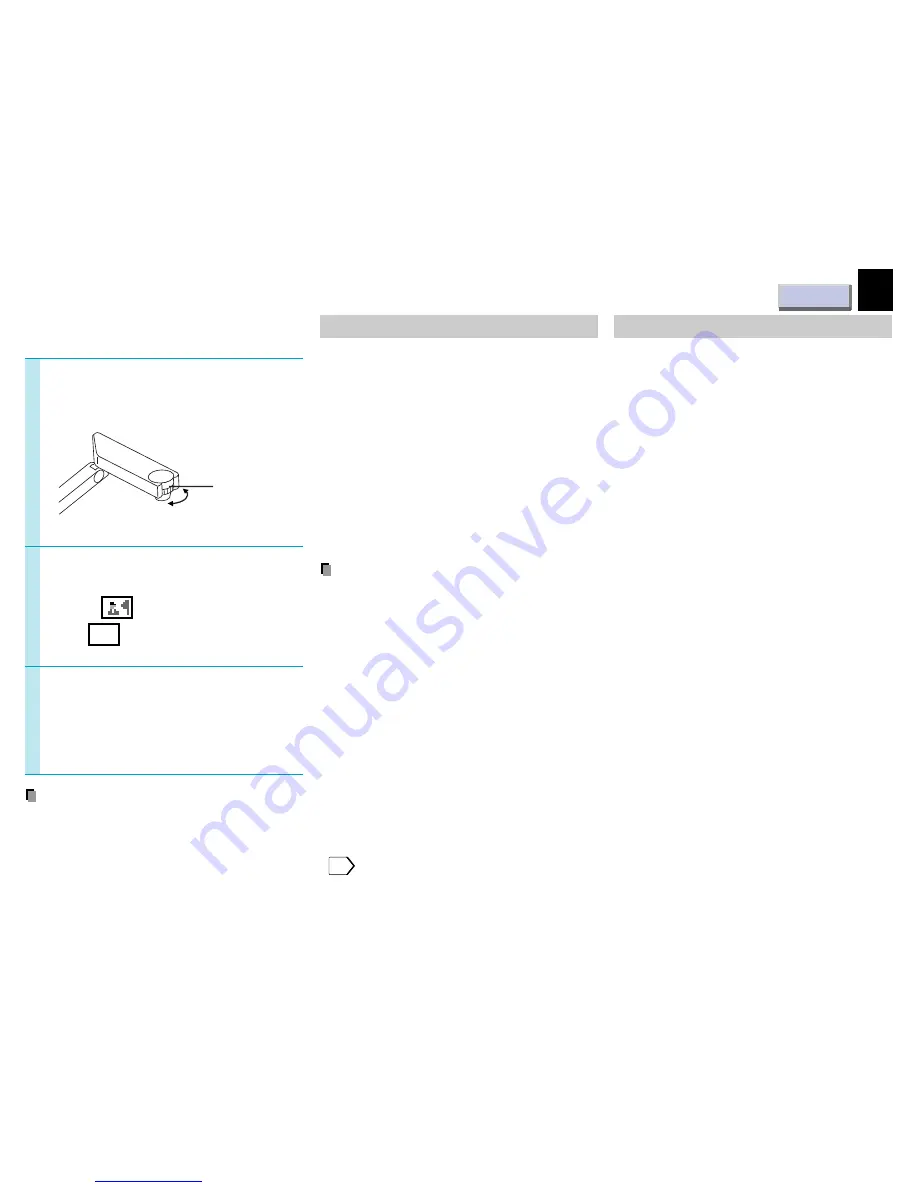
Focus on the picture by
turning the focusing ring on
the camera head.
(Continued)
5
Press PHOTO/TEXT to select
the mode of the document.
PHOTO:
when using a photograph.
TEXT:
AB
when using a text.
When finished, turn off the
light and close it, and put back
the arm.
Follow the steps of “Preparation of the
document imaging camera” in reverse.
Note
The light turns off automatically when the arm
is leaned.
6
7
Locking the white balance
Normally, this camera automatically adjusts the
color balance to project the picture. If the
adjustment is not sufficient, follow the steps
below to lock the white balance.
1) Project a white paper and enlarge it to
fill the screen.
2) Press W.BALANCE to turn the LOCK
indicator on.
The white balance is locked.
To release the white balance, press
W.BALANCE again to turn the LOCK
indicator off.
Notes
• When projecting a transparent draft such as
an OHP film or a small size document such
as a name card, etc., place the supplied pad
under them.
• When the arm is not raised up, the camera
source cannot be projected.
• If you raise up the arm while the camera input
is selected, the color of the picture may vary
for an instant due to the white balance
adjustment. This is not malfunction.
• If you put back the arm and raise it up while
the white balance is locked (the LOCK
indicator is lit), the projector releases the
white balance but leaves the LOCK indicator
on. In this case, press W.BALANCE to restore
the indicator to the normal status.
• “Camera gain” adjustment may improve view
of a camera subject which is too dark or vivid.
32
Correcting illuminated defects
If there are some luminous dots on a projected
picture, make the following correction.
1) While the camera is active, cover the
camera lens with a black paper
completely.
2) Press OVERLAY and ARM LIGHT at the
same time.
Focusing ring
N: Near
F: Far
Downloaded from
www.Manualslib.com
manuals search engine


