15
Other
Applications
Playing/
Erasing Images
Basic
Photography
Additional
Information
Connecting to
the PC
Getting Ready
In this camera, all input operations other than operations of the POWER switch and
shutter button are performed on the touch panel.
The use of a touch panel reduces the number of key operations, thereby improving
operability, and also results in a neater design thanks to the absence of buttons.
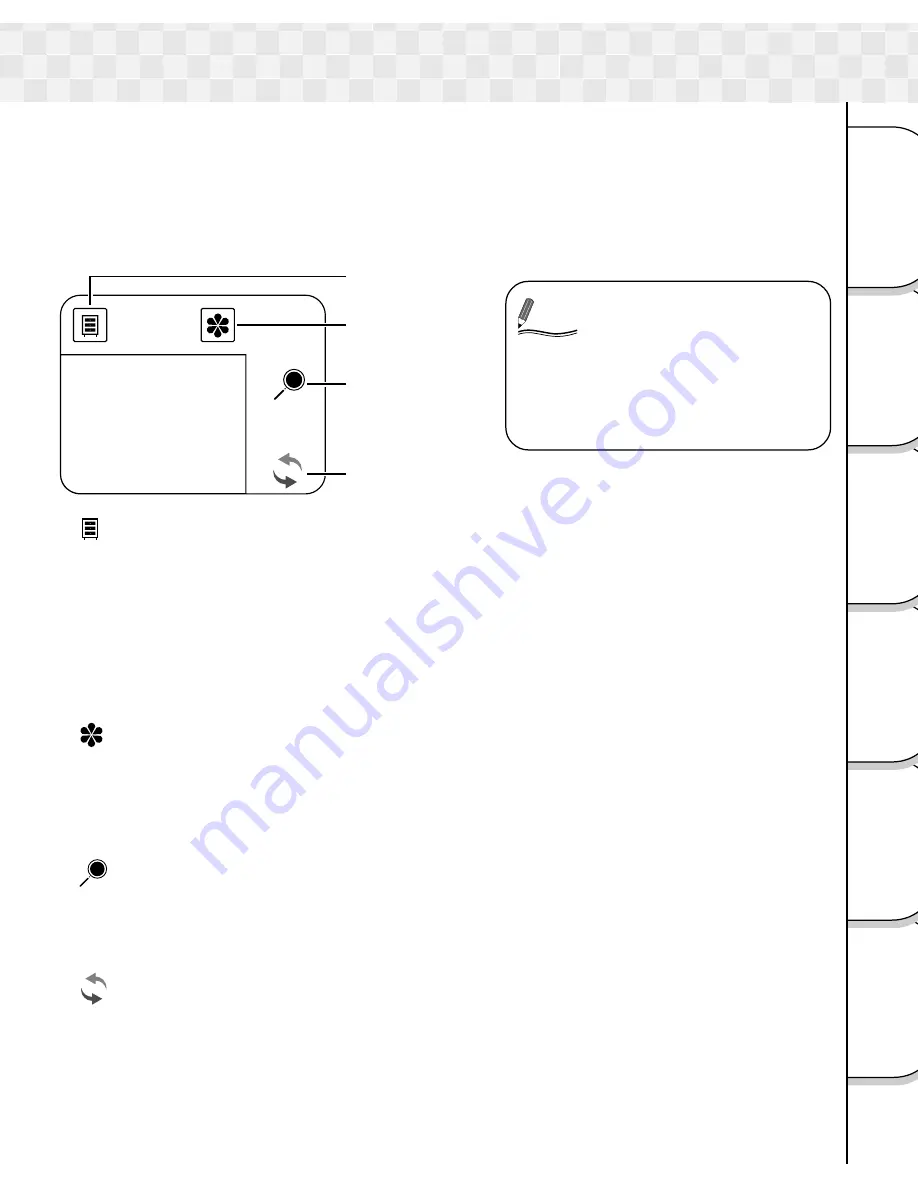
In this camera, special functions are assigned to four key icons. Read the referred pages
below carefully for a description of the different functions.
[ ] Menu key (
➲
P. 32, 38, 46)
Displays the Recording menu, Play menu and Setup menu.
Recording menu:
Color, ISO sensitivity, Exposure compensation, White balance,
Image quality, Preview, LCD monitor brightness.
Play menu:
LCD monitor Brightness, DPOF, Display switch, Slide show,
Protect.
Setup menu:
Reset, Language, Auto mode switch, Date and time, Sound,
Touch sensor, Auto power off, Version information, Format.
[
] Display key (
➲
P. 25, 34)
Switches the characters and icons on the screen to display/not to display. Also, the
settings below can be activated when the icon is displayed.
During photography mode:
Scene mode, Flash, Self-timer
During play mode:
Thumbnail display, Erase images
[
] Zoom key (
➲
P. 31, 37)
Performs the zoom operation.
During photography mode:
Digital zoom photography
During play Mode:
Zoom play
[
] Mode key (
➲
P. 23)
Switches between the photography mode and play mode.
During photography mode:
Switches to play mode.
During play mode:
Switches to photography mode.
Notes on Touch Panel
Memo
• The touch panel can be
operated with the finger,
but the use of the stylus
pen will reduce the
number of operational
mistakes.
Menu key
Display key
Zoom key
Mode key


