87
EN
In
troducti
on
Connecti
o
ns
Bas
ic Setup
P
layback
Ed
iti
n
g
V
CR Fu
ncti
on
s
O
th
ers
Fu
nc
ti
on
Set
u
p
Recordi
n
g
10
Select “Yes” using [Cursor
L
/
P
],
then press [ENTER] to exit.
Note
• If the number of chapter marks in the combined title
exceeds 999 (99 for HDD), the combination will be
rejected.
• If one of two titles in the Original is deleted, the
combined new title will be deleted.
• The name of the title selected first will become the
name of the combined title.
• The title selected first will be the first half of the
combined title.
• If the length of the title exceeds 12 hours after
combined, the combination will be rejected.
• You only can combine the titles in the same folder.
Dividing a Title
You can divide a title into two new titles.
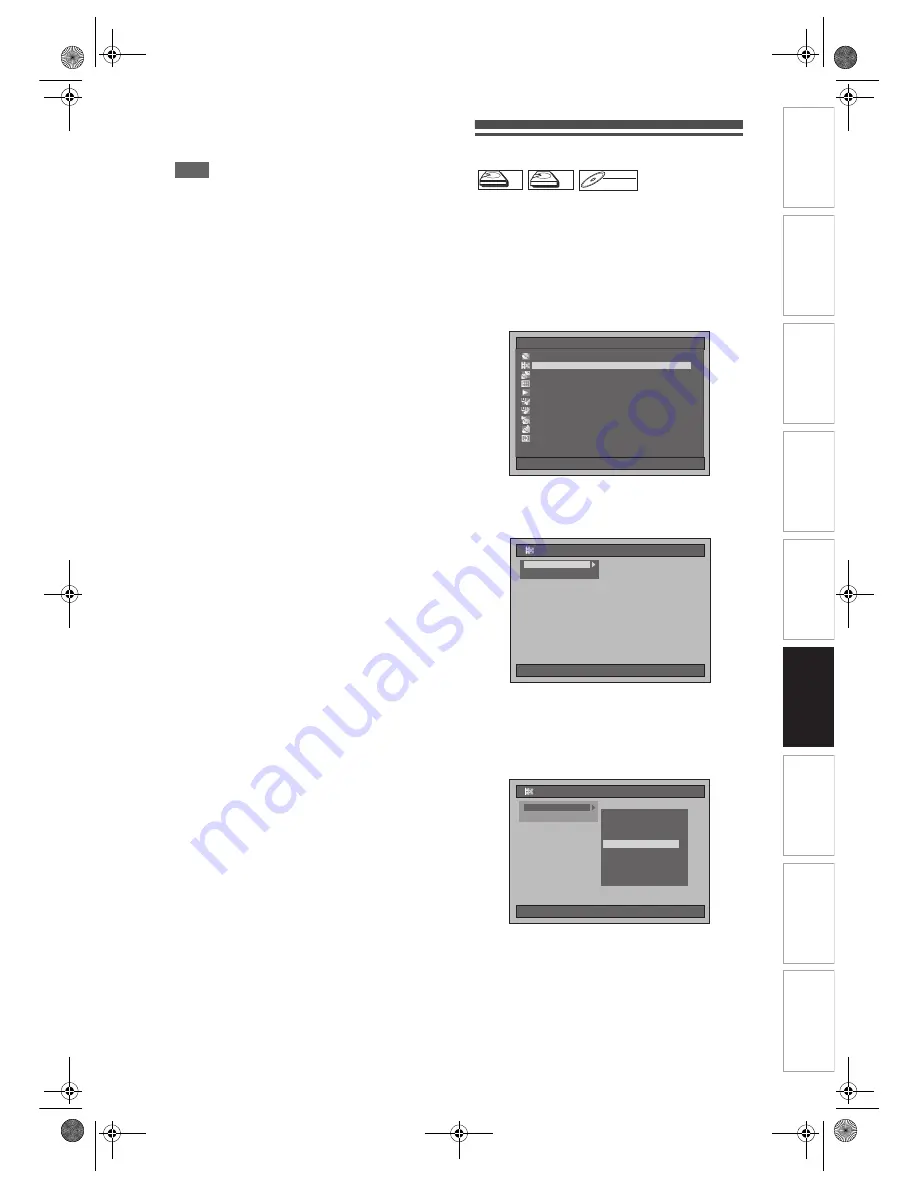
1
Press [SETUP] in stop mode.
Setup Menu will appear.
2
Select “Editing” using
[Cursor
U
/
D
], then press [ENTER].
3
Select “Playlist” or “Original” using
[Cursor
U
/
D
], then press [ENTER].
4
Select “[HDD PL] Title Divide” or
“[DVD PL] Title Divide” using
[Cursor
U
/
D
], then press [ENTER].
Example: Playlist
HDD
HDD
HDD
Original
HDD
HDD
HDD
Playlist
DVD-RW
DVD-RW
DVD-RW
VR
Playlist
Setup Menu
01/01/07(Mon)
19:34
Disc Management
Editing
Editing
Dubbing
Dubbing
Timer Programme
Timer Programme
Title List
Title List
Initial Setting
Initial Setting
Digital Audio Setting
Digital Audio Setting
Playback
Playback
Recording
Recording
Display
Display
01/01/07(Mon)
19:34
Editing
P
Original
Playlist
01/01/07(Mon)
19:34
Editing
Original
Playlist
[HDD PL] Scene Delete
[HDD PL] Scene Delete
[HDD PL] Title Combine
[HDD PL] Title Combine
[HDD PL] Title Divide
[DVD PL] New
[DVD PL] Scene Delete
[DVD PL] Title Combine
[DVD PL] Title Divide
[HDD PL] New
E3B90ED_EN.book Page 87 Friday, February 23, 2007 12:38 PM


