– 11 –
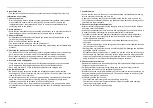
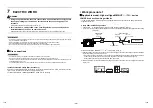
Airtight test / Air purge, etc.
For airtight test, air purge, addition of refrigerant, and gas leak check, follow the Installation Manual
attached to the outdoor unit.
REQUIREMENT
Be sure to use the tool such as charge hose exclusive to R32 or R410A.
Do not turn on the power until the airtight test and the vacuuming have finished.
(If turning on the power, the incorporated PMV is closed fully and the period until the vacuuming finishes
elongates.)
Open fully valves of the outdoor unit
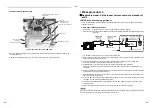
Gas leak check
Check with a leak detector or soap water whether gas leaks or not, from the pipe connecting section or
cap of the valve.
REQUIREMENT
Use a leak detector manufactured exclusively for HFC refrigerant (R32 or R410A, R134a, etc.).
REQUIREMENT
Apply the heat insulation to the pipe connecting section of the PMV Kit securely up to the root without
exposure of the pipe. (The pipe exposed outside causes water leak.)
CAUTION
CAUTION
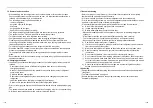
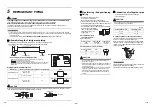
Heat insulating process
Perform heat insulating for pipes at liquid side and gas
side separately.
In cooling time, temperature at both liquid and gas sides
becomes lower.
Therefore, perform heat insulating process sufficiently
to avoid dewing.
•For heat insulator of pipe at gas side, be sure to use one
with heat-resisting temp. 120°C or more.
• Using the attached heat insulating pipe, perform heat
insulating process securely for pipe connecting part of
the PMV Kit without clearance.
Union
PMV Kit
Flare nut
Heat insulating pipe
(Attached)
Binding band M
(Attached)
Heat insulator
Indoor unit
Refrigerant
pipe
PMV Kit
Apply an extra heat insulation to the liquid pipe between
the PMV Kit and the indoor unit depending on using
environment. Failure to do so forms condensation around
the pipe, causing water droplets.
Heat insulation process range
6
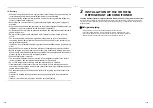
FIXATION AFTER CONNECTION PIPES
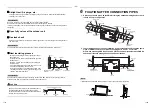
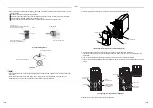
1. After connection to pipes, fix the PMV Kit using the attached binding band so that it
is held closely to the gas pipe.
2. To avoid propagation of sound or vibration, wrap cushion material around the liquid
pipes of PMV Kit, and then set with the hanging bolts within 1 m intervals.
Also, when mounting PMV Kit on the wall, put the cushion material between PMV Kit
and the wall to avoid propagation of sound and vibration.
NOTE
• Install PMV Kit as illustrated within 15 degree vertically and horizontally, respectively.
Binding band M
Binding band L
Binding band M
Binding band M
Binding band L
Binding band M
Refrigerant pipe
(Gas side)
Heat insulating
pipe
Refrigerant pipe
(Liquid side)
Refrigerant pipe
(Liquid side)
Heat insulating
pipe
Insulator or
cushion material
(Locally procured)
PMV Kit
Refrigerant pipe
Insulator or
cushion material
(Locally procured)
Hanging bolt
1 m or less
Hanging bolt
within 15°
within 15°
21-EN
22-EN

