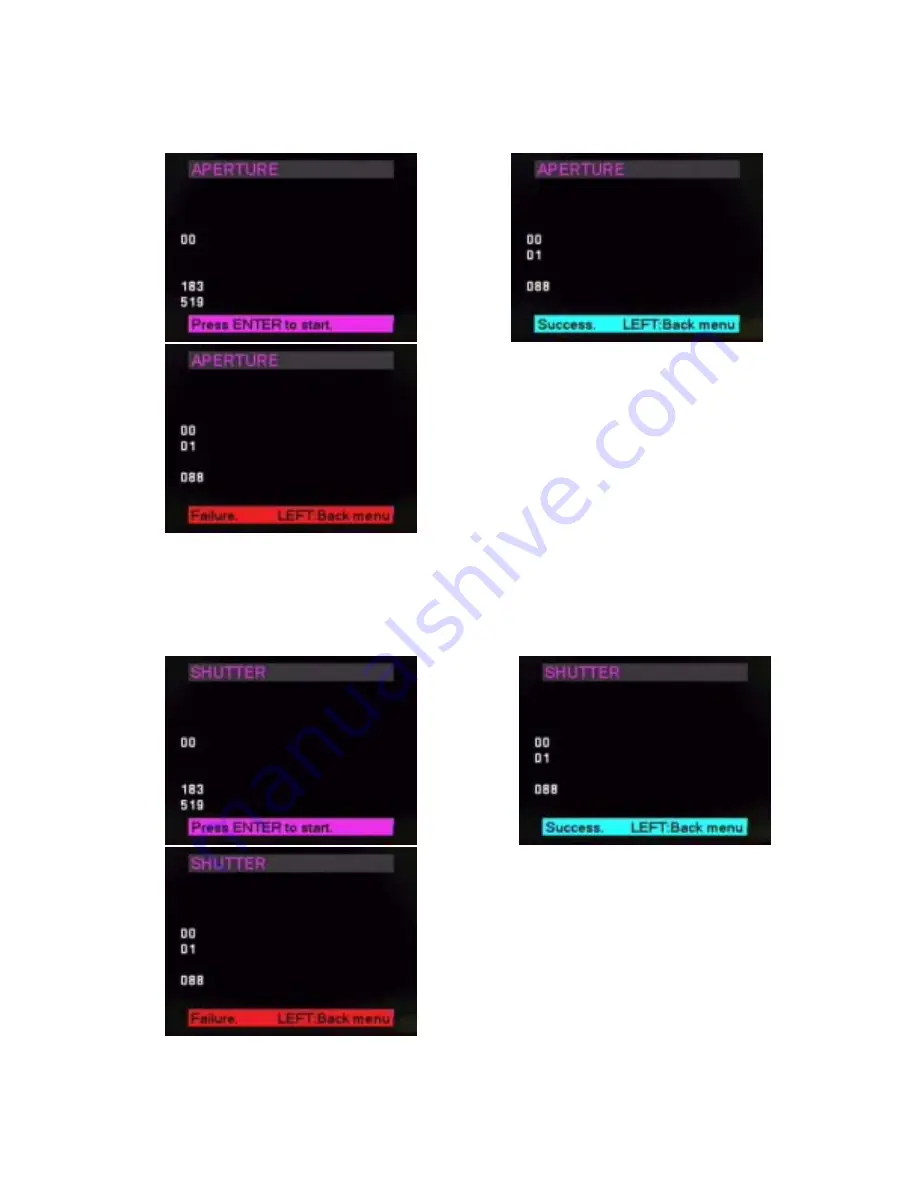
7. Put the camera in front of the Light Source. The distance between Lens and Light source is from 1cm to 2cm. Then
press OK button to proceed with the adjustment automatically. If the adjustment is OK, it will display SUCCESS as
shown in figure 3.5.7. Press the LEFT button to return. If the LCD displays FAILURE as shown in figure 3.5.8, the
camera is NG.
Fig. 3.5.6
Fig. 3.5.7
Fig. 3.5.8
8. Press the UP/DOWN button to select the item SHUTTER. Then press the RIGHT button to enter SHUTTER menu.
The Lens barrel will move and SHUTTER MENU is displayed on LCD screen as shown in figure 3.5.9.
9. Put the camera in front of the Light Source. Then press OK button to proceed with the adjustment automatically. If the
adjustment is OK, it will display SUCCESS as shown in figure 3.5.10. Press the LEFT button to return. If the LCD
displays FAILURE as shown in figure 3.5.11, the camera is NG.
Fig. 3.5.9
Fig. 3.5.10
Fig. 3.5.11
28
Содержание PDR-M70
Страница 1: ...DIGITAL STILL CAMERA SERVICE MANUAL PDR M70 FILE NO 210 200005 PRINTED IN JAPAN Aug 2000 S ...
Страница 7: ......
Страница 8: ...SERVICE MANUAL FILE NO 210 200315 DIGITAL STILL CAMERA PDR M700 CREATED IN TAIWAN JUL 2003 ...
Страница 31: ...Fig 3 3 10 22 ...
Страница 41: ...Fig 3 7 7 32 ...
Страница 56: ......


