30
Customizing the function settings
Group
Setting
Disc
Details
Page
Picture
TV Shape
HD DVD
DVD-Video
DVD-RW
DVD-R
CD
To select a picture size according to the aspect
ratio of your TV.
31
Enhanced Black
Level
HD DVD
DVD-Video
DVD-RW
DVD-R
CD
To select the black level (0 IRE or 7.5 IRE).
31
RGB Output Range
HD DVD
DVD-Video
DVD-RW
DVD-R
CD
To select the RGB range according to the capacity
of the connected DVI monitor.
31
Picture Mode
HD DVD
DVD-Video
DVD-RW
DVD-R
CD
To select the system of output signal
corresponding to playback source. (Only when
connected to a PROGRESSIVE TV.)
32
Resolution Setting
HD DVD
DVD-Video
DVD-RW
DVD-R
CD
To select the resolution of the player’s output,
according to the connected TV.
20
Audio
Digital Out SPDIF
HD DVD
DVD-Video
DVD-RW
DVD-R
CD
To select the output sound format when connecting
the DIGITAL AUDIO OUTPUT jack.
21
Digital Out HDMI
HD DVD
DVD-Video
DVD-RW
DVD-R
CD
To select the output sound format when connecting
the HDMI OUTPUT jack.
21
Dynamic Range
Control
HD DVD
DVD-Video
DVD-RW
DVD-R
CD
To turn on or off a function that makes faint sounds
easier to hear even if you lower the volume during
late-hour playback.
32
Dialog Enhancement
HD DVD
DVD-Video
DVD-RW
DVD-R
CD
To turn on or off a function that increases dialog
volume of a disc playback.
32
Language
Disc Menu Language
HD DVD
DVD-Video
DVD-RW
DVD-R
CD
To select a preferred language for disc menus.
32
Subtitle Language
HD DVD
DVD-Video
DVD-RW
DVD-R
CD
To select a preferred language for subtitles.
33
Audio Language
HD DVD
DVD-Video
DVD-RW
DVD-R
CD
To select a preferred language for the sound track. 33
On Screen
Language
HD DVD
DVD-Video
DVD-RW
DVD-R
CD
To select a preferred language for on-screen
displays.
33
Ethernet
HD DVD
DVD-Video
DVD-RW
DVD-R
CD
To set up internet connection feature.
22
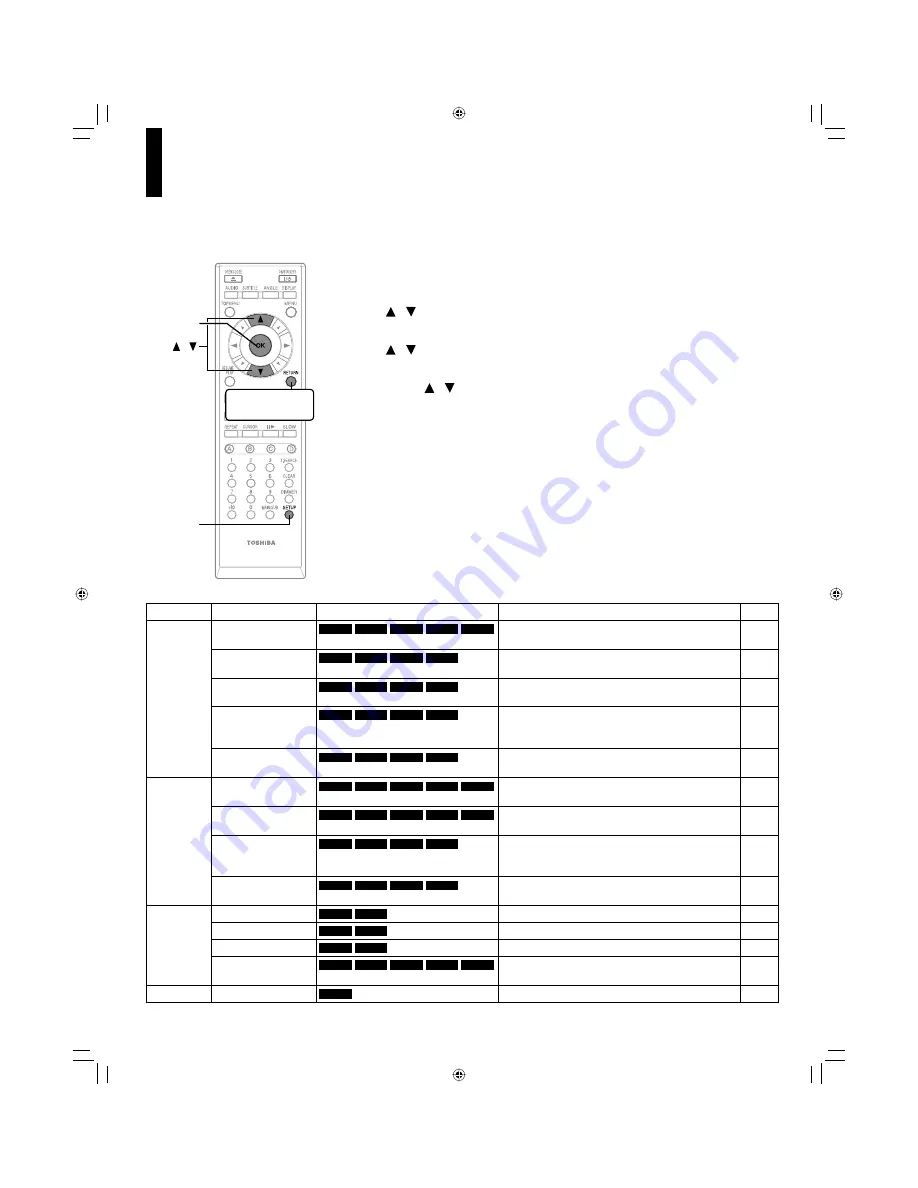
1
During stop, press SETUP.
“SETUP MENU” appears.
2
Press / to select the group that contains a desired item, then press
OK.
3
Press
/ to select the setting item, then press OK.
4
Refer to the explanations on pages beginning from 31, to change the
selection by / or other buttons, then press OK.
5
Repeat step 3 and 4 to set other items if necessary.
6
Press SETUP.
“SETUP MENU” disappears and the setting is completed.
You can change the default settings to customize performance to your preference.
To return to the
previous menu
SETUP
OK
/
00_HD-A3KU_Eng.indd 30
07.8.20 4:40:09 PM


