91
EN
91
EN
Disc
Management
Recording
Playback
Introduction
Connections
Basic Setup
Editing
Function Setup
Others
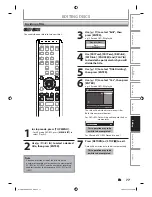
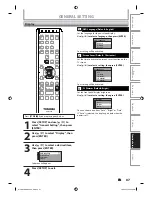
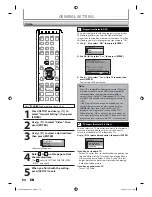
1
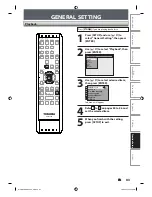
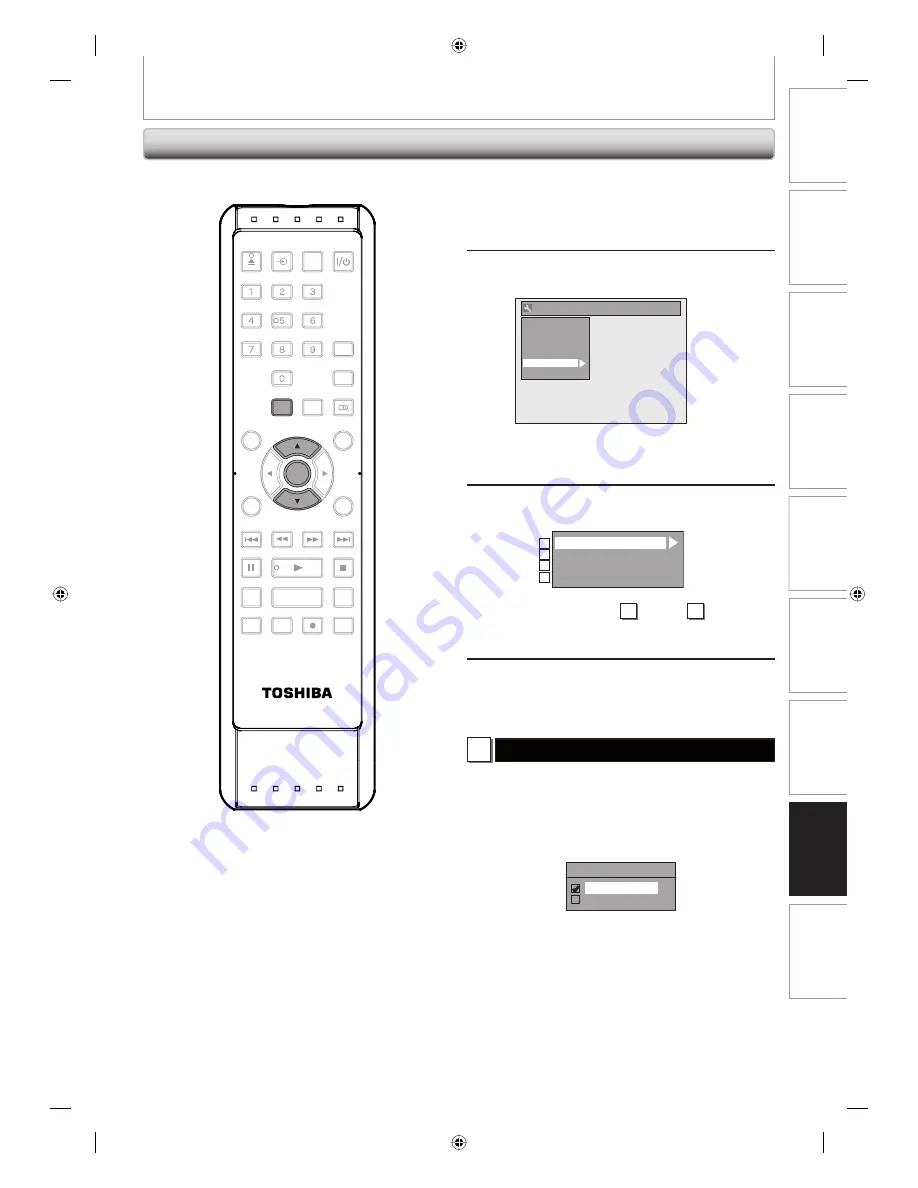
Press [SETUP] in stop mode and use
[
K
/
L
] to select “General Setting”,
then press [ENTER].
2
Use [
K
/
L
] to select “HDMI”, then
press [ENTER].
General Setting
Playback
Display
Video
Recording
Clock
HDMI
Reset All
• You cannot select HDMI when an HDMI cable is
not connected and the item is shown in grey
color.
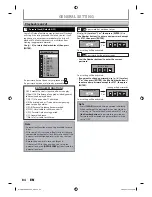
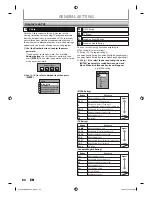
3
Use [
K
/
L
] to select a desired item,
then press [ENTER].
Format
HDMI Audio
RGB Range
HDMI CEC
1
2
3
4
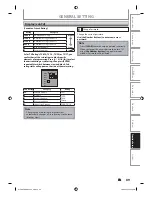
• You cannot select
1
through
3
when an
HDMI cable is not connected (the items will be
shown in grey).
4
When you finish with the setting,
press [SETUP] to exit.
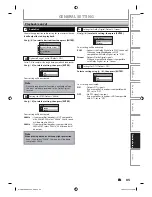
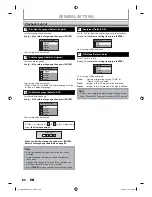
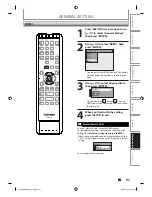
1
Format (Default : RGB)
You can select the color space for HDMI output.
Set the appropriate color space for your display device.
Use [
K
/
L
] to select a setting, then press [ENTER].
• When the connected device is not compatible with the
Y/Cb/Cr, HDMI signal is output as RGB regardless of the
setting.
Format
RGB
YCbCr
Your setting will be activated.
HDMI
GENERAL SETTING
SE-R0265
OPEN/
CLOSE
INPUT
SELECT
HDMI
.@/:
ABC
GHI
PQRS
TUV
SPACE
SETUP
DISPLAY
AUDIO
TOP MENU
CLEAR
RETURN
MENU/LIST
WXYZ
JKL
MNO
DEF
ENTER
SKIP
REV
PLAY
REC MODE
ZOOM
REC
REPEAT
PAUSE
TIME SLIP
1.3x / 0.8x PLAY
INSTANT SKIP
STOP
FWD
SKIP
TIMER
PROG.
SATELLITE
LINK
ENTER
SETUP
E7PCBUD_DKR40KU_EN.indd 91
E7PCBUD_DKR40KU_EN.indd 91
2/5/2009 10:33:21 AM
2/5/2009 10:33:21 AM

