


E-5
3. Turning the Printer
ON/OFF
3.1
Turning ON the
Printer
When the printer is connected to a host computer it is good practice to
turn the printer ON before turning on the host computer and to turn
OFF the host computer before turning off the printer.
NOTE:
Before turning the printer ON, it is necessary to setup the printer
correctly.
For instructions on how to setup the printer, refer to
2.2 Procedure
before Operation
of the Owner’s Manual.
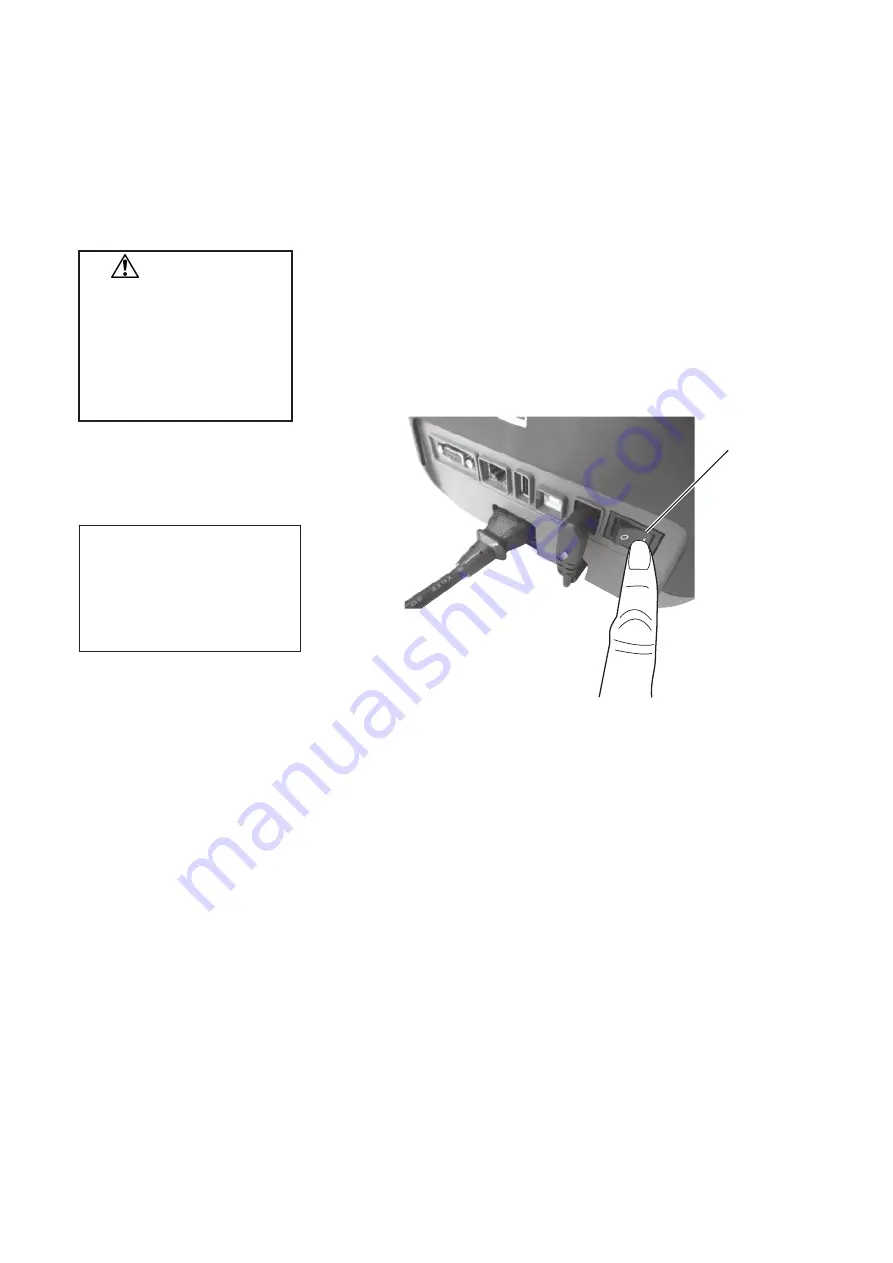
1.
To turn ON the printer power, press the power switch as shown in
the diagram below. Note that ( | ) is the power ON side of the
switch.
2.
Check that LED 1 stays illuminated in green.
CAUTION!
Use the power switch to
turn the printer on/off.
Plugging or unplugging the
power cord to turn the
printer on/off may cause
fire, an electric shock, or
damage to the printer.
NOTE:
If LED 1 is illuminated in colors
other than green or unlit, refer to
Section 4,
TROUBLESHOOTING
of the
Owner’s Manual.
Power Switch


