


29
Using List mode
1
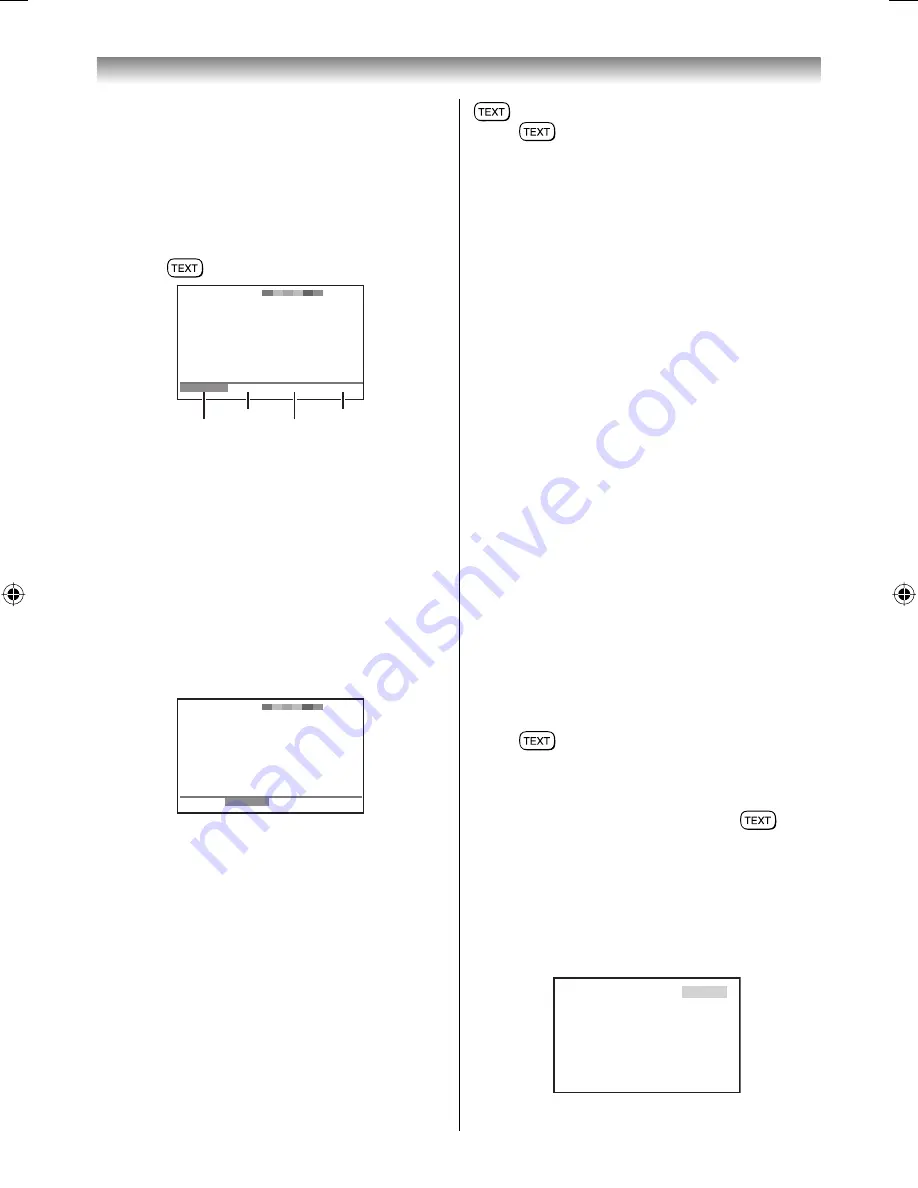
Press
to access teletext.
Red
Green
Yellow
Blue
100
TEXT M00
14:58:55
100
200
300
400
The four choices at the bottom of the screen
are now number –
100
,
200
,
300
and
400
,
which have been programmed into the TV’s
memory.
2
To view these pages, use the coloured
prompt buttons.
e.g. press the Green button to view page 200.
3
If you want to change these stored pages,
press the coloured button for the colour you
want to change.
e.g. Press the Green button and enter the
3-digit number.
100
TEXT M00
14:58:59
100
250
300
400
This number will change in the top left of the
screen and in the coloured highlight.
4
Press
Q
to store your choice. The bars at the
bottom of the screen will fl ash white.
5
You may view other pages by simply entering
the 3-digit page number – but NEVER press
Q
or you will lose the favorite already stored.
Teletext buttons on the remote control
Below is an introduction to the teletext buttons on
your remote control and their functions.
To display a page of teletext:
Press
to display teletext. Press again
to superimpose the teletext over a normal
broadcast picture. Press again to return to
normal TV mode.
k
To display an index/initial page:
In Auto-mode
Press
k
to access the index page. The one
displayed is dependant on the broadcaster.
In List-mode
Press
k
to return to the 100 page or initial page.
A
To reveal concealed text:
Some pages cover topics such as quizzes and
jokes. To discover the solutions, press
A
.
B
To hold a wanted page:
This function is included as it is part of the
broadcast teletext system but you will not need
it as this TV allows you to control the display of
sub-pages.
C
To enlarge the teletext display size:
Press
C
once to enlarge the top half of the
page, press again to enlarge the bottom half of
the page. Press again to revert to the normal
size.
D
To select a page while viewing a
normal picture:
When in teletext mode, if a page selection is
made and then
D
is pressed, a normal
picture will be displayed. The TV will indicate
when the page is present by displaying the title
bar of the text page at the top of the screen.
Press
to view the page.
Note:
It will not be possible to change programme
position while in Teletext mode, you will have
to cancel the teletext fi rst by pressing
to
return to a normal TV picture.
To select the time display:
If you press
D
while watching a normal
TV broadcast, you will see a time display from
the broadcaster. It will remain on the screen for
about 5 seconds.
21:56:25
9:56 and 25 seconds p.m.
Note:
If you press
r
while this mode is activated, this
mode will be cancelled.
Using the TV’s features
If FASTEXT is not available, you can access any
page simply by entering a 3-digit page number or
pressing the corresponding coloured button.
For further information on your particular text
system(s), see the broadcast teletext index page
or consult your local Toshiba dealer.
324246RV600ETY_En.indd 29
324246RV600ETY_En.indd 29
7/28/2009 10:08:17 AM
7/28/2009 10:08:17 AM


