Installing the Kit
1.
Remove the 3 shoulder screws from each pod
and remove the pods from both sides of the
machine (
).
Remove the fuel-tank cap before removing the
left pod (
g253592
Figure 2
1.
Shoulder screw
3.
Fuel-tank cap
2.
Pod
2.
Remove the 2 fuel-tank clips from the underside
of the fuel tank and rotate the fuel tank to the
side (
).
g253594
Figure 3
1.
Fuel tank
2.
Fuel-tank clips
3.
Remove the shoulder screw and washer
securing the top of the damper (
4.
While holding the damper stud in place using a
wrench, remove the locknut (1/4 inch) securing
the bottom of the damper (
g254332
Figure 4
1.
Shoulder screw
4.
Stud
2.
Washer
5.
Locknut (1/4 inch)
3.
Damper
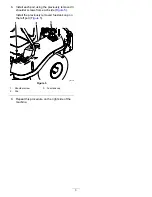
5.
Secure the top of the new damper using the
previously removed shoulder screw and washer
(
).
Start by hand-tightening the shoulder bolt, then
torque it to 565 to 1130 N∙cm (50 to 100 in-lb).
6.
Secure the bottom of the new damper using the
previously removed locknut (1/4 inch) as shown
in
7.
Rotate the fuel tank back into position and
secure it using the previously removed fuel-tank
clips (
).
2
Содержание Pro Control 138-7588
Страница 4: ......


