4
3.
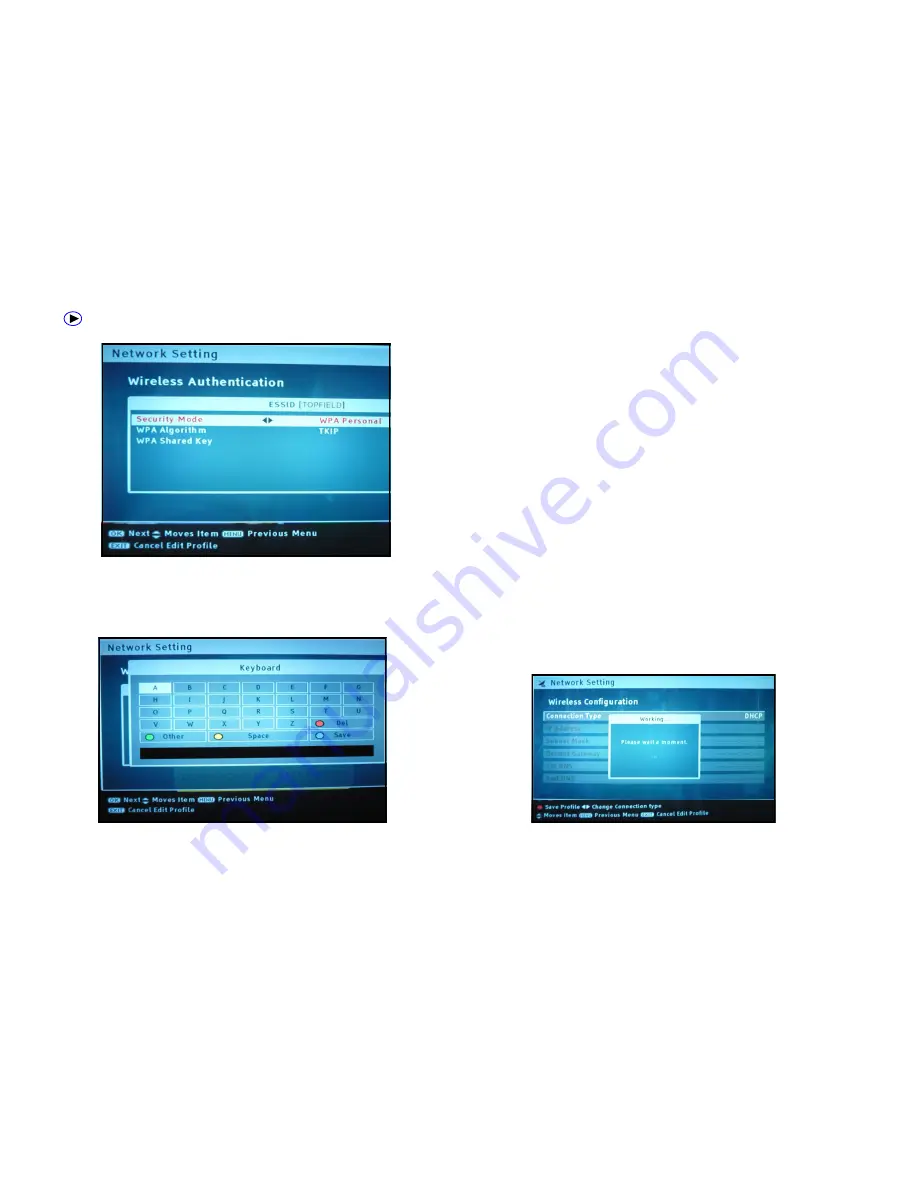
An onscreen keyboard will pop up on the screen. Enter your password
using the P+ (UP), P- (Down), V- (left) and V+ (right) buttons on your
remote to move on the keyboard. Hit okay after each letter and then
save the password using the Blue Button on your remote.
4.
Press the green button while the keyboard is on the screen to change
from upper to lowercase and once again to view additional
characters. Note : Password is case sensitive, input it exactly as your router
password.
5.
Next select the IP Connection type you would like to setup. Either DHCP or
STATIC. Use V– or V+ to select Static.
A
DHCP
connection is the easiest route as the router will automatically
assign the Topfield with an IP address and all the relevant settings,
otherwise choose static. Ensure that DHCP is set to on/active/enabled in
your router settings.
A
STATIC
connection will require you to manually enter the following
settings into your TOPFIELD: A unique IP address, Subnet Mask,
Default Gateway and DNS options. These should match with the
configuration of your router. However, the Default Gateway should be
set to the local IP address of your router. Don’t forget to press the RED
button to save the new network profile. For further information regarding
static connection refer to your router user manual or contact the manufac
turer of your router.
6.
If you select DHCP the TOPFIELD will fetch the IP address and other infor-
mation from your router. The following two screens should appear. With a
tick meaning it successfully connected to your router.
Page 4
Содержание TF7100HDPVRt
Страница 1: ......


