22
2
Turn the instrument off.
3
While pressing the height alert on/off key, press the power key. Then press the height
alert on/off key again within two seconds to enter adjustment mode. The height alert
lamp and battery status lamps will flash.
4
Using the hex wrench supplied with the instrument, adjust the axis adjustment screw
(see illustration at right) until the beam is center on the new mark AX. Use the X axis
screw when adjusting the X-axis calibration and the Y-axis screw when adjusting the Y
axis calibration.
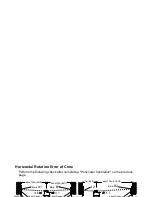
Height Alert On/Off key
Note:
Do not disturb the instrument or tripod while
performing step 3.
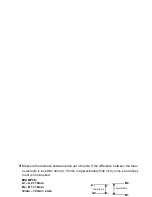
X2
X1
x
2
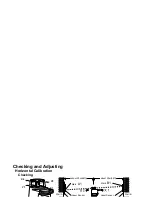
about 20m(66ft)
Instrument as seen from above
X-axis adjustment screw
Y-axis adjustment screw
Note:
The laser beam is moved up or down approximate-
ly 6mm (.25 inch) at a distance of 20m (66 feet) by
turning the screw one complete revolution.
Содержание RL-H3A
Страница 1: ......
Страница 2: ......
Страница 9: ...Beam aperture RL H3B Class 1 Laser Product Visible Laser Beam Laser output Approx 0 9mw...
Страница 17: ...Operational Example...
Страница 34: ......


