11
INSTALLING A SANDING DISC
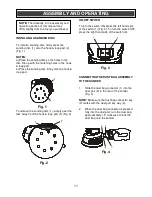
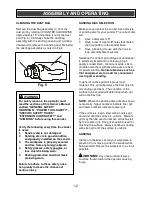
To install a sanding disc, firmly press the
sanding disc (1) onto the hook & loop pad (2)
(Fig. 1).
NOTES:
a) Place the sanding disc so the holes in the
disc line up with the matching holes in the hook
& loop pad.
b) Press the sanding disc firmly onto the hook &
loop pad.
To remove the sanding disc (1), simply peel the
disc away from the hook & loop pad (2) (Fig. 2).
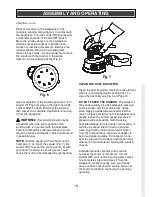
ON/OFF SWITCH
To turn the switch ON, press the left hand side
of the switch (1) (Fig. 3). To turn the switch OFF,
press the right hand side of the switch (2).
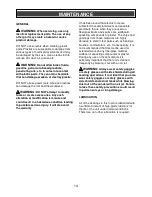
CONNECTING THE DUST BAG ASSEMBLY
TO THE SANDER
1. Slide the dust bag connector (1) into the
dust port (2) in the rear of the sander
(Fig. 4).
NOTE: Make sure the dust bag connector key
(3) mates with the dust port key way (4).
2. When the dust bag connector is pressed
fully into the dust port, turn the dust bag
approximately 15° clockwise to lock the
dust bag onto the sander.
ASSEMBLY AND OPERATING
Fig. 3
NOTE: The drawings in the assembly and
operating section of this manual may
differ slightly from the tool you purchased.
Fig. 1
Fig. 2
Fig. 4
Содержание 241-9942
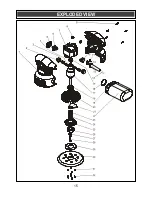
Страница 15: ...15 EXPLODED VIEW...


