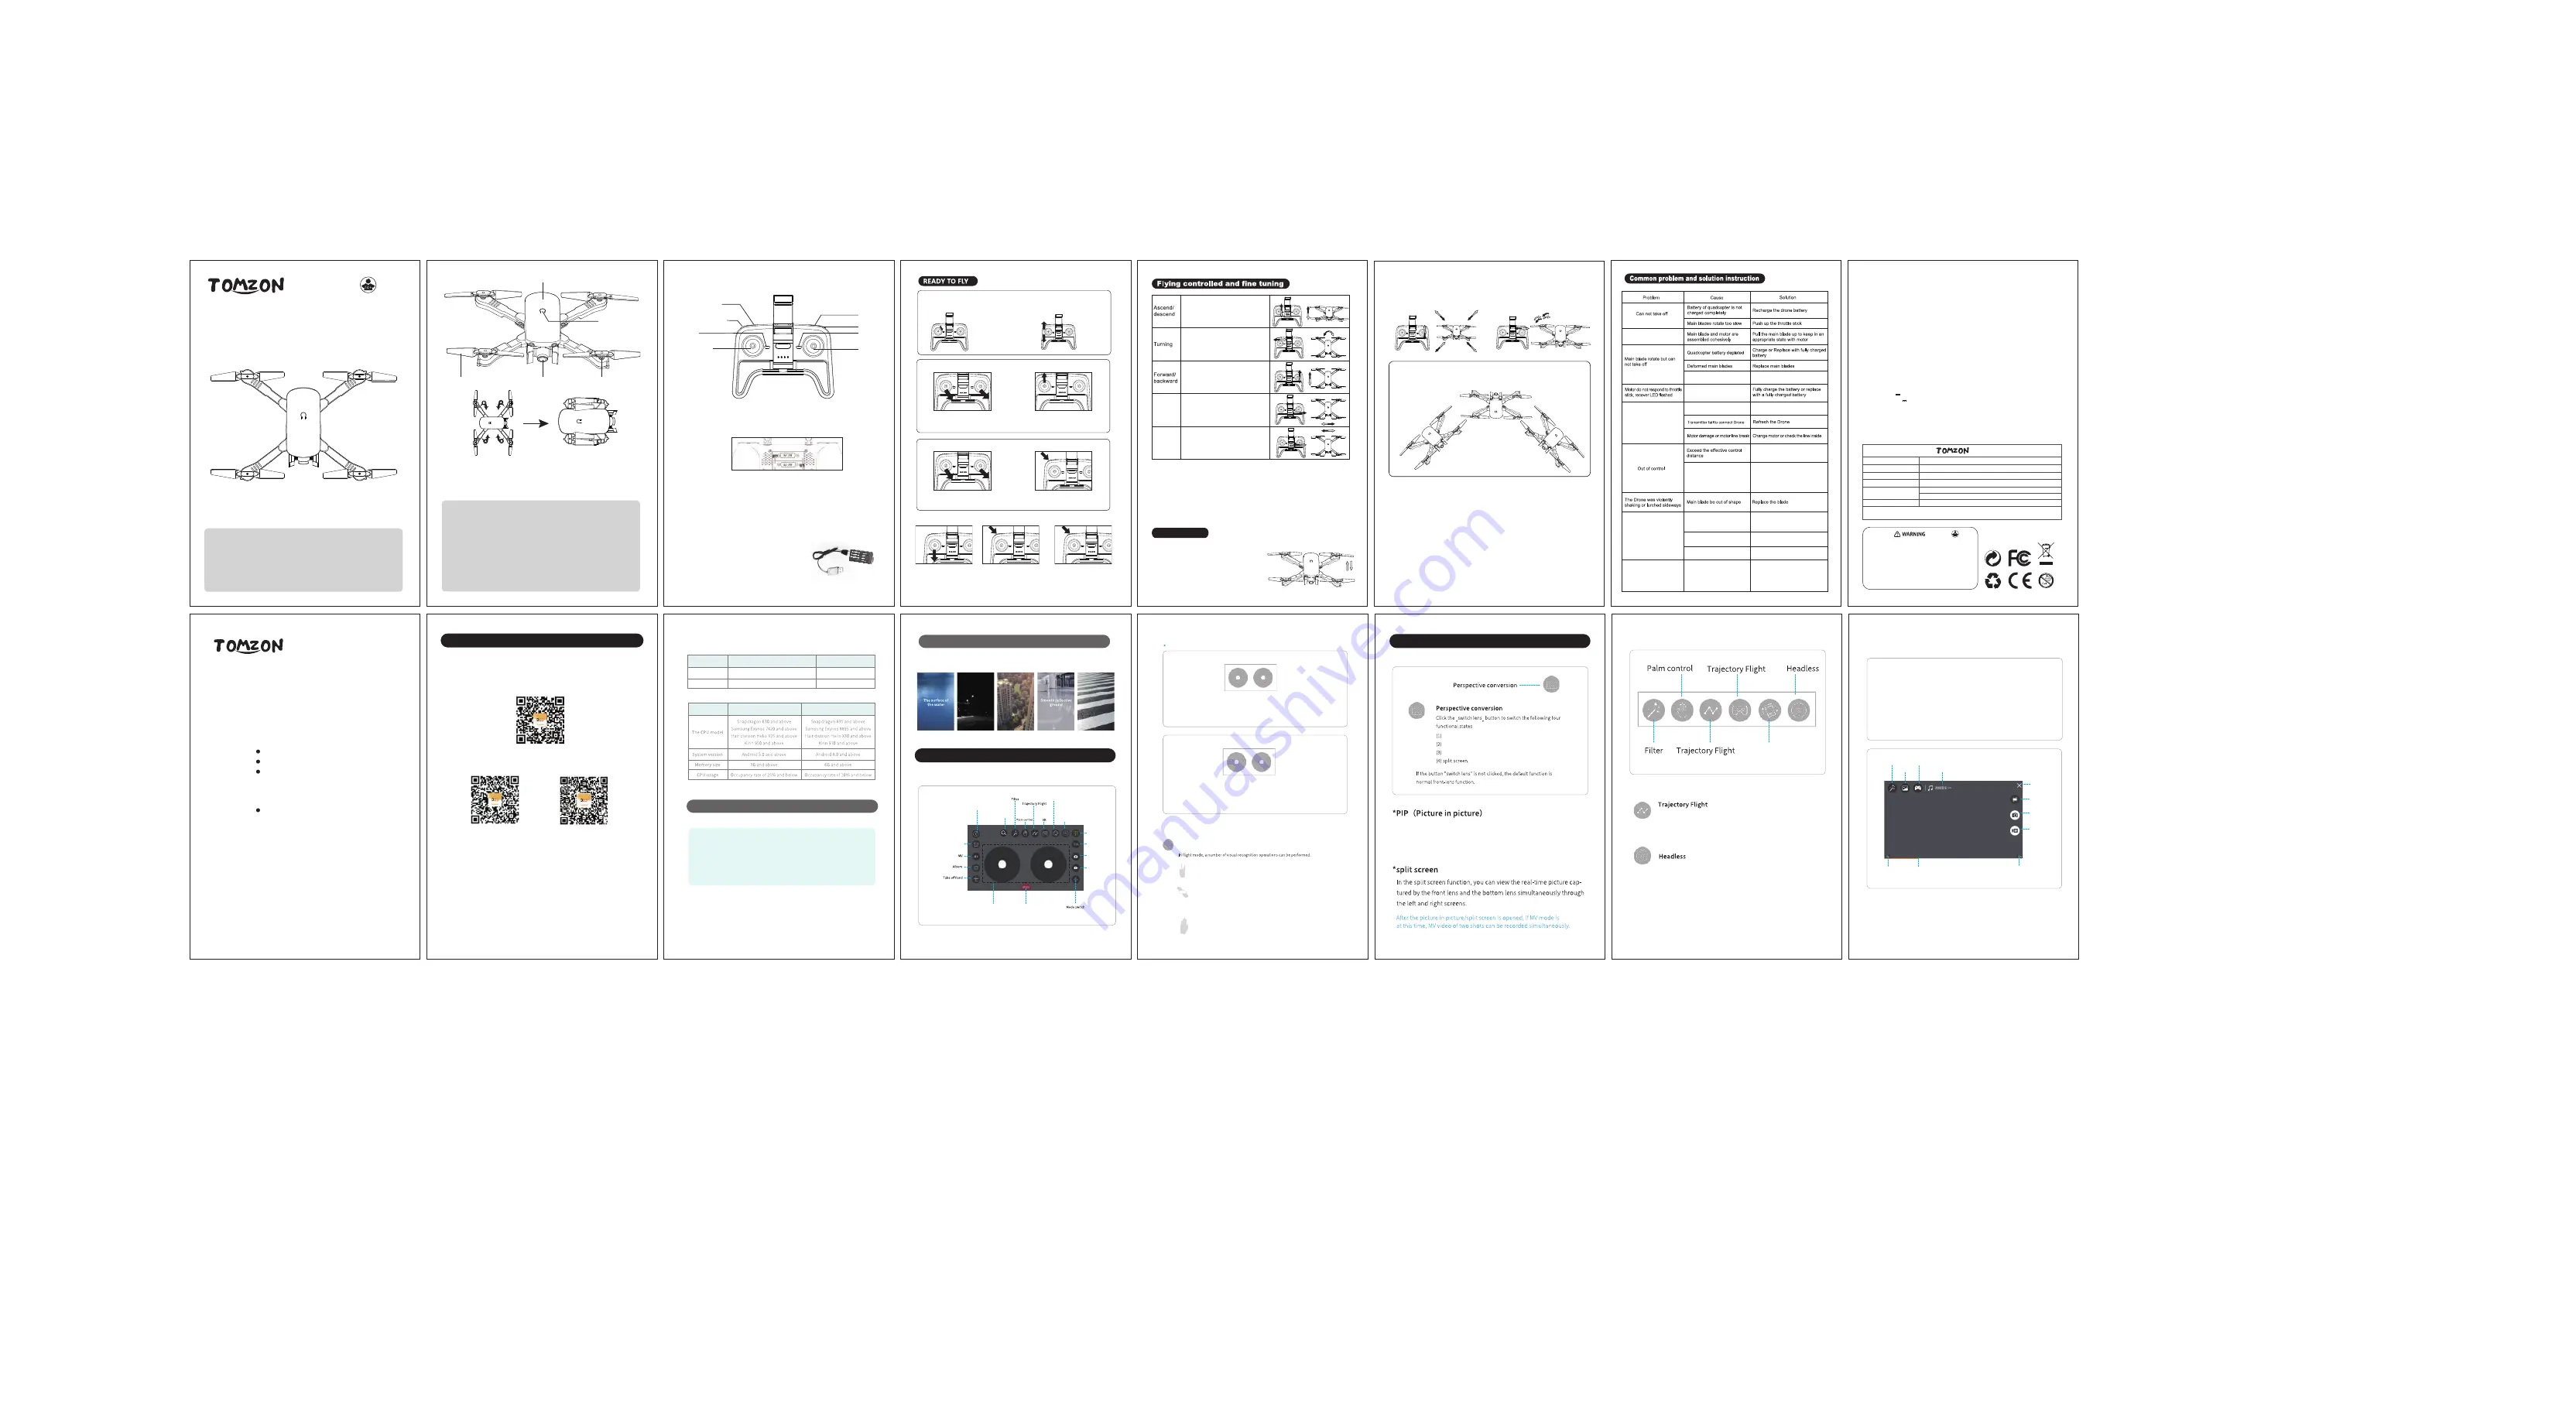
D25 User Manual
DRONE
Flying weight: 115g
Flight time: about 12 minutes
Working ambient temperature: 0~40° C
Working frequency: 2.402 - 2.483GHz
CAMERA
Maximum resolution: 4096*2160
Controllable range of rotation: +0° - 90°
Video resolution: 1920*1080P
Picture format: JPG
Video format: MP4
REMOTE CONTROLLER
Working frequency: 2.402 - 2.483GHz
Maximum effective distance of signal: 60m (under environment with no interference and no
occlusion)
Operating voltage / current: 3.7 V / 0.15 A
CHARGER
Rated input: 5V 1A
Rated output: 3.7V 1A
BATTERY
Capacity: 1100mAh
Voltage: 3.7V
Working environment temperature: -10~40°C
DANGER
Only suitable
for age 14+
Warning:
The product should only be used by adults and children over 14 years.
Adult supervision is required for children under 14 years.
Hinweis:
Dieses Produkt ist für die Erwachsene und die Kinder ab 14 Jahren. Die
Kinder unter 14 Jahren müssen von Erwachsenen beaufsichtigt werden.
Avertissement:
Ce produit est destiné aux adultes et aux enfants de plus de 14 ans.
Les enfants de moins de 14 ans doivent être surveillés par des adultes.
Avvertimento:
questo prodotto è destinato all'uso per i adulti e bambini di età superiore
ai 14 anni. I bambini di età inferiore ai 14 anni devono essere sorvegliati da un adulto.
Advertencia:
Este producto es para adultos y niños mayores de 14 años. Los niños
menores de 14 años deben ser supervisados por adultos.
警告:
この製品は、大人と14歳以上の子供には使用対象です。14歳未満の子供は大人の監視
が必要です。
8+
Model
Manufacturer
Working frequency
Address
D25
DeepSea Innovation Co., LTD
2.402 - 2.483GHz
Capacity: 1100mAh, 3.7V
Input
: DC 5V-1A
Output
: 3.7V-1A
Adapter information
3rd Floor, Building 4, Silicon Valley Courtyard, Qingquan Road, Shenzhen, CN
Battery information
EC REP
: DST Co., Ltd.
Fifth Floor 3 Gower Street,London,WC1E 6HA,UK
Warning:
The drone is for flying both indoors and outdoors. Please keep away from any obstacles.
Keep a fixed distance from people and pets, and do not play in an unsafe environment,
such as a heat source, electric wire or power line and some bad weather which may
lead to loss of life and property or even electric shock. The wind level is not more than 4
levels.
The product is suitable for children over 14 years old. It is recommended that kid’s
playing needs an adult’s supervision.
DANGER
Only suitable
for age 14+
Propeller
Propellers Installation
The propellers need to be replaced in relative positions on the drone. Propeller A must
be installed at position A. Propeller B must be installed at position B. If the propeller is
replaced in wrong position, the drone will not take off.
Safety
Important Notes
Only fly in a safe area. Do not operate air-conditioned aircraft in or near crowds. RC
aircraft is prone to accident, operation error, damage or injury caused by operator's
operation error and radio interference during flight, and the pilot shall be responsible for
the damage or injury during flight.
*
This product is NOT A TOY. It may cause damage by use it wrongly.
Please ues this priduct follow by this instruction. And please do not disassemble this product by
yourself.
*
This flying model requires practice before you use it. Please use the product follow by this instruction
and please don't disassemble the product. Otherwise, manufacturer shall not be responsoble any
damge pf the product or injury to any person.
Headless Mode(Short press)
One-button Return(Long press)
One-key Take off / land(Short press)
Emergency Landing(Long press)
Power Switch
Throttle Joystick / Speed
Gear(Press down the
middle key)
Photo Taking
Video Recording
Fine Tuning
Direction Joystick
Flip(Press down
the middle key)
Battery Installation
Introduction of transmitter
Open the battery on the back of remote controller. Insert 3 * AA 1.5V batteries in accordance with
the instructions on battery box.(Battery should be purchased separately, old and new or different
types of batteries shouldn’t be mixed.)
Battery Charging
Please use the packaged charging cable to charge the battery. When charging the indicator light
red, and light off when the battery is fully charged. The full charging time takes about 120 minutes.
Charging Saftey Notes
* Different types of batteries or new and old batteries shall not be mixed.
* Non rechargeable batteries shall not be charged;
* Only the charger provided shall be used for charging.
* Install the battery power terminal according to the correct polarity
without short circuit.
* Non rechargeable batteries cannot be charged, and rechargeable
batteries can only be charged under adult supervision.
Do not use the charged battery when charging, and do not leave when
charging.
* The U.S. Environmental Protection Agency says the batteries are
used.
2.Frequency Pairing:
After turning on the remote controller and the drone, push the left
joystick forwards and downwards successively. The drone LED
lights stably, wait for a few second, the drone is ready to fly.
1. Put aircraft in horizontal plane, Push
the left and right joysticks to down
right corner as the picture shows.
1. Put aircraft in horizontal plane, Push
the left and right joysticks to down
right corner as the picture shows.
2. Pull the left joystick forwards slowly,
the drone will fly up.
2. Press the "One-button Take off / Land"
button to take off the drone.
Slowly push down the throttle joystick
until the drone lands. Keep the
throttle joystick in the lowest position
for 3 seconds. The motor stops and
the drone lands successfully.
Press the “One-button Take off /
land" button and the aircraft will
descend automatically.
When the aircraft encountered
obstacles or emergency, long press
the emergency landing button for 3
seconds, the aircraft can be
emergency landing.
When the left throttle joystick push
up or pull down, the quadcoper is
ascending or descending.
When push the throttle joystick left /
right, the drone will turn left / right.
When push the throttle joystick
forwards / backwards, the drone will
fly forwards / backwards.
When push the throttle joystick left
/ right, the drone will perform left /
right flying.
Side flight
Side flight
fine tuning
When the quadcopter is hovering,
and the quadcopter is deviate to left
or right the turn the Side flight fine
tuning to right or left until the
quadcopter keeps balance.
Headless mode: the drone will remember the direction of the nose-facing direction when power
on. Please make sure that the nose-facing direction is just in front of your sight. After you switch
to headless mode, no matter where your drone's face is pointing, control the left joystick of the
remote control to the left, it will always let the drone fly to the left in your current perspective. In
other words, headless mode will make the aircraft fly according to the current orientation of the
operator rather than its own facing direction.
Flying Operation
1. Acceleration operation: slowly push the throttle
joystick until the quadcoper takes off from the
ground and hover in the air, and then pull back
the throttle joystick until the quadcopter slowly
descends. Repeat until you can control throttle
joystick smoothly
.
2. Drone forwards and backwards: when the
drone is hovering in the air, push the right
joystick forwards / backwards and the
drone will fly forwards / backwards
correspondingly.
3. Steering operation: when the drone is
hovering in the air, push the right joystick
left / right and the drone will perform left /
right side flight.
4.3 One button 3D Flip the drone
Press down the middle key and hold it, then push the joystick to the left / right and the drone
will roll to the left / right.
Tips:
1. When frequency pairing, keep the quad in a horizontal position so that it can match quickly and
begin to fly steadily, 2-3m away from the people and other ojects.
2. Indoor flight: please choose a spacious and barrier-free place for flying pets and personnel.
3. Outdoor flight: please choose the flight with good weather such as warm, sunshine and no wind.
Note:
1. Do not fly in extreme weather, otherwise, the drone may be damaged. Extreme hot or cold
weather may affect flight performance.
2. Do not fly in moderate or strong wind weather, otherwise it will affect your flight or interfere with
your flight control. In strong wings, your aircraft will disappear or be damaged.
The blades are not running
Motors are not running
The drone always
turns right
The drone is still moving
forward when hovering
after fine tuning
Gyroscope not in
horizontal position
Do the fine tuning after
drone is hovering stably
The fine-tuning adjustment
needs to be done
Do the fine-tuning adjustment
Damaged main blade
Damaged motor
Replace main blade
Replace the motor
The throttle stick isn’t pulled
to the end to complete
pairing frequency and the
Drone automatically rise
Throttle stick should be pulled to
the end during pairing frequency
Control distance beyond
60m(without interference)
The blade A and blade B are
installed mistakenly.
Drone battery power is
depleted.
Get stuck with somthing
The blade A and blade B should be
installed correctly.
Take out the objects that stuck in
the motors
LANDING METHOD
EMERGENCY LANDING
Take off method 1
Take off method 2
1. Press the power button to start the
remote control.
Main Body
Power switch
WIFI Camera
Motor
Make sure the propeller is installed correctly and fastened.
App Instruction
Reminders
App installation instructions
Operation interface
(1) introduction to the operation interface
(2) control mode
(3) interface mode
(4) function icon
MV interface
反面
正面
1. Install the mobile client
2. Connect aircraft WiFi
Please scan the QR code below and download the mobile App on the
corresponding website. (you can also search for “
Tomzon-T
” in the
app marketplace for downloads)
(
1
)
Turn on the aircraft;
(
2
)
Looking for aircraft hot spots in mobile phon
“
setting-wireless LAN
”
;
(
3
)
Click the network(no password), an the phone will be connected
automatically.
iOS
Android
(
china
)
Android
(
other
)
App installation instructions
(1) iOS
(2) Audroid
/
/
Please clear memory of the background program in time to reduce the CPU usage.
Important Notes:
To ensure a better recognition when perform the hand-gesture functions:
1. Please face to the camera rightly;
2. Please perform these functions in a good light environment;
3. The distance between your hands and the camera should be about 2m.
Some situation may result in a low camera recognition:
1. Low light or backlighting;
2. Under weak WiFi signal or the signal is interference.
Reminder 1
3. The recommended model configuration
Configuration
Recommended
Optimal
Configuration
Recommended
Optimal
Image stabilization function
(some phone models do not support this feature)
1. Requirements for mobile devices: It is recommended to use the “best configuration” mobile phone of
“recommended model configuration” in the manual;
2. It can only be strated under 720P image transmission;
3. When in the anti-shake mode, gesture recognition is turned off The hand-geature modes can not be
performed under anti-shake mode.
4. Starting the master following mode and plam following mode or entering MV recording will make the
App exit anti-shake function.
5. The anti-shake mode is not working when use the bottom camera.
Reminder 2
When flying in the following environment, the drone's fixed-pointed hovering
may not be performed successfully.
(Some models do not support this feature)
In "flight mode," double-click the
white space with your finger can
flip the lens.
Operation interface
1. Introduction to operation interface
50
Virtual Joystick Mode
Hidden Mode
Flight Mode
In this mode, the left virtual stick controls the drone up, down, turning left and turning right.
The right virtual stick controls forward, backward, left side flight and right side flight.(These
operations are under left-hand throttle mode, if the drone is under right-hand throttle mode,
then the left and right stick's function should be exchanged)
Yeah Gestures to Take a Picture:
Hold a "Yeah gesture" in front of the camera about 2m;
when the camera recognizes the gesture; countdown 3s, the camera begins to take a picture.
Gun-Box Geature to Record a Video:
Hold your hands in front of the chin and make a
Gun-Box geature in front of the camera, when the camera recognizes the gesture, it starts
recording, and the camera recognizes the gesture again to end video recording.(The break
between the 2 recognition should more than 3s)
Hand Gesture to Record a Video:
Put your single hands face the camera about 2m, when the
camera recognizes the gesture, it starts recording, and the camera recognizes the gesture
again to end video recording.(The break between the 2 recognition should more than 3s)
In this mode, the left virtual stick controls up, down, turning left and turning right of the
drone; The right virtual stick controls forward, backward, left side flight and right side flight.
(Take an example of left-hand throttle mode)
2. Control Mode
3. Interface Mode - Flight Mode
:
Illustration on the Functions of Icon
Other Functional Icon
Other Functional Icon
The MV interface
* Rotating picture
Click this button to enable the Rotate Screen feature. At
this point, the finger swipes on the screen to rotate the
image; if the finger double-clicks anywhere on the screen,
the image can be magnified in an instant (this feature also
applies when recording video).
Introduction to MV interface
Содержание D25
Страница 14: ... Illustration on the Functions of Icon Other Functional Icon ...
Страница 15: ... Other Functional Icon ...


