AgeVisor Touch User’s Guide
Page 18 of 26
www.IDscanner.com
www.IDscanner.us
www.IDVisor.com
Rev 2.3 – May 27, 2020
4 Settings Screen
4.1 Reports - Scan Data
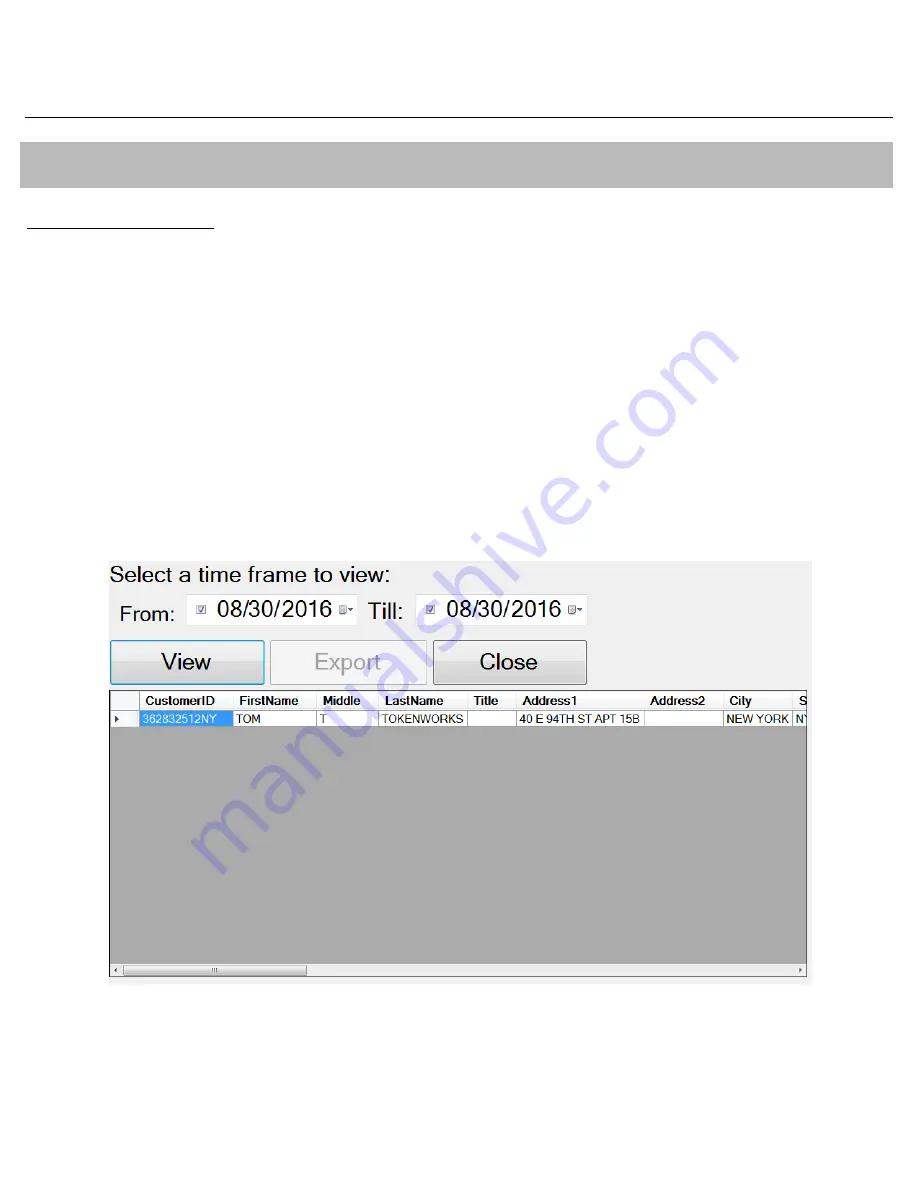
The Reports – Scan Data button will display the scanned data stored on the Device.
Before the scanned data appears, you need to select a time range to view. After the time range is selected, press “View”. If you
would like to export the data from the device, press “Export”.
This will cause an options window appear, allowing you to choose how you want the scanned data to be exported, either to a file
on the Device or to an external USB drive.
The data will be exported as a .csv file that is readable in a spreadsheet program such as Microsoft Excel. The simplest way to get
this exported data off of the device is by plugging a USB Flash drive into one of the USB ports on the side of the Device and
selecting USB Drive. This will create a file on the USB drive called “Customer Scans.csv”.
Alternatively you can save the extracted data file to the device and pull the data off at a later time. This will require you to exit the
AgeVisor Touch application and use Windows File Explorer to navigate to C:\Tokenworks\ExportedData where the data will be
stored.


