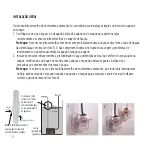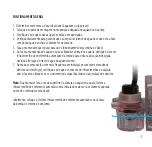
3. Attach the IR sensor(s) to the side of your aquarium or sump using the magnet mount.
Please note:
The magnets are extremely strong and the force with which they attract each other could cause
serious injury if not handled correctly. Therefore please read and take note of the following guidelines:-
Caution:
Never place your fingers or any other body part between the two halves of the magnet.
Caution:
Always slide magnets together and apart (see photo 6) - do not allow magnets to slam together
as this could damage the magnets, the aquarium glass, and/or cause the magnets to chip or shatter with
a possible risk of injury to the user.
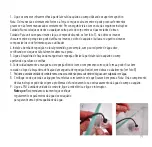
4. Install the top up pump in your desired location e.g. sump or freshwater container, ensuring that it is
fully submerged and secured.
5. Attach the flexible top up hosing securing clamp to the side of your aquarium or sump and secure
by tightening the thumb screw.
6. Carefully cut the flexible top up hosing to the correct length so that it can be successfully threaded
through the top of the flexible top up hosing securing clamp without any kinks or sagging (see photo 7).
7. Position the control unit in a dry area where it cannot fall into or be splashed by water.
8. Ensure that all connections have been made correctly and securely
Please Note:
failure to do so could result in operating
problems and water overflowing from your sump
or aquarium.
9. Connect PSU to control unit, connect to mains and
switch on.
Please Note:
We strongly recommend that you regularly
check the water parameters of your aquarium to ensure
optimum water quality.
8
7
8
5
6
Содержание Auto Top-up IR
Страница 1: ...Instruções 13 Instructions 3 Instrucciones 23 Installations 33 Istruzioni 43 Auto Top upIR ...
Страница 2: ...2 ...
Страница 5: ...5 10 6 7 1 2 4 5 8 3 11 ...
Страница 13: ...13 ...
Страница 16: ...10 6 7 1 2 4 5 8 3 11 16 ...
Страница 24: ...24 ...
Страница 27: ...10 6 7 1 2 4 5 8 3 11 27 ...
Страница 35: ...35 ...
Страница 38: ...10 6 7 1 2 4 5 8 3 11 27 38 ...
Страница 46: ...46 ...
Страница 49: ...10 6 7 1 2 4 5 8 3 11 51 ...


