


Connections and Setup
6
EN
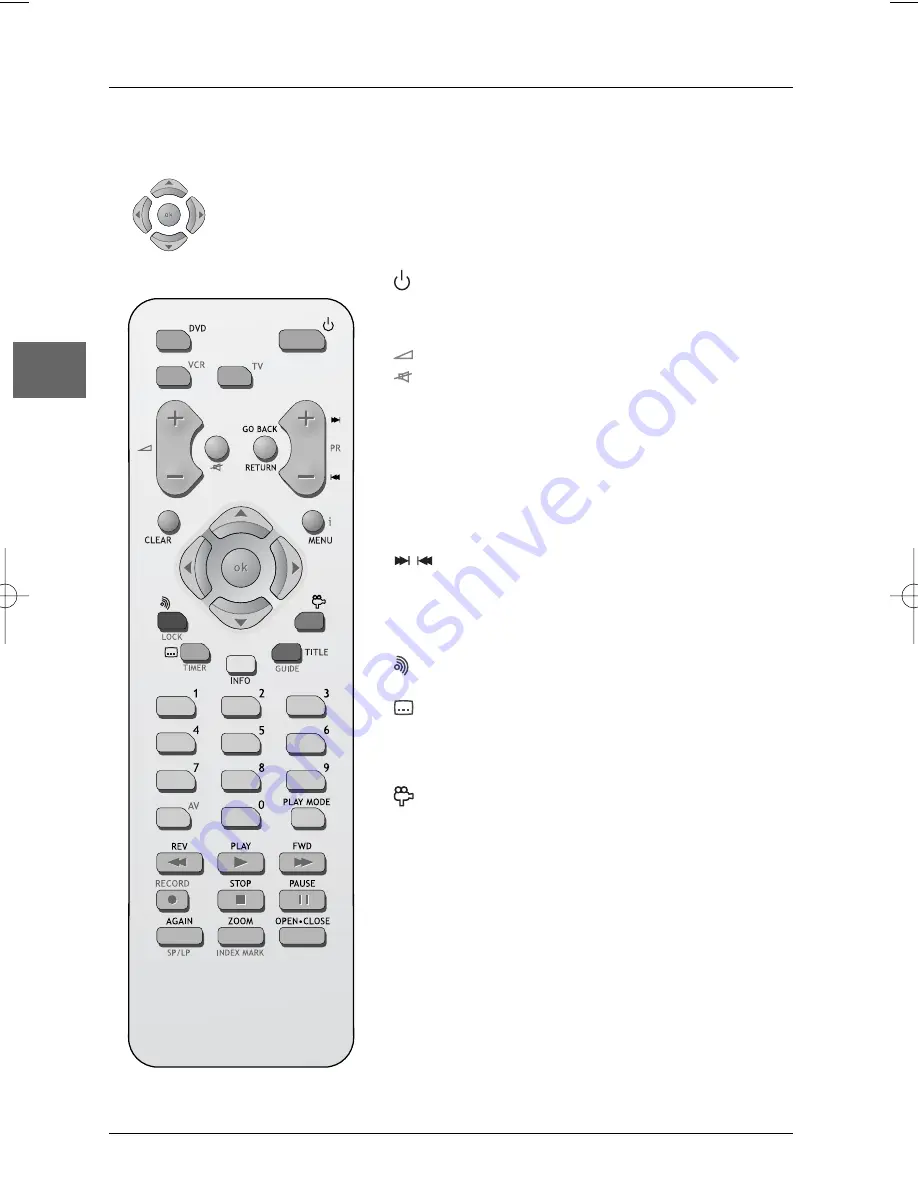
The remote control
Navigating through menus
Use the direction buttons to navigate through the menus. Press the
ok
button
on the remote control to confirm any selection you make.
General functions
Switch the appliance on and off.
DVD
Select the DVD player.
VCR
Select the video recorder.
Adjust the sound volume of the television set.
(mute)
Mute and restore the sound of the television set.
LOCK
(red)
Lock the appliance. Press again
LOCK
to unlock
the appliance.
0-9
Number entry.
PLAY
Start playing a disc or a tape.
Functions in DVD mode
GO BACK
Return to the previous menu.
Directly access the next or previous chapter
(DVD) or track (CD).
CLEAR
Hide the
Info
menu.
MENU
Access the disc menu during play (if there is one)
or resume play.
(red)
Access the audio function of the
Info
menu (see
page 22).
(green)
Access the subtitle function of the
Info
menu
(see page 21).
INFO
(yellow) Access the
Info
menu (see page 20).
TITLE
(blue) Access the disc menu.
(purple) Access the camera angle function of the
Info
menu (see page 23).
PLAY MODE
Access the play mode function of the
Info
menu
(see page 22).
REV
Start fast reverse, reverse accelerated play or
reverse slow motion (see page 19).
FWD
Start fast forward, forward accelerated play or
forward slow motion (see page 19).
STOP
Stop play, accelerated search or slow motion and
access the main menu.
PAUSE
Freeze frame, frame advance or slow motion (see
page 19).
AGAIN
Move backwards approximately 10 seconds
during disc playback (DVD) (see page 19).
ZOOM
Access the Zoom function (see page 19).
OPEN.CLOSE
Open and close the disc tray.
DTH6100_EN 10/07/03 14:53 Page 6