

CONNECTING THE SPEAKERS
The CS2.4’s input terminals are located on the lower rear of the speaker cabinet. The CS2.4 uses 5-way binding posts that
accept several types of wire connections. European CE regulations do not permit dual banana plug type loudspeaker
connections, but single banana plugs can be used. Regardless of the type of wire termination,
make sure that all
connections are tight.
The input terminals are designed to be easily tightened by hand or a
1
⁄
2
inch nut driver can be used.
It is essential for proper performance that both speakers in a stereo system be wired in the same polarity. The speaker’s input
terminals are color coded to facilitate this. The wire connected to the red ringed input terminal of each speaker should connect
to the respective positive (+) output terminals of the amplifier; the wire connected to the black ringed input terminals should
be connected to the respective negative (–) output terminals of the amplifier.
The speakers should be connected to the amplifier with high quality cable to ensure minimal loss of power and proper control
by the amplifier. If the speakers are being connected to a vacuum tube amplifier with various impedance taps, the 4 ohm tap
will usually give the best results.
STABILIZER FEET
The speakers should be positioned before the stabilizer feet are installed.
Speakers positioned on a soft or uneven surface are able to rock slightly and will vibrate in reaction to forces the speaker
generates to move the driver diaphragms. (Every action has an equal and opposite reaction.) This motion slightly reduces
the music’s clarity.
To eliminate this effect, the CS2.4s can be used with four gold stabilizer feet on uneven surfaces or on carpeted floors to
provide a more solid footing and allow the speaker to couple more firmly to the floor. To install the feet:
• Position the speaker in the desired location.
• Tilt the speaker forward slightly so that the back of the speaker is a few inches off the floor.
• Remove the plastic caps in each of the four holes in the corners of the speaker’s bottom.
• Screw one foot into each of the two holes at the back corners of the base. The pins should be screwed into the speaker
until there is about
1
⁄
4
" of thread remaining visible.
• Let the back of the speaker down and then tilt the speaker backward slightly so that the front is a few inches off the
floor and install the two front feet.
• With all four feet installed, the height of each foot should be adjusted so that the speaker stands firmly on the floor
without wobbling. Then tighten the lock nuts to secure the feet to the cabinet
Please be cautioned that the stabilizer feet can dent hardwood floors and it is possible to mar the floor’s surface if the
speakers are moved with the feet in place.
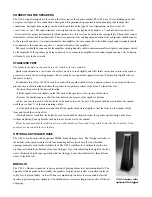
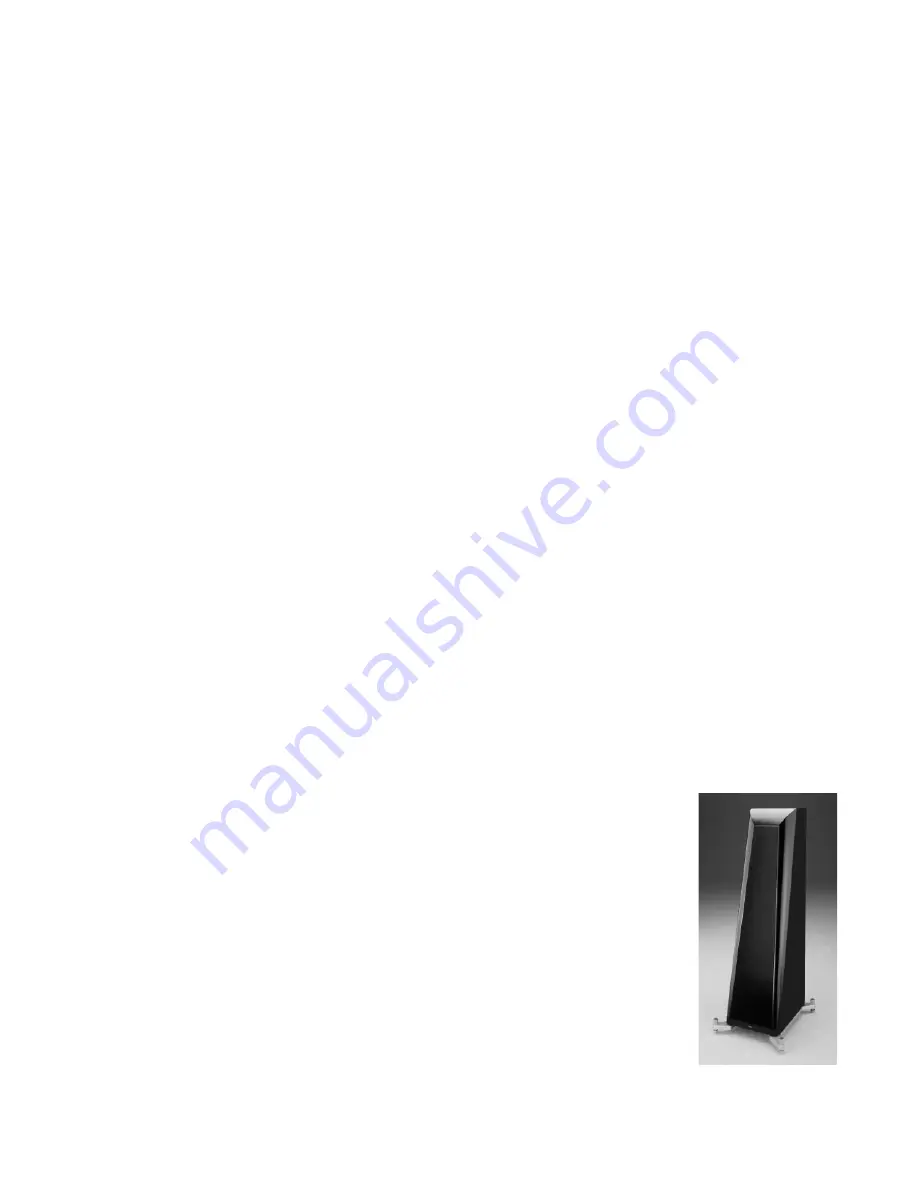
OPTIONAL OUTRIGGER BASE
The CS2.4s can be used with an optional THIEL-made Outrigger base. The Outrigger attaches to
the bottom of the speaker cabinet with four mounting bolts screwed into the four threaded
openings normally used for the stabilizer feet. The CS2.4 stabilizer feet, without the lock nuts,
are then screwed into the bottom of the four Outrigger legs. After adjusting the height of the feet,
screw the threaded gold caps (provided with the Outrigger) onto the stabilizer feet threads from
above to lock the feet.
BREAK-IN
The CS2.4’s, like most speakers, require a period of playing before they perform optimally. The
amount of time depends on how loudly the speakers are played; more time is required if played
softly, less if played loudly. At least 50 hours at moderately loud levels are required before the
speaker is performing near optimum. You should notice even more improvement after 100 hours
of playing.
CS2.4 shown with
optional
Outrigger