www.ti.com
TVP5158EVM Evaluation Procedures
7.2.2.2
Setup DaVinci HD Video / Audio Drivers
Once the DaVinci HD EVM boot has completed, the login: prompt appears at the terminal. Copy and paste
the Linux commands below to set up the video capture and and audio driver software. In place of
<program_directory>, insert the directory path where the driver files are stored.
root
cd <program_directory>
insmod cmemk.ko phys_start=0x87800000 phys_end=0x8ba00000 pools=1x1000
./mapdmaq-hd
insmod drv.ko
mknod /dev/dev_i2c c 251 0
mknod /dev/dev_dma c 250 0
7.2.2.3
Start VCC Application (Optional – Provides GUI Interface for TVP5158)
1. Double-click the TVP5158EVM Software icon on the Windows desktop to start the VCC application.
2. The VCC Configuration dialog box appears (see
Figure 8
). Set THS8200 device family to NOT USED.
Click OK to continue.
3. The Cascaded Devices dialog box appears (see
Figure 9
). Click OK to continue. If a message appears
indicating that the USB device was not found (see
Figure 10
), disconnect the USB cable, wait three
seconds, and reconnect the USB cable.
NOTE:
If a second TVP5158EVM is used for cascade operation select "2 Devices Cascaded" and
I2C slave addresses 0xB0 and 0xB2.
4. The VCC main window appears (see
Figure 12
).
5. Click the Tools > System Initialization menu item. The System Initialization dialog box appears (see
Figure 13
).
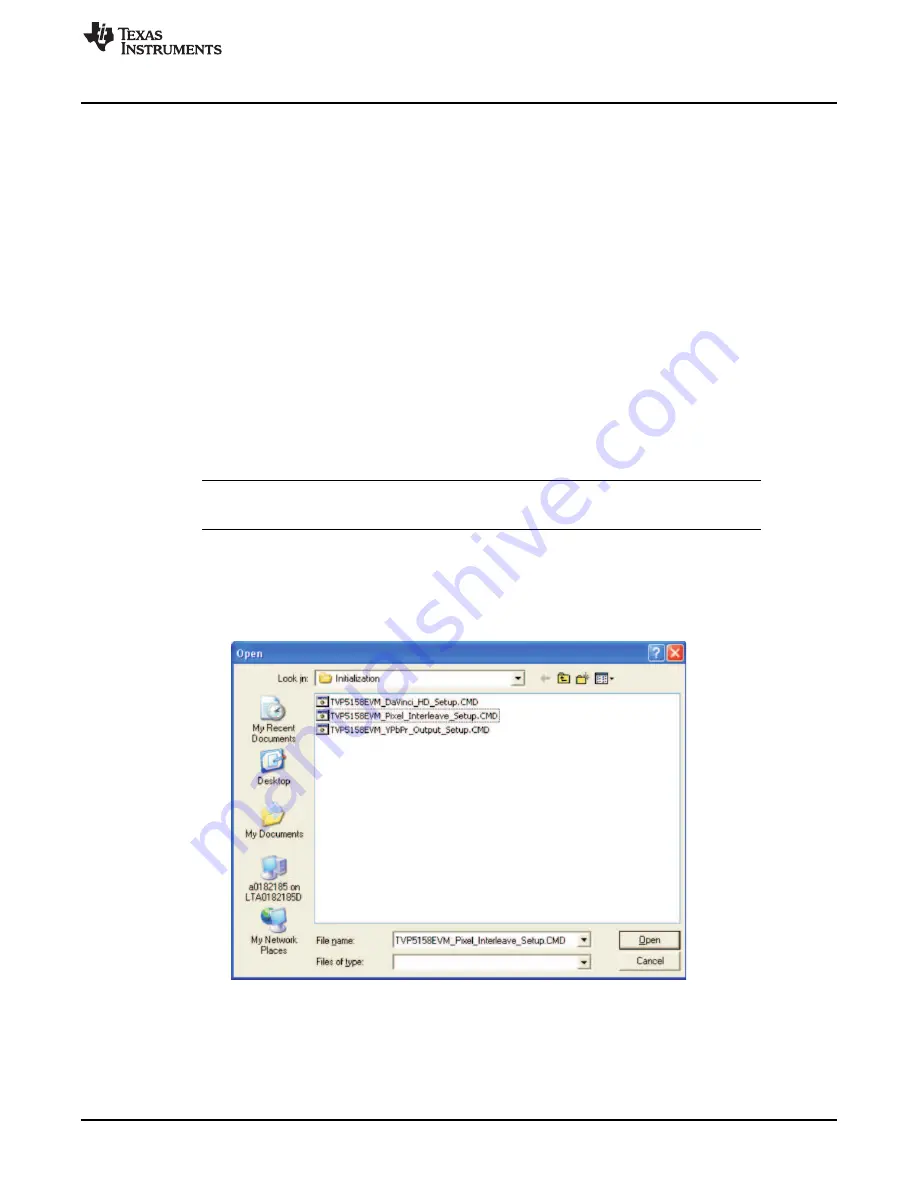
6. Click the Browse… button. The Open dialog box appears (see
Figure 14
). Double-click the file
TVP5158EVM_DaVinci_HD_Setup.CMD
Figure 14. Browse to Command File
The dataset descriptions table should now appear (see
Figure 15
).
21
SLEU108 – November 2009
TVP5158 Evaluation Module
Submit Documentation Feedback
Copyright © 2009, Texas Instruments Incorporated


