DAC and ADC GUI Configuration File Changes When Using a Xilinx Development Platform
31
SLAU580B – June 2014 – Revised September 2016
Copyright © 2014–2016, Texas Instruments Incorporated
TSW14J10 FMC-USB Interposer Card
6. Click on “Finish”.
7. Click on “Program device”. Select the device that appears.
8. Navigate to C:\
9. Select “TSW14J10_ZC706_2vp8.bit.
10. Click on “Program device”.
11. A new window will open showing the status of the programming. Once this reached 100%, the FPGA
is programmed and ready to be used with the TSW14J10 to run the HSDC Pro GUI.
Open the HSDC Pro GUI, select the
ADC
tab, then select “ADC12J4000_BYPASS” using the device drop-
down arrow. After the firmware is loaded, make sure the
Analysis Window (samples)
is no greater than
65,536 (due to the limit of the internal FPGA memory used for this capture). Next, enter "2G" in the
ADC
Output Data Rate
window.
Click the
Capture
button.
The GUI will display the new lane rate (8G) and JESD reference clock required by the capture platform
FPGA (400 MHz).
Click the
OK
button.
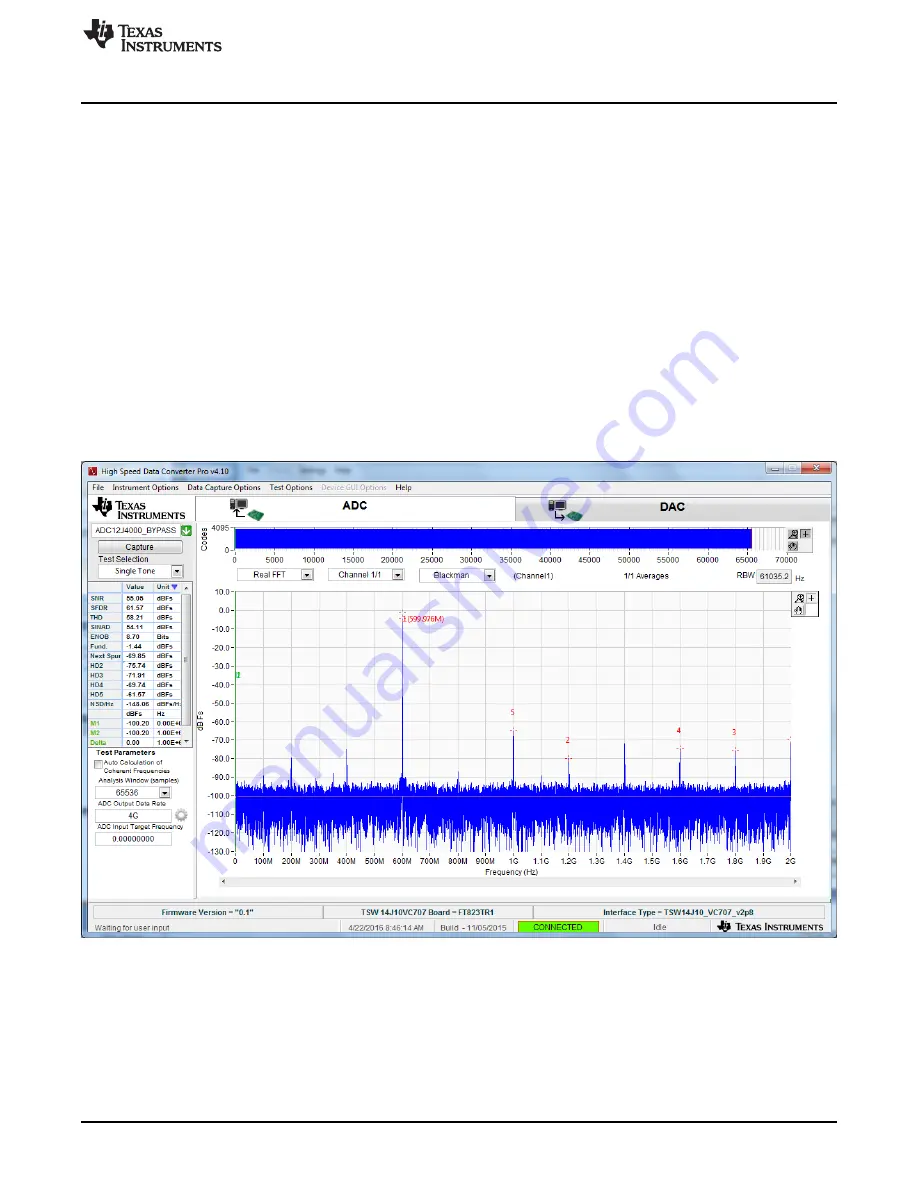
The captured results will appear as shown in
.
Figure 25. Captured Results for the ADC12J4000 in Bypass Mode


