PDK Kit Operation
7.4
Loading Test Plug-in
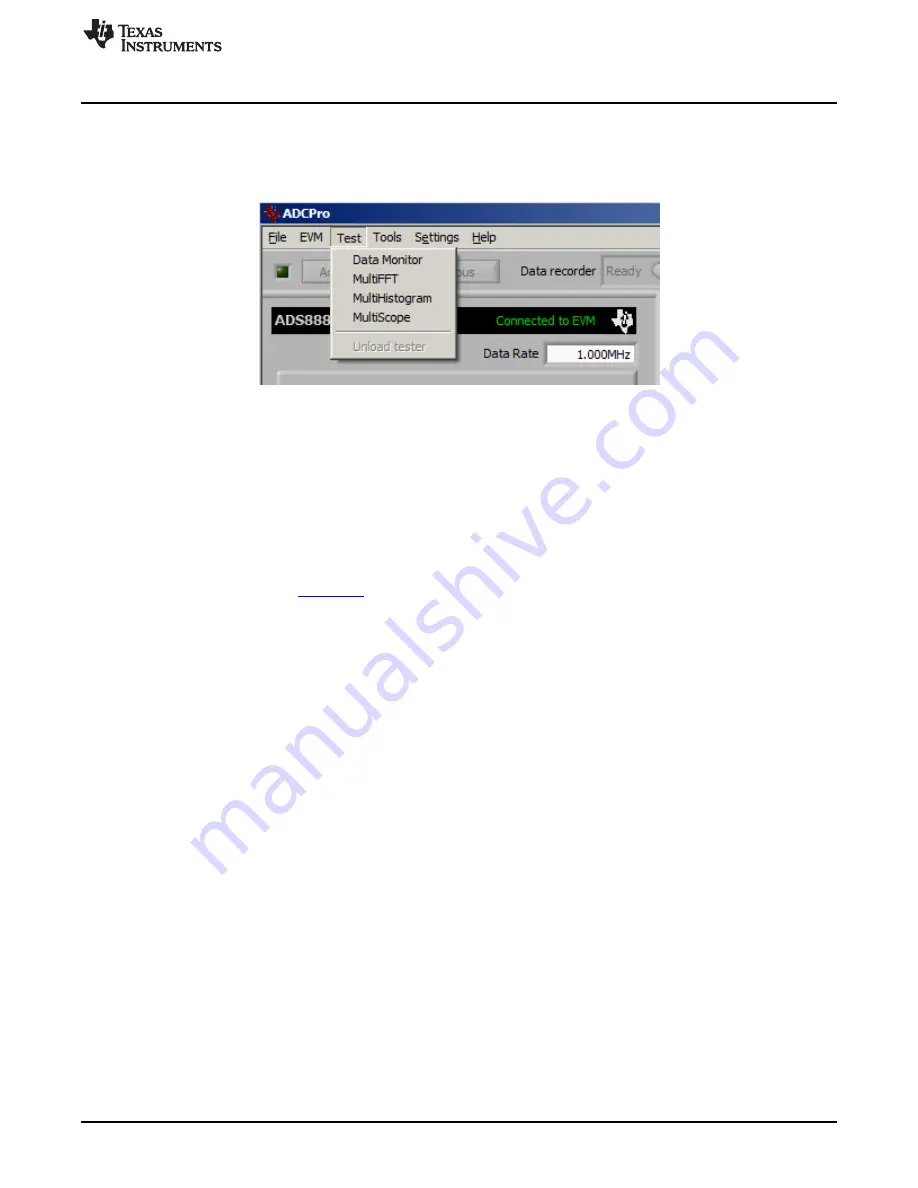
Once the ADS8881EVM plug-in is configured, one of the four test plug-ins must be loaded to acquire data.
Using the drop-down Test menu, as shown in
. Note that only one Test plug-in can be loaded at
a time. If a different plug-in is selected, the previous plug-in is unloaded.
Figure 11. ADCPro Test Plug-ins
There are four different test options available for the ADS8881EVM:
•
Data monitor: This test acquires data and exports it in table format as hexadecimal data.
•
MultiFFT: This test allows the user to acquire data and create an FFT graph of power vs. frequency to
display data.
•
MultiHistogram: This option acquires data and creates a histogram of code values.
•
MultiScope: This feature acquires data and displays it in a graph of voltage vs. time.
For further details regarding how to set up and use the various test plug-ins, refer to the ADCPro User's
Guide (literature number:
7.5
Acquiring Data
Once the ADS8881EVM is configured for the desired test scenario, press the Acquire button to start the
data collection process; the software collects the number of data points specified in the Test plug-in Block
Size control. While acquiring data, the ADS8881EVM plug-in disables all front panel controls, and the
collection process bar displays the completion progress.
7.6
Troubleshooting
If the ADS8881EVM plug-in cannot find the ADS8881EVM-PDK, press the RESET button on the MMB0
and try again.
If ADCPro stops responding while the ADS8881EVM-PDK is connected, shut down and restart the
ADCPro software. Also, try unplugging the USB cable from the PDK.
13
SBAU211 – June 2013
ADS8881EVM-PDK
Copyright © 2013, Texas Instruments Incorporated


