32
"
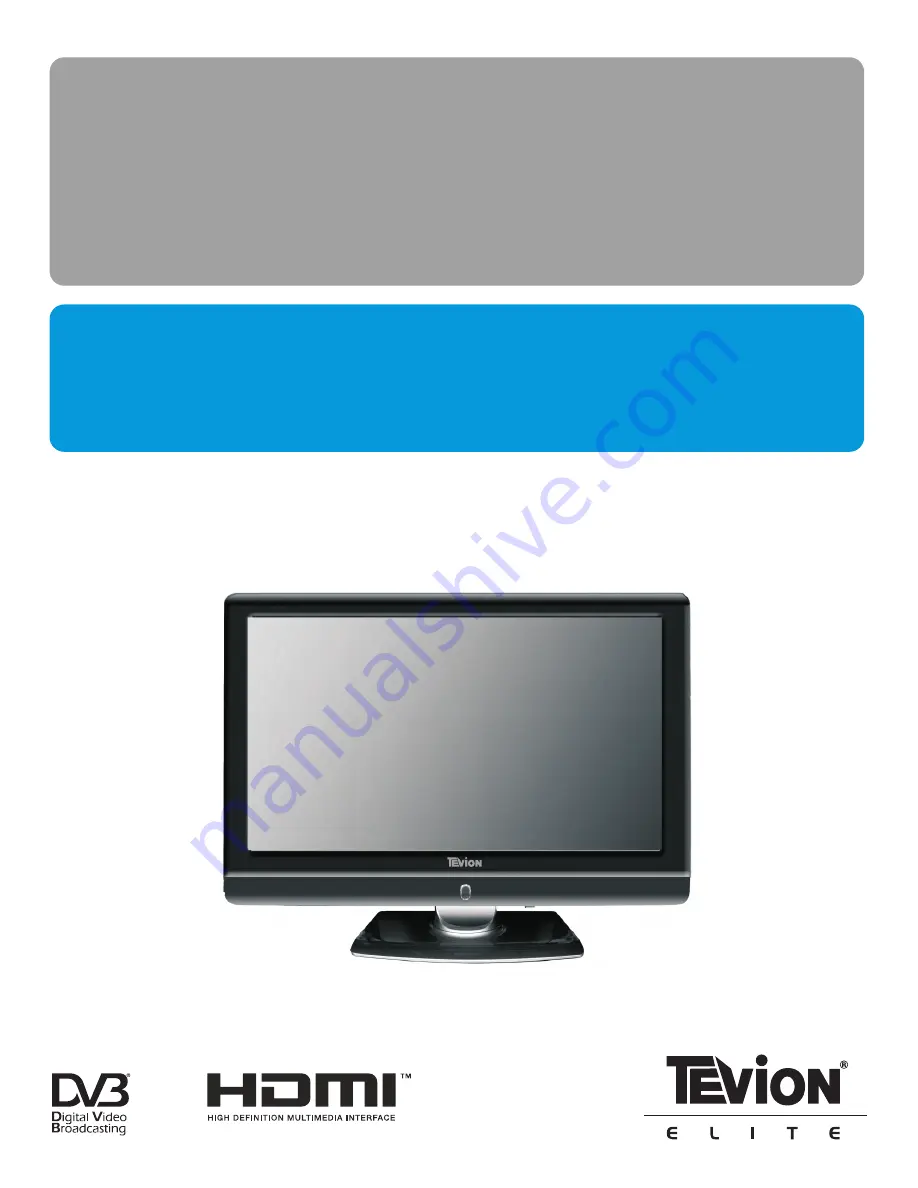
LCD
HD
Television
instruction
manual
After
Sales
Support
TEL
:
1300 366 144
WEB
[email protected]
With integrated digital tuner
Model Number ALCD3270
Страница 1: ...32 LCD HD Television instruction manual After Sales Support TEL 1300 366 144 WEB warrantyhelp awa com au With integrated digital tuner Model Number ALCD3270...
Страница 2: ...This page has been left blank intentionally 1...
Страница 3: ...9 Appendix 20 Cleaning and care 20 Troubleshooting 20 Specifications 21 Features Digital TV and Analog TV Display This TV can receive both digital and analog signals Multimedia functions With a D sub1...
Страница 4: ...s such as lighted candles are never to be placed on or around the TV A minimum distance around the TV for sufficient ventilation 150mm recommended minimum WARNING Do not remove the back cover of the T...
Страница 5: ...dealer for wall mounting Selecting a location for the TV Preparation for using your new TV Learning about your TV Front Controls 4 NO Component Component Description 1 POWER Switch Press to turn the...
Страница 6: ...jacks The row of jacks under 5 A V input 1 output 1 the unit are inputs Video Audio In The row of jacks on the side of TV are output jacks Video Audio Out 6 S Video 1 Connect an S Video device to thi...
Страница 7: ...inputs and cables must correspond on both devices USB HDMI PC DVI AUDIO IN VGA AV IN Commponent IN Whenever you connect an audio system to your set ensure that all elements are switched off When conne...
Страница 8: ...bles to Component inputs PR CR PB CB Y on the rear of your set and the other ends to corresponding component video out connectors on the PVR or DVD The Y PB CB and PR CR connectors on your component d...
Страница 9: ...g AUDIO Connect RCA audio cables to R AUDIO L on the rear of your set and the other ends to corresponding audio in connectors on the Amplifier or DVD Home Theater Connecting USB Connector Devices For...
Страница 10: ...teries to the signs on the battery compartment 3 Close the battery cover Note 1 Dispose of your batteries in a designated disposal area Do not throw the batteries into fire 2 Do not mix battery types...
Страница 11: ...n Enter button Display channel list Zoom image button Mute the sound Remote sensing Window Power Indicator Available source selection To return to the last viewed program Fast access to your saved fav...
Страница 12: ...button on the remote Press the SOURCE button and press the CH CH button to select the signal input press OK to confirm selection SOURCE button on the front right side of panel Press the SOURCE button...
Страница 13: ...ress the Red Green buttons to page up down press button to select your favorite channel and press OK button to confirm press EXIT to exit Press the PICTURE button to select between 4 different pre adj...
Страница 14: ...When you are satisfied with the results press MENU to adjust other menu options or press EXIT to exit all menus the MENU will also exit automatically if it is left idle for a few seconds The menu syst...
Страница 15: ...from the initial channel No along this initial direction 6 If you would like to edit your installed analogue channel name press CH CH to select Channel Name and then select a number 0_9 or press repe...
Страница 16: ...programs use the Blue button to set Rename programs Analogue ONLY If you would like to edit an analogue channel name press the blue button Either select a number 0_9 or press repeatedly to select a le...
Страница 17: ...aneously Higher the setting the more vivid the blacks and whites appear Adjust colour saturation saturation is the amount of gray in a particular colour colour with more gray is considered less satura...
Страница 18: ...times are 1 minute 30 seconds and 10 seconds Adjust to your preference Fig 2 You can also adjust the OSD transparency options Low Medium and High Time Settings Menu System Time There are four items in...
Страница 19: ...ion is being activated Most of function operations are locked except inputting password Note Not all channels display ratings Parental Guidance is a good tool to protect your children from watching un...
Страница 20: ...ting PC software setting Set the PC Software properly Supported VGA Mode VGA SVGA XGA SXGA Please note Your PC Notebook may not be able to display some of these resolutions Take Windows XP as an examp...
Страница 21: ...ot operate Disorder display at power on Make sure the power cord is plugged in then press Power The remote control batteries may be dead Replace the batteries Check if you have set the off timer Check...
Страница 22: ...output x1 AUDIO output AUDIOx1 Connection interface Specifications Television system LCD panel Model 32 0 inches TFT LCD Power source Audio output AC220V 240V 50 60Hz AC220V 240V 50 60Hz 150W 6W 6W N...