9
2. Record/Capture to USB HDD or Pen Drive
(1)
After all devices are connected properly, the power will switch on automatically.
(2)
Press the REC/STOP button on the capture box or press the REC button on the remote
control to start recording.
(3) Press the REC/STOP button again on the capture box or press the STOP button on the
remote control to stop recording. The recorded files will be saved to USB storage or HDD.
NOTE:
D200
supports FAT32 & NTFS formats only. In FAT32, it will record a new file when
the previous recording file reaches the maximum 2GB capacity, the maximun is 32GB for
FAT; in NTFS there is no 2GB per file limitation D200 will record as long as needed.
When HDD or USB storage is full, D200 stops recording and LED will go off.
D200 saves files in MPEG4 format. The resolution can be set at either 720p or 1080p for
capture. Please note that not all games/video files are produced at 1080p.
D200 will record approximately 1GB per 10mins at either 720p or l080p.
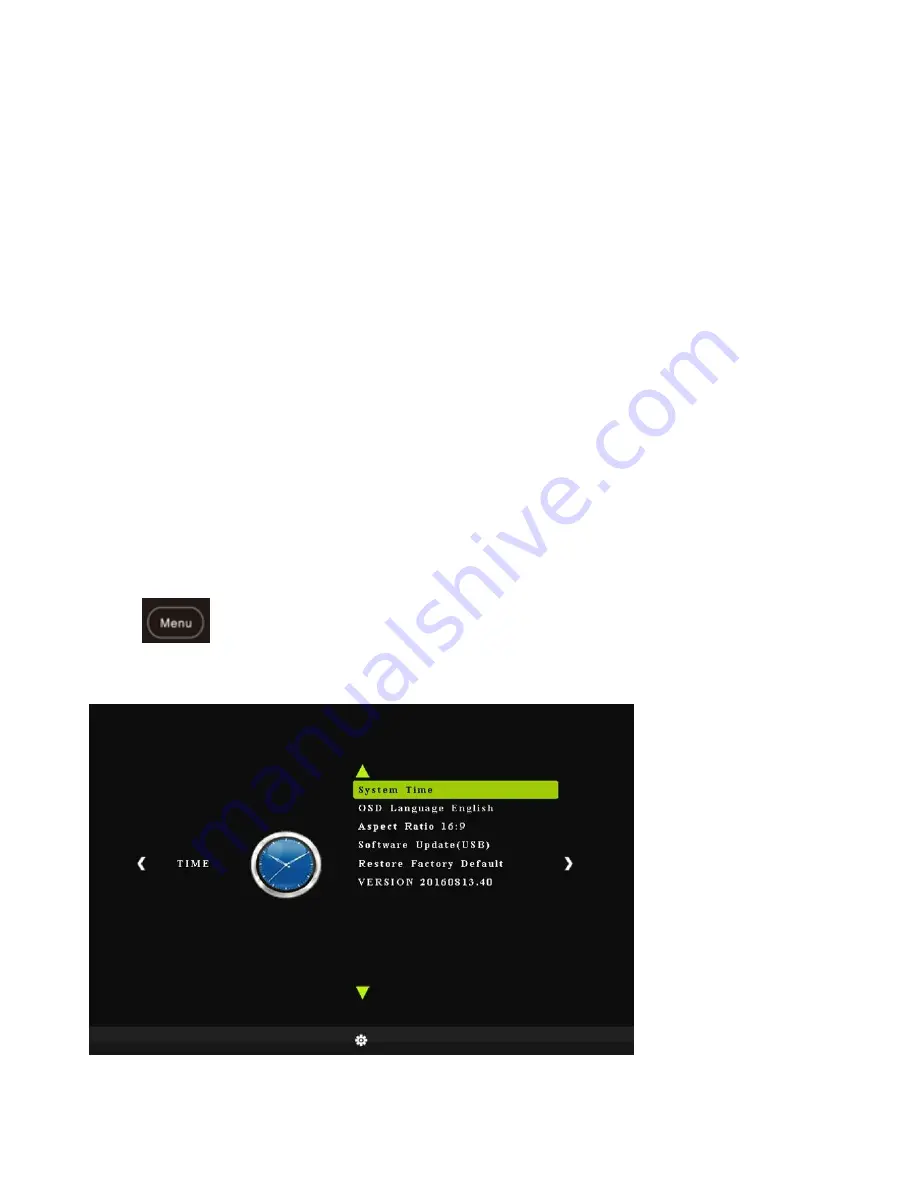
3. Setup by OSD (On Screen Display)
Press
on the remote control to browse the menu settings
System Time: Set the time of D200 by year, month, day, hour and minute.
Schedule Recording: Allow you to preset up to 4 different recording schedules
Содержание D200 iCapture
Страница 1: ...D200 iCapture User Manual...
Страница 4: ...3 What s included...
Страница 6: ...5...
Страница 9: ...8...
Страница 18: ...17 3 Input google ID Password 4 Edit the name description of video which you paln to stream Upload...
Страница 19: ...18 5 Uploading completed OK 6 Open YouTube My channel You can find the video file you just uploaded...
Страница 21: ...20...
Страница 22: ...21 1 After set up completed Click Outputs Twitch tevii123 to start streaming...
Страница 25: ...24 4 Audio Output Mode Output desktop audio DirectSound OK 5 Press Start Streaming...


