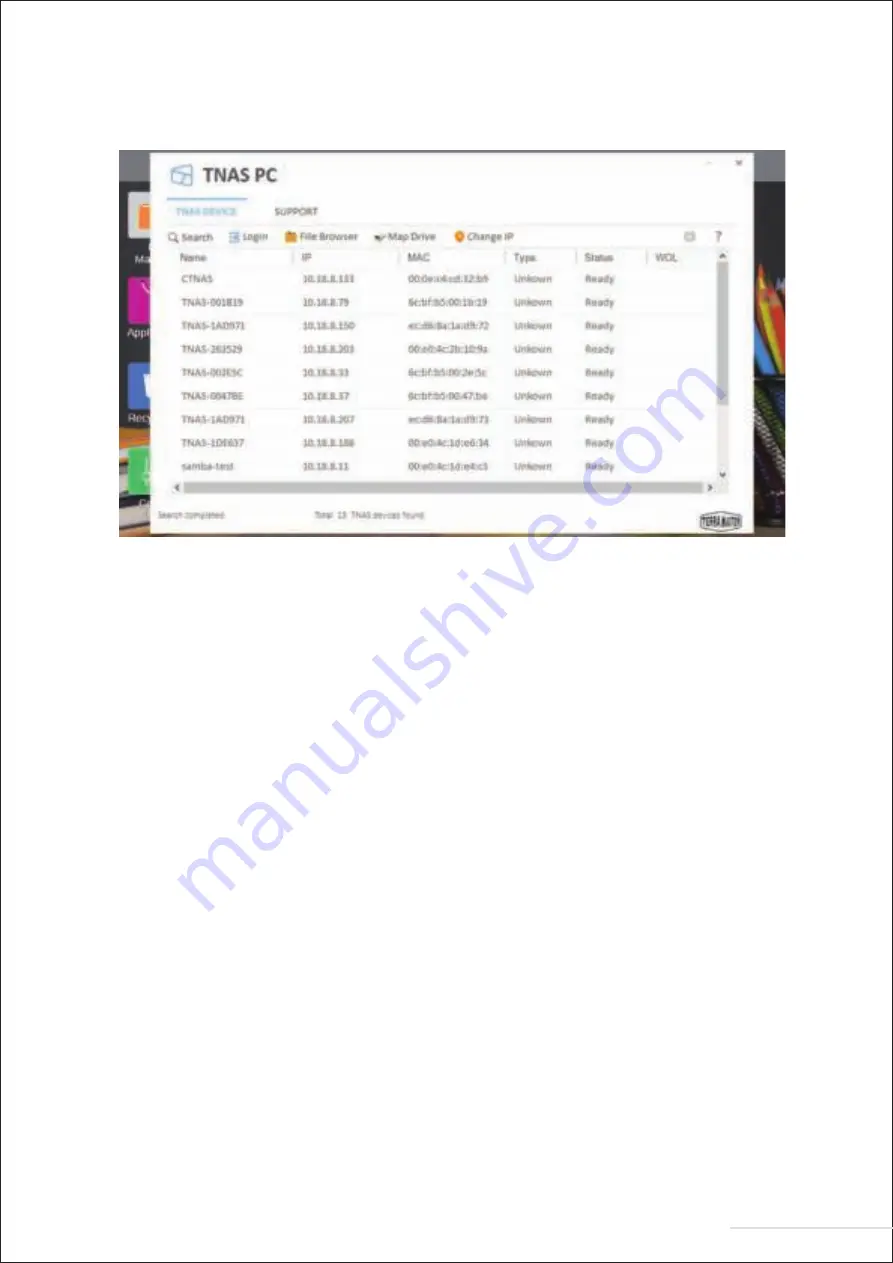
TerraMaster F2-210 Скачать руководство пользователя страница 7

Search: 

You can access your TNAS device only after it has been found on the network. To search for your TNAS 
device, click the 

“Search”

 button (Note: You can only search when TNAS and your computer are on the 

same sub-network).

Login:

To log in to TNAS's advanced settings menu (TOS), select your TNAS and click 

“Login”

 (Note: Only users 

with administrator privileges can use TOS’s advanced features).

File Browser: 

If you need to browse files in TNAS or write data to the device, select your TNAS in the menu and click 

“File 

Browser”

 (Note: At this point, you need to have a username and password).

Map Drive:

By mapping your drive, you can simplify file management by creating a shortcut to frequently used folders. 
To create a mapped drive, select your TNAS and click 

“Map Drive”

 (Note: The Mac OS version of TNAS PC 

does not have this feature).

Change IP:

You can use the 

“Change IP”

 option to manually change your TNAS IP address. You may need to do this if 

your TNAS IP address conflicts with the network IP address segment. Otherwise, TNAS will be inaccessible.

TerraMaster's Operating System (TOS) was specially developed for TNAS. 

The following are the core features of TNAS PC  

3.2  TOS

6

Model:F2-210

Содержание F2-210

Страница 1: ...TerraMaster NAS Model F2 210 Fundamentals and Preliminaries Copyright 2019 TerraMaster All Rights Reserved Data Storage Master...

Страница 2: ...Contents 2 Hardware Installation 3 Software Installation 4 Initialisation 1 2 5 7 1 Overview 2 5 Getting Started 11 Model F2 210...

Страница 3: ...lease contact the reseller immediately Once you receive your new TerraMaster TNAS product please install and set up your TNAS according to the Quick Installation Guide Please note that given our commi...

Страница 4: ...k interface DC 12V power input NOTE Do not use a third party power adaptor Use to connect USB storage device 1000M 100M bps network interface SN SN Item Item Hard drive tray Network indicator Power sw...

Страница 5: ...lled with hard drives of the following type rstly 2 5 3 5 inch SATA hard drive or secondly 2 5 SATA SSDs TNAS is a durable storage device which means that in order to operate for long periods of time...

Страница 6: ...functions properly please install some necessary software TNAS PC is a desktop application designed for TNAS devices It helps you to quickly search log in or set up your TNAS The application is avail...

Страница 7: ...the menu and click File Browser Note At this point you need to have a username and password Map Drive By mapping your drive you can simplify le management by creating a shortcut to frequently used fol...

Страница 8: ...r TNAS administrator Scan the QR code to download the TNAS mobile app Newly purchased TNAS devices must be initialised prior to use In the process of initialisation TOS will be installed onto your TNA...

Страница 9: ...AS is not initialised you will be redirected to the initialisation page Please Click Start to initiate the initialisation process 8 Model F2 210 Step 3 Hard Drive Detection If the installed hard drive...

Страница 10: ...tep 4 Hard Drive Check Up Your TNAS will assess the health status of the hard drive If the health status is good please click Next If the test results indicate a risk we recommend that you replace the...

Страница 11: ...the security mailbox in order to obtain your code and then complete the administrator settings Step 8 Create RAID Please select the RAID type and then select the hard drive you intend to use to create...

Страница 12: ...ou will be able to access the le browsing page There you can copy delete and edit your les This feature is used on Windows OS and Mac OS in the same way For added e ciency you can also map your drive...

Страница 13: ...n obtain your TNAS IP address from the TNAS PC desktop application You can log in to TOS in two ways END 12 Model F2 210 TOS has many advanced features and it is also equipped with its own app store T...

Отзывы: