84
•
Execute the demo batch file “ C5G_HSMC_XCVR_LOOPBACK_TEST
.bat
” for USB-Blaster
II under the batch file folder,
C5G_HSMC_XCVR_LOOPBACK_TEST \demo_batch.
•
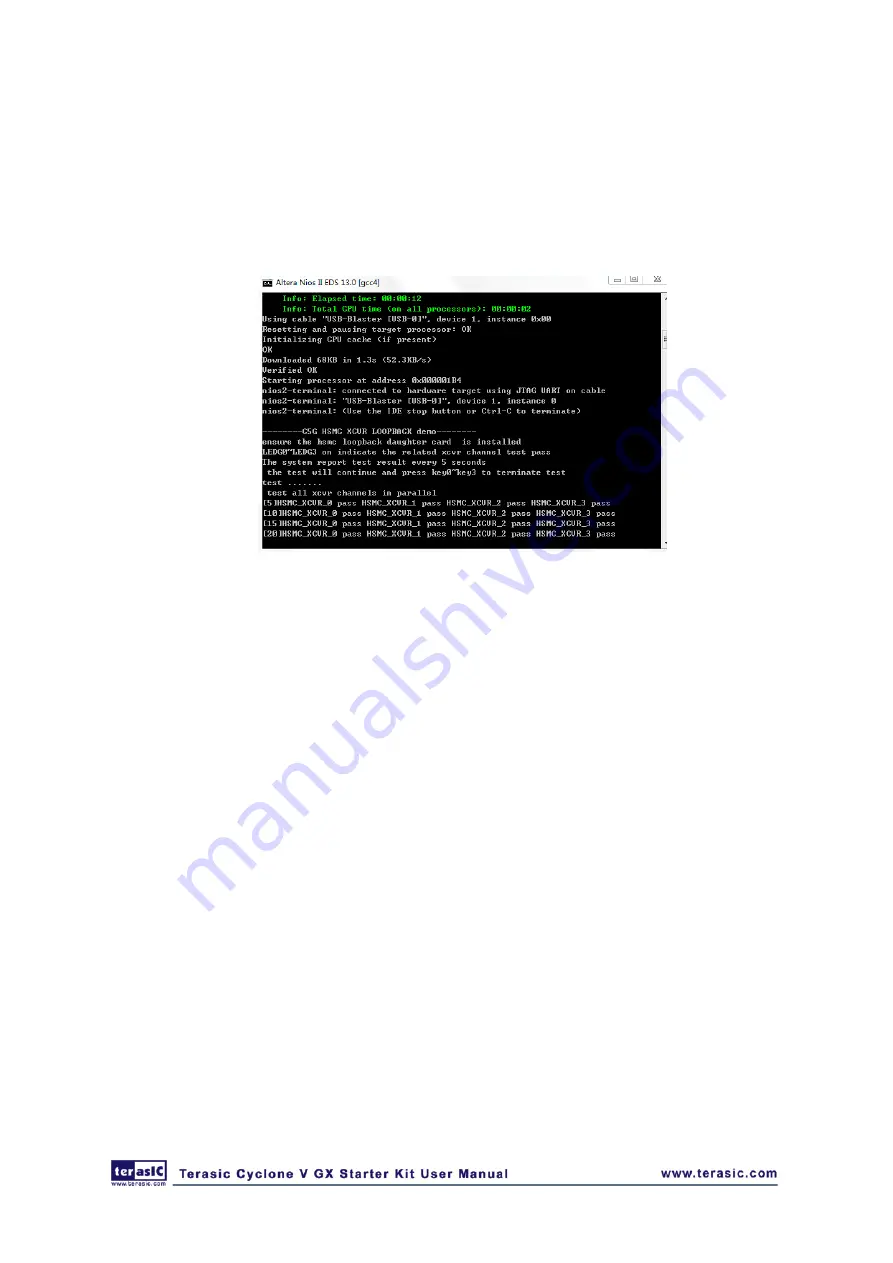
After Nios II program is downloaded and executed successfully, a prompt message will be
displayed in nios2-terminal and the program will test XCVR HSMC loopback function.
•
LEDG [3:0] light on if XCVR HSMC loopback test pass and the nios2-terminal displays the
test result every 5 seconds as shown in
Figure 6-13 Running result of XCVR HSMC loopback test
•
Press key0~key4 to terminate testing.
6
6
.
.
5
5
A
A
u
u
d
d
i
i
o
o
R
R
e
e
c
c
o
o
r
r
d
d
i
i
n
n
g
g
a
a
n
n
d
d
P
P
l
l
a
a
y
y
i
i
n
n
g
g
This demonstration shows how to implement an audio recorder and player using the C5G board
with the built-in Audio CODEC chip. This demonstration is developed based on Qsys and Eclipse.
shows the man-machine interface of this demonstration. Two push-buttons and five
slide switches are used to configure this audio system: SW0 is used to specify recording source to
be Line-in or MIC-In. SW1 is used to enable/disable MIC Boost when the recording source is
MIC-In. SW2, SW3, and SW4 are used to specify recording sample rate as 96K, 48K, 44.1K, 32K,
or 8K. The 7-SEG is used to display Recording/Playing duration with time unit in 1/100 second.
The LED is used to indicate the audio signal strength.
and
summarize the
usage of Slide switches for configuring the audio recorder and player.
Содержание Altera Cyclone V GX Starter Kit
Страница 1: ...1...
Страница 6: ...5 Figure 1 2 Development Board top view Figure 1 3 Development Board bottom view...
Страница 23: ...22 Figure 2 12 The block diagram of the C5G control panel...


