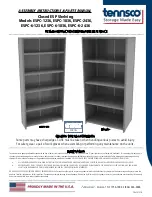
ASSEMBLY OF CLOSED ESP SHELVING
Two people are recommended for assembly. Approximate assembly time: 10-15 minutes.
2.
The unit back is shipped in two pieces. Place the two halves
of the unit back (Ref. No. 1) flat on the ground and bolt
together with
1
/
4” -
20 nuts (Ref. No. 4) and
1
/
4” -
20
x 5
/
8”
bolts (Ref. No. 5), spaced 16 or 17 inches apart. The top three
holes should be left empty to leave room for the unit top.
1.
The reference numbers used throughout this sheet refer
to the illustration on the back cover. This is to help you
to identify the various parts as they are mentioned.
3.
Keep the back on a flat on the ground and attach one end
panel (Ref. No. 3) to it by using
1
/
4” -
20 nuts and
1
/
4” -
20
x
5
/
8” bolts and nuts spaced 16 to 17 inches apart as described in
step 2. Once again, leave the top three holes empty to allow for
the top shelf.
5.
Insert four shelf clips (Ref. No. 6) into the top two slots of
each side of both end panels.
4.
Attach the second end panel in the same manner as in
step 3 on the opposite side of the back panels.
NOTE: When bolting the unit together, leave the bolts
slightly loose until the end of step 9, as binding may
occur during shelf placement.


