Page 3 of 3
KIT NO. 9017891
9017892 Rev. 00 (04- 2018)
Tennant Company
www.tennantco.com
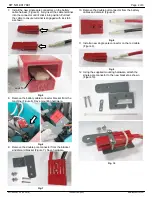
13. Using existing hardware, mount the new cable bracket
to machine at the same location (Figure 11).
Fig. 11
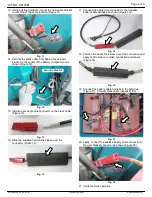
14. Reroute the black cable from behind the actuator
bracket to the center of the battery compartment as
shown (Figure 12).
Actuator Bracket
Fig. 12
15. Install a new single pole connector on the black cable
(Figure 13).
Fig. 13
16. Slide the supplied heat shrink sleeve over the
connector (Figure 14).
Fig. 14
17. Connect the single pole connector to the negative
battery cable harness as shown (Figure 15).
Fig. 15
18. Position the heat shrink sleeve over the connection and
apply heat to sleeve to make connection permanent
(Figure 16).
Fig. 16
19. Connect the battery cable harness to the batteries
(Figure 17). Connect black cable (negative) first.
Fig. 17
20. Lastly, connect the positive battery cable connector to
the new bracket connector as shown (Figure 18).
Fig. 18
21. Verify machine operation.


