


User Guide
22
Note
-------------------------------------------------------------------------------------------------------------------------------
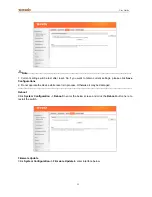
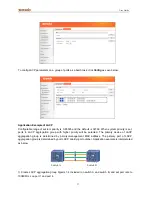
1. Current settings will be lost after reset. So if you want to retain current settings, please click
Save
Configurations
.
2. Do not operate the device while reset is in process. Otherwise it may be damaged.
-------------------------------------------------------------------------------------------------------------------------------------------
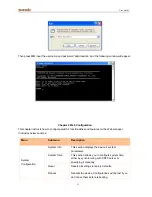
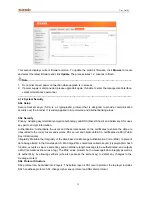
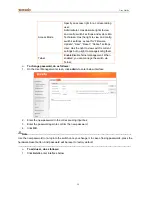
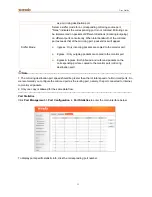
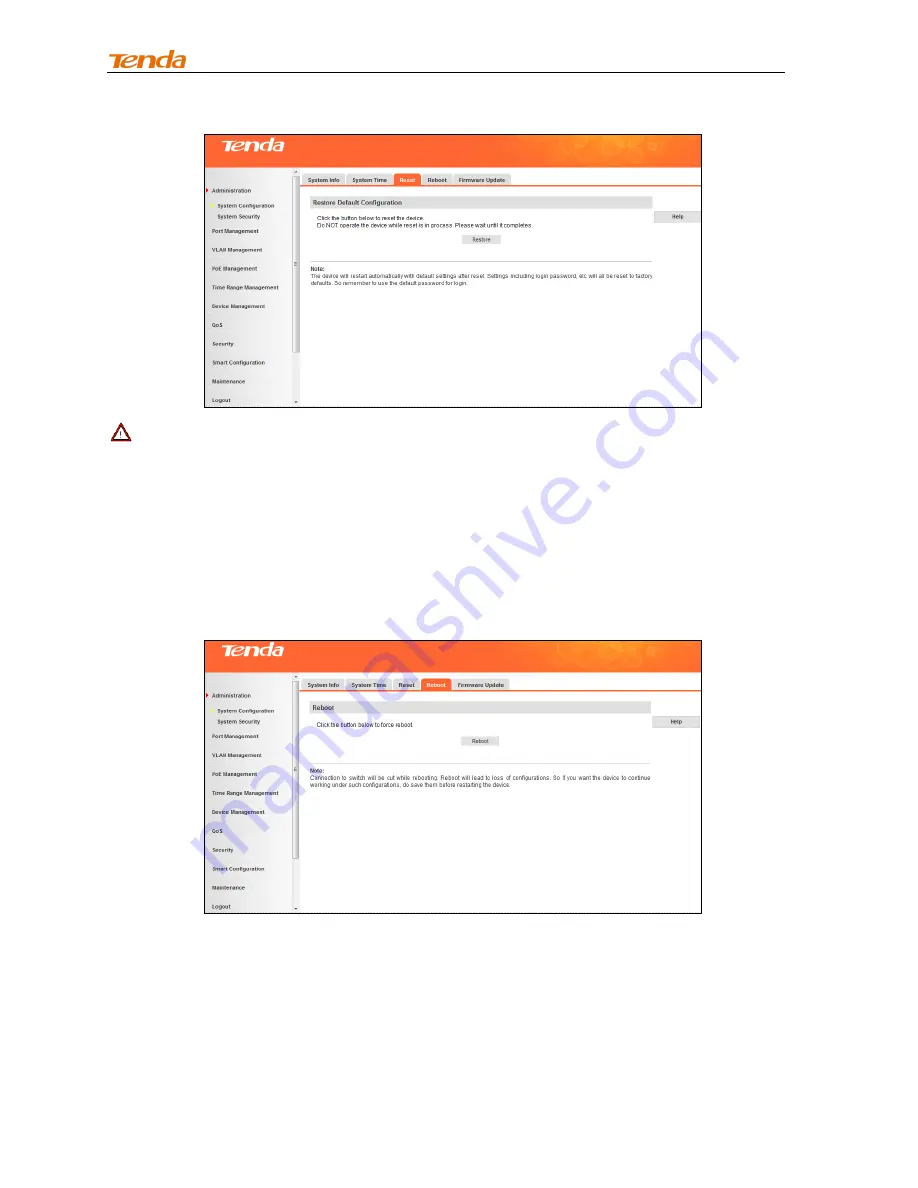
Reboot
Click
System Configuration -> Reboot
to enter the below screen and click the
Reboot
button here to
restart the switch.
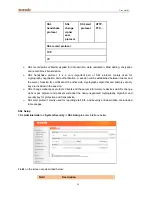
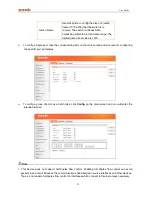
Firmware Update
Click
System Configuration -> Firmware Update
to enter interface below.
Содержание TEG3224P
Страница 1: ......
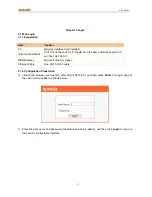
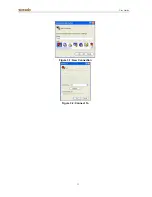
Страница 19: ...User Guide 13 Figure 3 1 New Connection Figure 3 2 Connect To...