64
| section 5
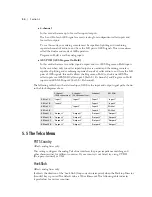
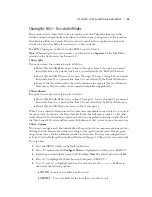
SHOW 2
♦
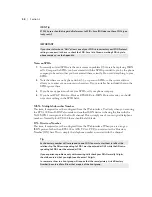
– Line is available for the show that uses hybrid 2 only
SHOW 1&2
♦
– Line is available for both shows (shared line)
Press the SELECT button to accept your changes.
6.
Note
: You must reboot the system after configuring this setting. If you wish to configure lines as
‘Priority’ or ‘Normal’ (see below) you may do so before rebooting.
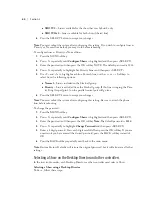
To configure lines as Priority or Normal lines:
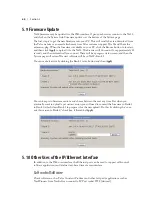
Press the MENU softkey.
1.
Press <
2.
∇
> repeatedly until
Configure Shows
is highlighted and then press <SELECT>.
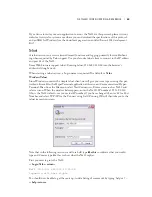
Enter the password and then press the OK softkey. NOTE: The default password is 1234.
3.
Press <
4.
∇
> repeatedly to highlight Set Priority Lines and then press <SELECT>.
Use <
5.
∇
> and <
∆
> to highlight each line. For each line, use the <+> or <-> Softkeys to
select from the following options:
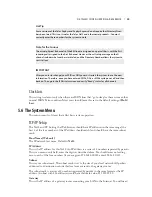
Normal
♦
– Line is included in the block-all group
Priority
♦
– Line is excluded from the block-all group. If this line is ringing, the Prior-
ity Ring Output (pin 2) on the parallel control port will go true.
Press the SELECT button to accept your changes.
6.
Note
: You must reboot the system after configuring this setting. Be sure to attach the phone
lines before rebooting.
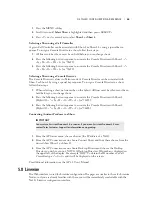
To change the password:
Press the MENU softkey
1.
Press <
2.
∇
> repeatedly until
Configure Shows
is highlighted and then press <SELECT>.
Enter the password and then press the OK softkey.
3.
Note
: The default password is
1234
.
Press <
4.
∇
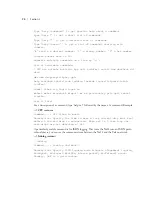
> repeatedly to highlight
Change Password
and then press <SELECT>.
Enter a 4 digit password. Press each digit carefully. Then press the OK softkey. If you are
5.
uncertain if you have entered the desired password, press the BACK softkey instead of
OK.
Press the BACK softkey repeatedly until back to the main menu.
6.
Note
: Restore Factory Defaults will restore the original password, but it will also erase all other
settings.
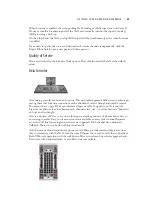
Selecting a Show on the Desktop Director and other controllers
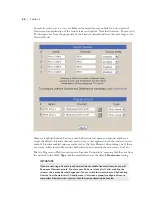
In the two-studio modes, each Desktop Director or other controller must select a Show.
Selecting a Show using a Desktop Director
To do so, follow these steps:
Содержание Nx12
Страница 4: ......
Страница 42: ...32...
Страница 100: ...90 Section 6...
Страница 105: ...Specifications 95...
Страница 106: ...96...
Страница 108: ...98...
Страница 112: ...102...
Страница 124: ...114 Appendix 2...

