Quick-Start inStallation Guide
netWork conFiGuration
(cont.)
client conFiGuration
XScreen Quick SetuP
REQUIRED EQUIPMENT, CABLES, AND ACCESSORIES:
Items you need to supply:
• Configured Ethernet switch and a PC connected to your network
or a standalone PC. If configuring with a standalone PC, an
Ethernet cable is required.
• For Hx6 audio set up only: The appropriate number and type
of balanced audio line cables needed to connect the system
to your console.
Included items:
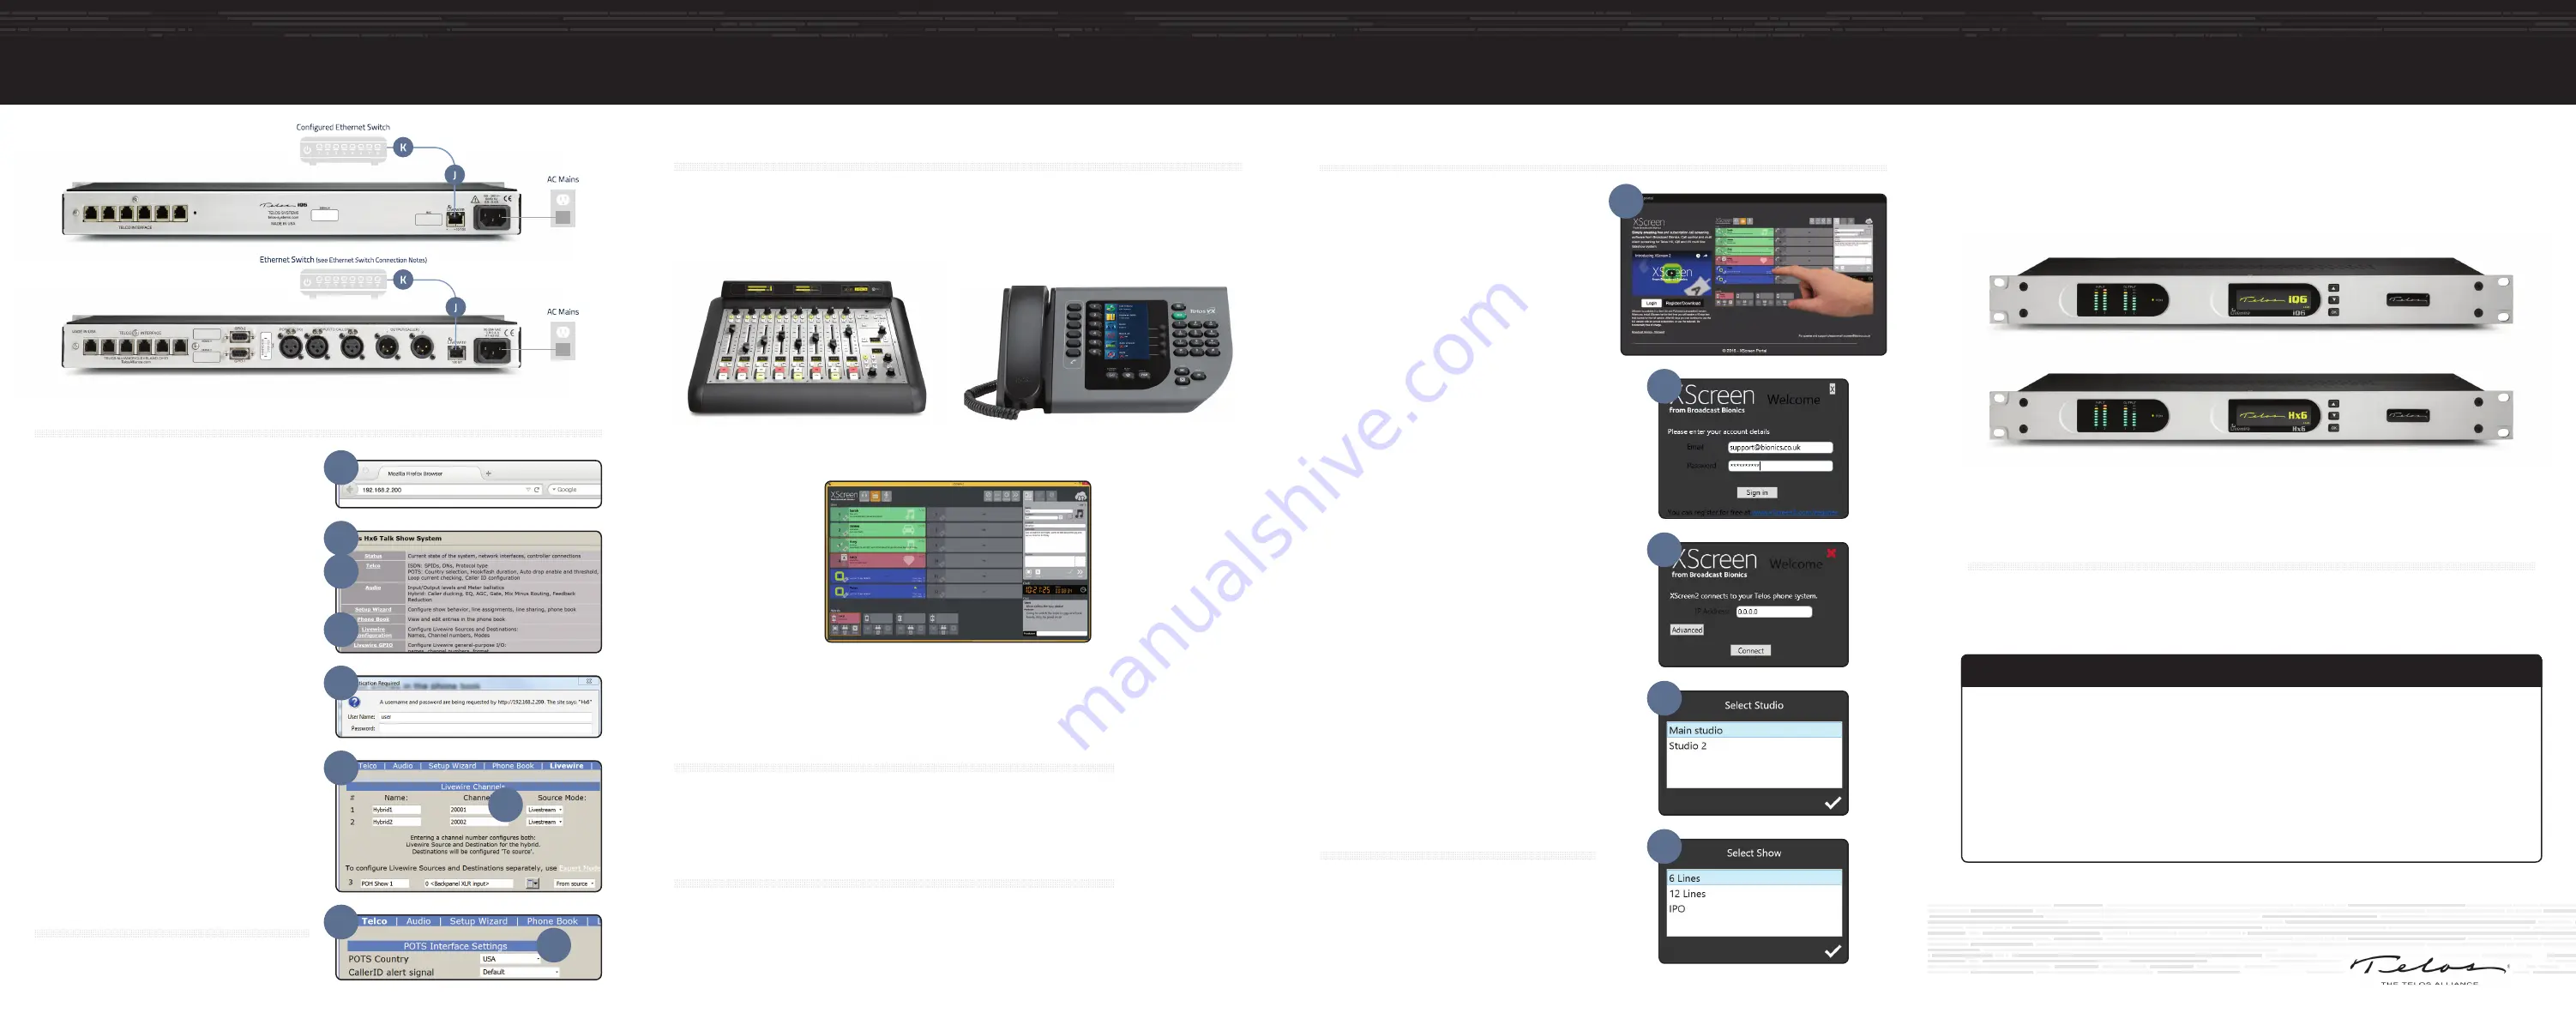
• Telos iQ6 Telco Gateway or
Hx6 Talkshow System
• AC Power cable
• Ethernet cable
• Rack mount hardware
There are a few additional items required for a successful installation. Check the list below and make sure
you have what you need.
We have made these Telos Systems easy to set up and configure. This quick-start guide will take you through
the basic steps to configure your new iQ6 or Hx6 to start delivering no hassle caller audio to your show in no time.
Before we get started, let’s make sure you have what you need.
tHank You For PurcHaSinG tHe teloS iQ6 telco GateWaY
or HX6 talkSHoW SYStem
teloS iQ6 telco GateWaY
teloS HX6 talkSHoW SYStem
1. Connect one end of the Ethernet cable to the
Livewire/100BT port (J) on the back of the iQ6/
Hx6. Connect the other end of the Ethernet cable
to a configured Ethernet switch (K) to access the
system from a network connected PC. Note: The
system may also be configured using a standalone
PC by connecting one end of a Ethernet cable to the
Livewire/100BT port on the back of the iQ6/Hx6.
Connect the other end of the Ethernet cable to the
Ethernet port on a standalone PC.
2. Open a web browser and type the assigned IP
address in the URL field (L).
3. The Telos control center will launch for your
system. From the Home screen (M), click “Livewire
Configuration” (N).
4. A screen will appear (O), prompting you for
authentication. When prompted, enter user name
"user", password is left blank.
5. On the Livewire screen (P), assign the desired
Livewire channel number in the channel field (Q).
The Livewire channel can also be assigned for the
Program on Hold (POH) source if you have one.
6. Click the “Apply” button to assign the values.
7. From the Home screen (M), click “Telco” (R).
8. On the POTS Interface Settings screen (S), confirm
the correct country is selected from the “POTS
Country” dropdown menu (T).
liVeWire conFiGuration
continue to client conFiGuration
Basic configuration is complete. Your system is
ready for client configuration. Continue to the “Client
Configuration” instructions.
©2016 TLS Corp., All Rights Reserved.
1490-00090-001 — QUICK START GUIDE: iQ6/Hx6 C16/17017
iQ6 & HX6 uSerS
The iQ6 and Hx6 support up to twelve client connections using any combinations of the systems below.
For Axia iQ Console and VSet 6, please refer to their respective manuals for setup instructions. If you are
configuring XScreen, please refer to the XScreen Quick Setup in this guide.
Your SetuP iS comPlete!
That’s it! You are now ready to experience the Telos
iQ6/Hx6 for optimal caller audio quality and XScreen for
enhanced call control.
NOTICE: XScreen is available as a FREE Lite version.
When you install XScreen for the first time, you will
receive a 90-day free trial license for the Full version.
After 90 days you can continue to use the full version
with an annual subscription, or continue to use the Lite
version free of charge.
1. Visit http://www.xscreen2.com (U) and complete
the short cloud registration process. You will create
an XScreen cloud account, enabling you to login to
xscreen2.com, download the software and manage
your license. Your cloud account is encrypted and
only available to you. Full setup details can be found
in the User Manual.
2. Double-click on the downloaded XScreen installer to
install the XScreen software onto your PC.
3. A screen (V) will prompt you to login to your XScreen
cloud account, enter the email address and password
of your newly created XScreen account.
4. Once logged in, a screen (W) will prompt you for IP
address information. Enter the assigned IP address
of your iQ6/Hx6 in the IP address field.
5. Once installed, double click the XScreen desktop
icon to launch XScreen client.
6. If your system hosts multiple studios or shows, you
will be prompted to select which studio configuration
(X) and show profile (Y) you wish to control with
XScreen. Note: HX6 and iQ6 users or VX users with a
single studio will not require this information.
7. Refer to the XScreen manual for additional
instructions to configure your XScreen software for
your show.
XScreen call ScreeninG SoFtWare conFiGuration
not uSinG XScreen? Your SetuP iS comPlete!
That’s it! Once your client has been configured according to the instructions in your manual,
you are now ready to experience the iQ6/Hx6 for optimal caller quality.
XScreen uSerS
Continue to “XScreen Quick Setup".
XScreen
VSet6
Axia iQ Console
L
M
R
N
O
P
Q
S
T
U
V
W
X
Y


