1VV0301455, Rev 1.1
Copyright © 2017 Telit. All rights reserved.
Setup the Serial port:
•
Port:
COM
x
(where,
x
is the COM port number)
•
Baud Rate:
115200
•
Data:
8 bit
•
Parity:
none
•
Stop:
1 bit
•
Flow Control:
none
4
Light Sensor Demo
Note:
To verify the correct COM port, open Windows
Control Panel and select Device Manager and Ports
associated with the board.
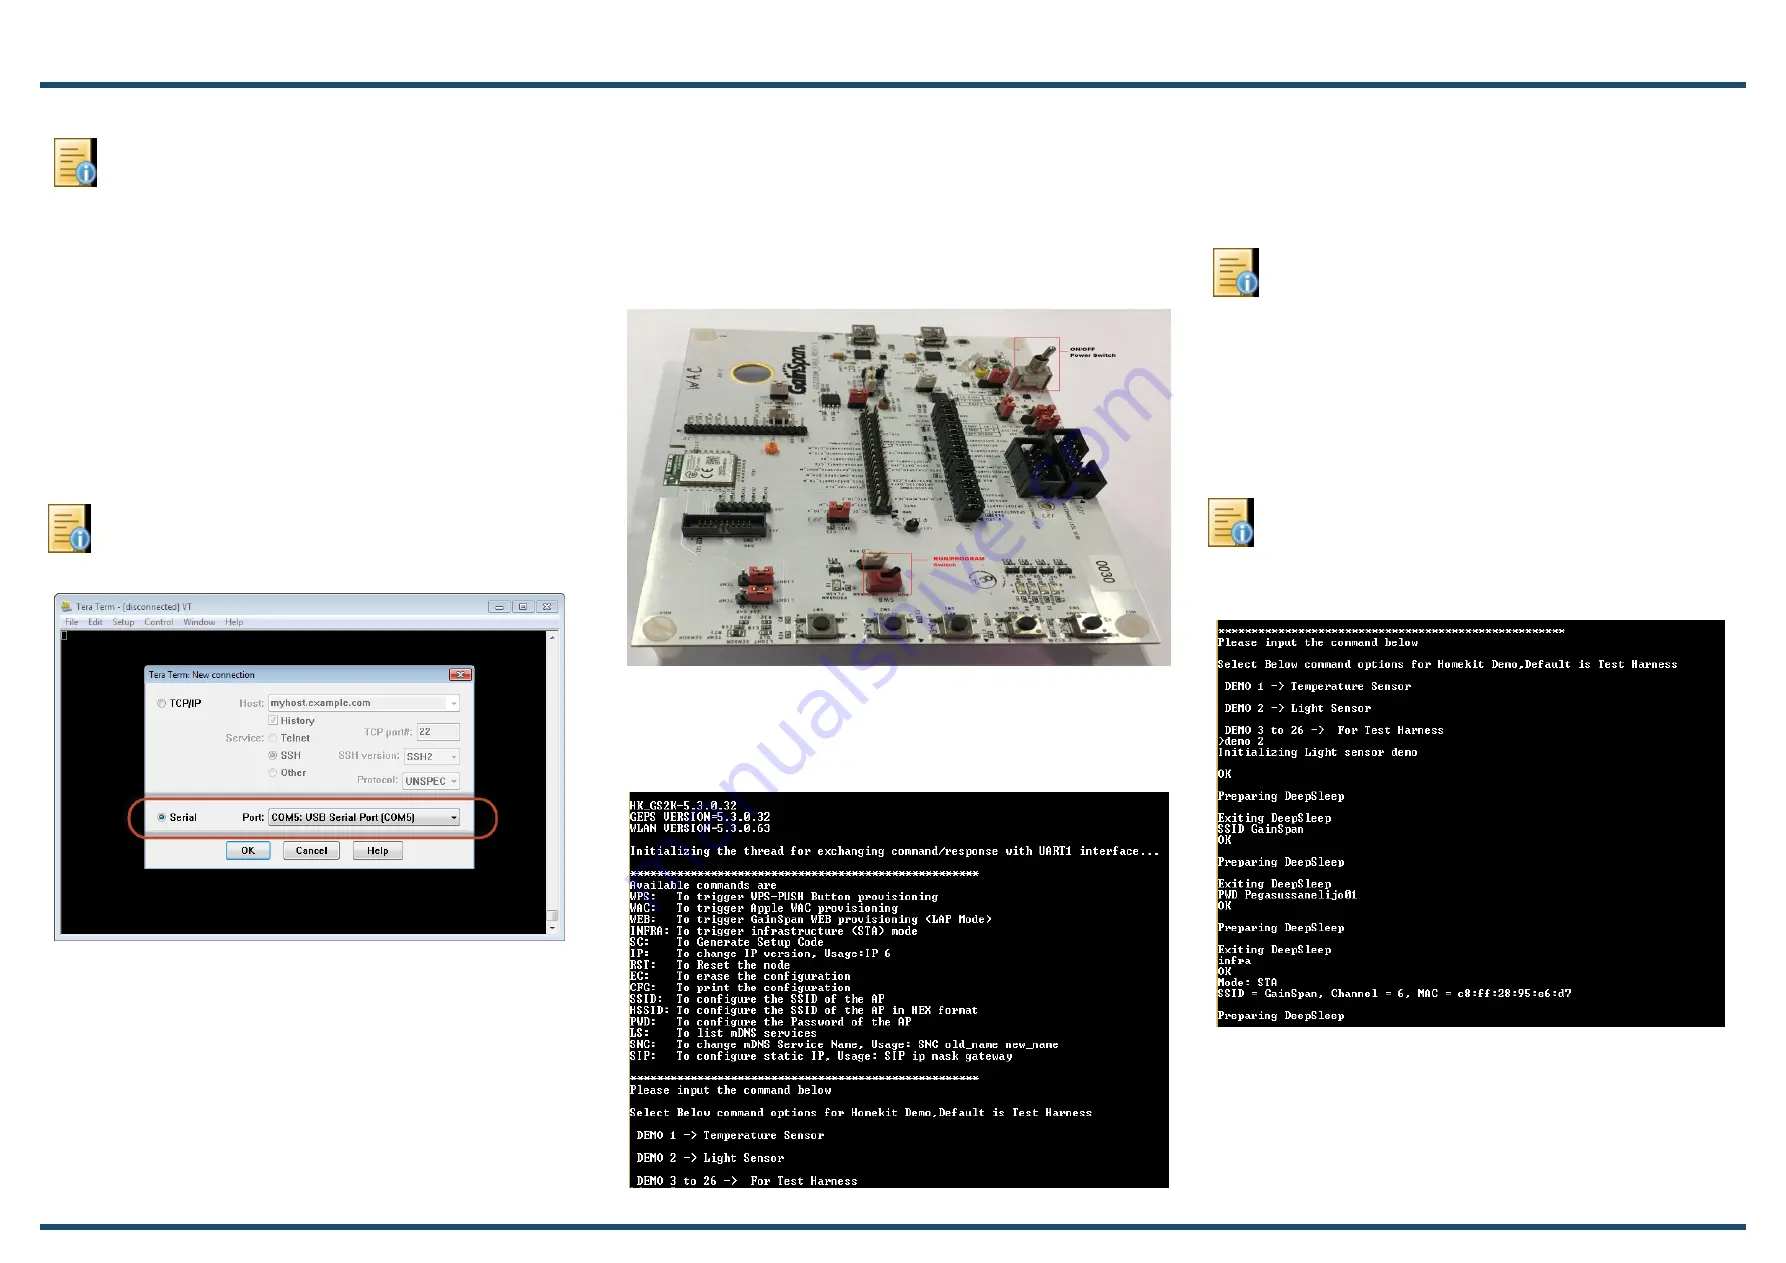
Open a Serial Terminal Emulation Software of your choice. Select
the serial COM port associated with the board. In this example we
are using Tera Term VT. You can download a copy of
Tera Term VT at:
Step
1
Ensure that the PROGRAM/RUN switch (SW8) is in RUN
mode. Turn the ON/OFF switch (SW6) to the ON position.
Step
2
Power ON (SW6) by turning it OFF/ON and check the
terminal emulator displays board information and the command
prompt to perform provisioning and to run the demo:
Step
4
Put the PROGRAM/RUN switch to
RUN
mode.
3
Configure the Serial Port
Note:
For GS2200M EVB, connect Jumper J13 - GPIO Pro-
gram Select for Baud Rate 921600
Step
3
Connect to a network. This can be performed in
following ways:
•
Manual Method Using SSID and PWD Commands
•
WAC Provisioning Method
Step
4
In the terminal emulator displays board information
type
DEMO 2
(
Light Sensor
) to start the demo and start the EVB
as a station using the
INFRA
command, or as a limited AP using
the
WEB
command.
Note:
After every command, enter any key to EXIT from
DEEPSLEEP mode.
For GS2200MEVB- Jumper J34 and Jumper J37has has to
be shorted.
Step
5
Open the iOS device, go to Wi-Fi settings and connect
to GainSpan AP “GainSpan_AE”.
For WAC Provisioning refer
GS2K Hostless HomeKit
User Guide, section - Running HomeKit Test App
.
This QSG provides steps for Manual mode.


