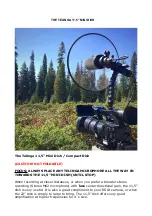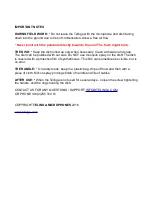
CAUTION!
NEVER
CONNECT A TELINGA MICROPHONE DIRECTLY TO A RECORDER
OR PREAMP SUP48V PHANTOM POWER WITHOUT USING THE
HANDLE.
ALWAYS
CONNECT THE MICROPHONE TO THE TELINGA HANDLE
CONNECTING TO THE RECORDER OR PREAMP (+48V)
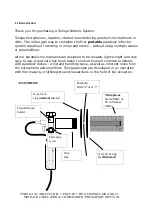
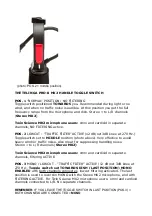
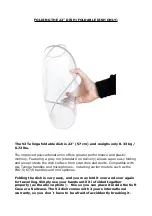
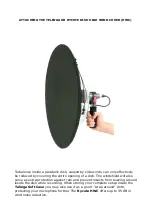
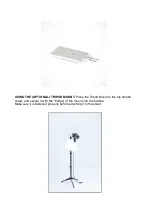
ASSEMBLING / INSTALLING (AS PICTURE ABOVE)
1.
Connect the microphone and it´s mounting kit (gray tube with gray rings) to
the handle, make sure the gray rings are positioned so that
the back gray ring without thread is supporting
behind
the dish, and the gray
ring with thread is securing
inside
the dish.
As assembling picture above.
IMPORTANT:
Make sure you fasten and secure the rings and tube properly
(tight enough) inside the dish and handle, to avoid handling noise! Use the
large handle knob to fasten the microphone inside the gray tube. The dish
should not be able to move between the gray rings or handling noise will occur.
Use a Telinga/or Rycote dish HWC (high wind cover) when recording in windy
conditions, or side winds may cause turbulence inside the dish.
2.
Connect the XLR-connectors (PRO-8 MK2) or your 3,5 minijack
connector (PRO-X) going from the bottom of the handle to the
recorder or preamp microphone inputs. REMEMBER: The cable will
always be the weakest link, treat it with love and care!
3.
Connect your quality (!) headphones to your recorder. For
reference we use Beyer DT-990 headphones. Make sure the input and
outputs are not set to high: acoustical feedback may occur! Enable
the
"REC"
position or
"MONITOR"
with the
+48 V
Phantom Power
(PRO-8 MK2) or Plug In Power (PRO-X)
ENABLED:
ON
IMPORTANT:
Your Telinga is designed for
outdoor use mainly
, connected to
battery powered equipment only. If you use it indoors, connected to mains
operated equipment, "hum", or acoustical feedback from reflections may occur.
If you wish to use the PRO-8 MK2 or PRO-X system inside, the 11,5” MINI
DISH is recommended –
THE MINI DISH IS NOT FOLDABLE
.


