


TCP/IP Installation
16
December, 2002
User’s Guide
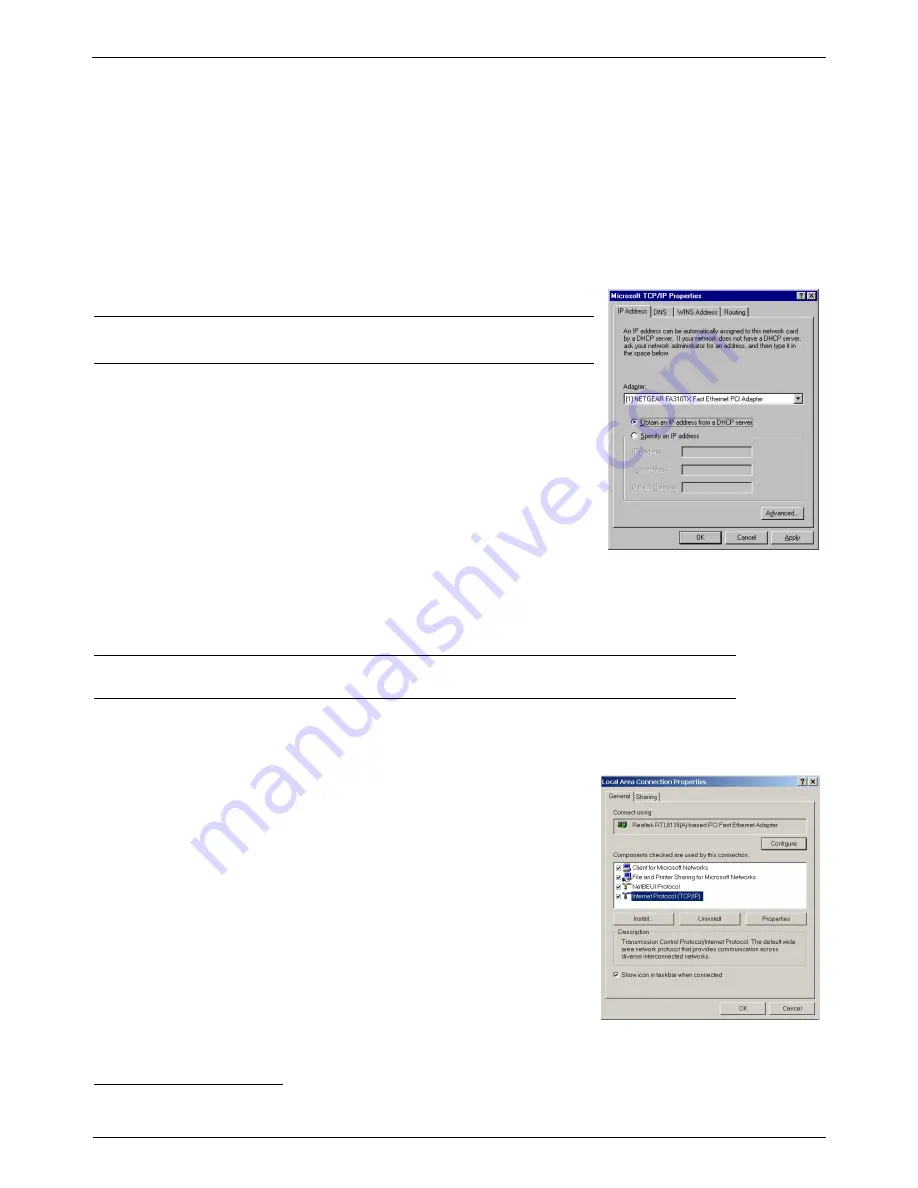
3.2.6 Configuring TCP/IP in Windows NT
Step 1.
From the
Protocols
tab, select
TCP/IP Protocol
and click
Properties
.
Step 2.
Select the
IP Address
tab.
You now have the option of using either dynamic or static IP addressing.
To enable dynamic IP addressing:
Step 1.
Click the radio button next to
Obtain an IP Address from DHCP Server
.
OPTIONAL:
Click the
DNS
tab and select
Disable DNS
. If you previously entered
any parameters, clear all pre-existing settings.
1
Step 2.
Click
OK
to exit
Network Properties
window.
To enable static IP addressing:
Step 1.
Click the radio button next to
Specify an IP Address
and enter the
IP
Address
and
Subnet Mask
(for your PC).
Step 2.
Click the
DNS
tab. Enter the
Host
and
Domain
names, then enter
DNS
Service Search Order
(for your LAN).
Step 3.
Click
OK
to exit
Network Properties
window.
3.2.7 Configuring TCP/IP in Windows 2000
NOTE: Once you have successfully installed a network card onto your PC, Windows 2000 will automatically
install
Internet Protocol (TCP/IP)
by default.
Step 1.
Click on
Start
->
Settings
->
Control Panel
->
Network
and Dial-up Connections
->
Local Area Connection
.
Step 2.
In the
Local Area Connection Status
window, click
Properties
.
Step 3.
Under the
General
tab in the
Local Area Connection Properties
window,
highlight
Internet Protocol (TCP/IP)
and click
Properties
.
Step 4.
From the
General
tab, select
Internet Protocol (TCP/IP)
and click
Prop-
erties
.
1. If specifically required by your ISP or remote server, you may need to enter DNS information.
Содержание 1110ADSL Bridge
Страница 2: ...ii User s Guide Version 6 2 TELiNDUS ...
Страница 16: ...Setup Instructions 8 December 2002 User s Guide ...
Страница 40: ...DSL Service Seems Slow 32 December 2002 User s Guide ...
Страница 44: ...36 December 2002 User s Guide ...


