Airman 8
Parts List and Disassembly/Assembly 11
2.3
Disassembly/Assembly
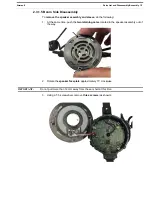
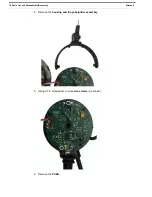
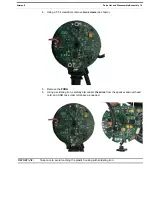
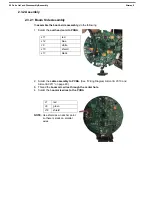
The following procedure describes the complete disassembly of the Airman 8.
IMPORTANT:
The removal process requires the following steps be followed in the order described.
•
Assembly is the reversal of the disassembly procedure. Please take care when disassembling
to note details that may be required in the re-assembly process, such as the locations of
disconnected wires.
•
When soldering, be careful not to touch the plastic housing of the headset/headphone with the
soldering iron.
2.3.1 Disassembly
IMPORTANT:
Only disassemble parts that are necessary for the repair.
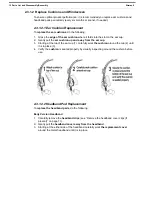
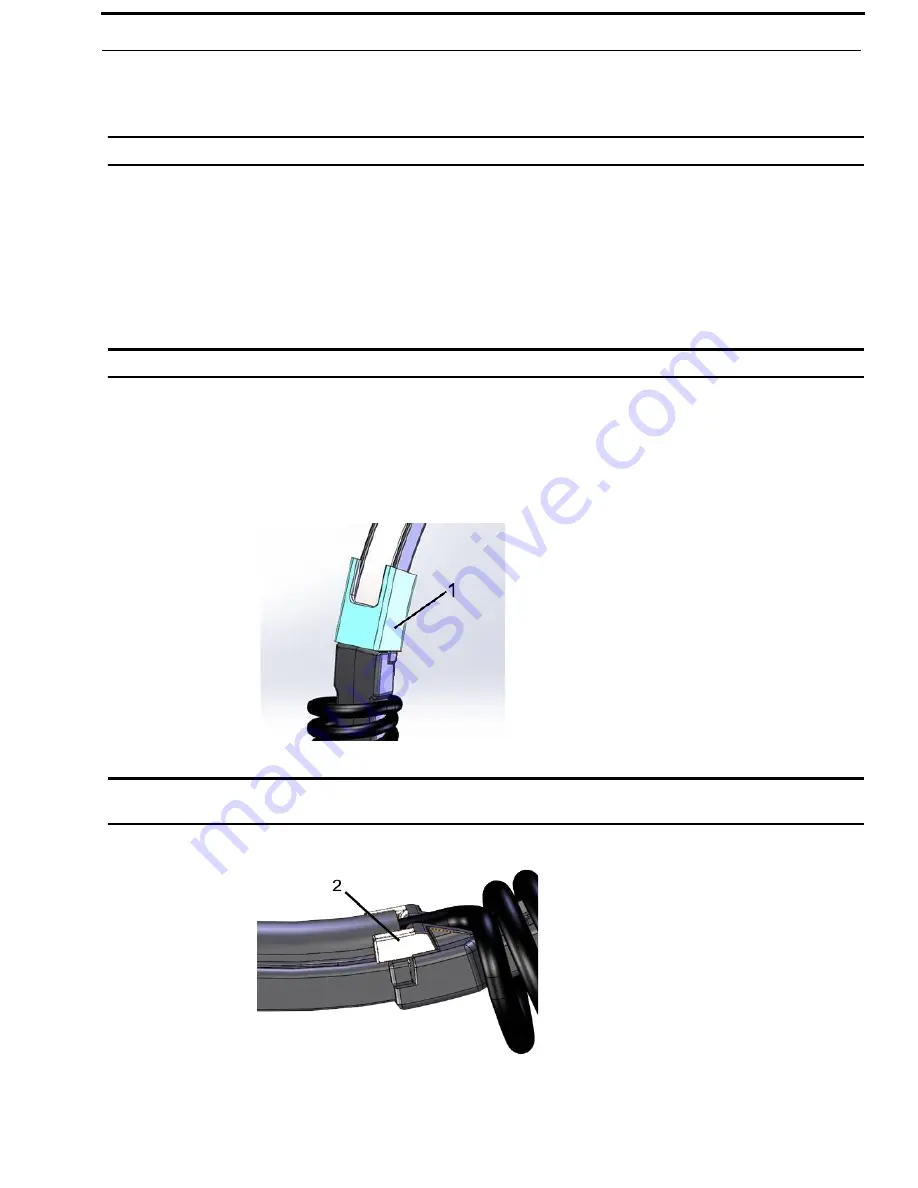
2.3.1.1 Remove the headband cover clips (if present)
To
remove the headband cover clips
, do the following:
1. Using a flat-head screwdriver, carefully
pry the clip
from the headband.
IMPORTANT:
Some headsets have a snap feature (2) at each end of the headband cover. If this feature
(highlighted in white) is present, the external clips (1) are not used.
Содержание Airman 8
Страница 33: ...Airman 8 Parts List and Disassembly Assembly 33 5 Firmly press the headband pad into place...
Страница 34: ...34 Parts List and Disassembly Assembly Airman 8...
Страница 36: ...36 Maintenance Airman 8...
Страница 38: ...38 Maintenance Airman 8...
Страница 41: ...Airman 8 Maintenance 41 3 1 5 Speaker Troubleshooting and Workflow...
Страница 43: ...Airman 8 Maintenance 43 3 1 6 ANR Troubleshooting and Workflow...
Страница 47: ...Airman 8 Maintenance 47 3 Coil the cord into a loop 4 Place the coiled cord and headset in the carrying case...
Страница 48: ...48 Maintenance Airman 8...
Страница 52: ...Bosch Security Systems Inc 12000 Portland Avenue South Burnsville MN 55337 U S A www boschcommunications com...


