background image

Operation

9

9

Operation

OSD operation

1. Press MENU button to enter the setting

menu displayed on the screen.

2. Press LEFT/RIGHT cursor buttons on the

RC or VOL+/VOL- buttons on the panel to go 
to the needed setting page.

3. Press UP/DOWN cursor buttons on the

RC or CH+/CH- buttons on the panel to select 
a parameter to adjust.

4. Press LEFT/RIGHT buttons on the RC or

VOL+/VOL- buttons on the panel to adjust the 
selected parameter.

5. Press MENU button to return to the root

menu or exit menu setting.

  Some menu items may be in grey color, 

in this case they are not adjustable. Pictures 
of OSD menu are for reference only; they may 
differ from the real screens.

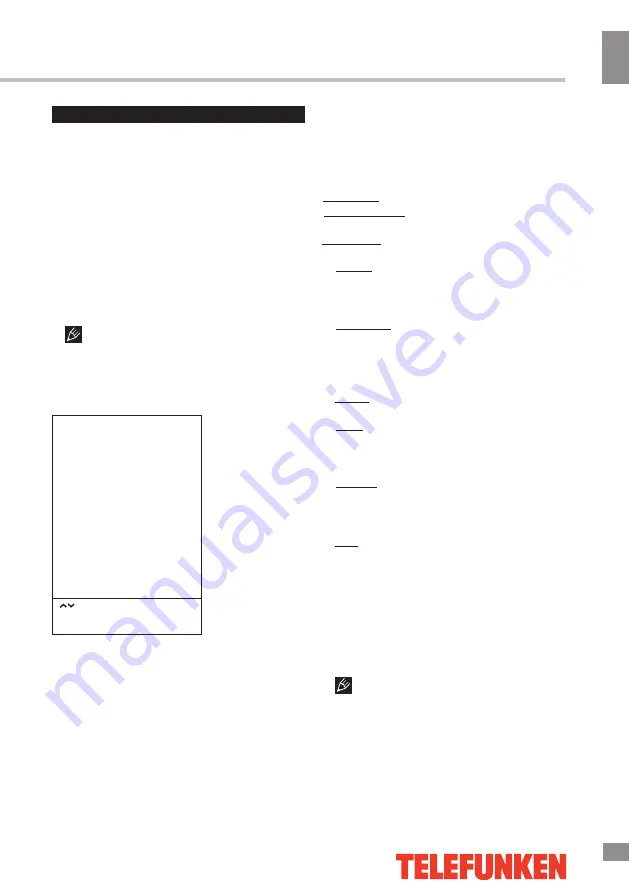
Channel setting

CHANNEL

Auto Tuning
DTV Manual Tuning


ATV Manual Tuning


Programme

 Edit


Signal Information


CI Information

Software Update

Select

Press “OK” to select

Press “MENU” to return

Auto Tuning: 

press OK buttons to select

the country and tune type for channels to start 
automatic search and saving of available ATV 
channels. After the search is finished, the unit 
will skip to searching DTV channels, Radio 
channels and Data. During the ATV search, 
press MENU button to skip to DTV, Radio and 
Data search.

DTV Manual Tuning

: Press LEFT/RIGHT 

cursor buttons to select channel number. Press 
OK button to start searching. When the nearest 
available channel is found, the search will 
stop and the channel will be saved under the 
selected number. Press MENU button to quit.

ATV Manual Tuning

:

Storage To: select channel number.


Sound-Standard

: select corresponding sound 

system.


Current CH: search for next available 

channel starting from current frequency.

Search: press LEFT/RIGHT buttons; the 

unit will search for next available channel 
downward or upward and save it under the 
current number

 by pressing the red button.

Fine-Tune: perform fine adjustment of the 

current frequency

.

Programme Edit

: this item allows

you to sort TV programs according to your 
preferences. Enter the program edit menu:

Delete: Select the channel you want to delete. 

Press red button to delete the channel.

Move (not available for DTV channels with 

LCN): Highlight the needed channel. Press 

yellow

 button; select the position to put the 

channel into. Press 

yellow

 button to confirm.

Favorite: Select the channel you want to edit. 

If this channel is your favorite channel, you can 
add it to your favorite channel list by pressing 
the 

FAV

 button.

Skip: Highlight the needed channel. Press 

blue button; now this channel will be skipped 
when you select previous/next channels.

Signal Information

: View the information

on the current signal.

CI Information 

(only in DTV mode): This

function enables you to watch some encrypted 
services (pay services). Please insert a CI card 
into the PCMCIA slot according to the arrow on 
the CI card.

• The function can only be gotten when

CI slot is available.

• It is possible for you to change CI

(Common Interface) menu screen and service 
by consulting your dealer.

• Please do not insert or pull out the CI card

when power on. During initialization of the CI 

Содержание TF-LED32S41T2

Страница 1: ...LED TV c TF LED32S41T2 Instruction manual...

Страница 2: ...setting Option setting Lock setting Electronic programme guide Digital programme recording Time Shift function CI information USB operation Background information Operations of file playback General...

Страница 3: ...e metal part and do not destroy twist pull or roast the power cord Please contact the service center immediately if you found that the core is showed in the air or has been broken Please replace the A...

Страница 4: ...damaged power cord connection cable or connection terminal may cause fire electric shock or breakdown 2 persons or more shall transport the device which is heavier than 18 kg If you drop or tip over t...

Страница 5: ...for component video please use Left and Right audio inputs of this unit Plug the power cable in the electric outlet making sure the current voltage is supported When using the LED as a computer scree...

Страница 6: ...s this button to turn the unit ON from STANDBY mode Press it again to turn the set back to STANDBY REAR AV Connections All the terminals are from left to right AC Power Socket VIDEO INPUT AUDIO INPUT...

Страница 7: ...ode used as next key in teletext mode used as 18 list key n USB mode used as previous key in teletext mode used as hold key 19 In teletext mode used as index 20 Press to stop play in USB mode 21 INFO...

Страница 8: ...TV SCART YPbPr PC HDMI1 HDMI2 AV USB Press OK button on the RC to confirm Teletext operations option Select a TV channel in order to pick up the picture signal of Teletext Teletext button functions ar...

Страница 9: ...Press MENU button to quit ATV Manual Tuning Storage To select channel number Sound Standard select corresponding sound system Current CH search for next available channel starting from current freque...

Страница 10: ...oise level Select the Off Low Middle High mode Sound setting SOUND Select Press OK to select Press MENU to return Software Update Update the TV software using a USB drive Sound Mode Auto Volume SPDIF...

Страница 11: ...return OSD Language select the language of the on screen display OSD menu Audio Language select audio language available for some DTV channels Subtitle Language select subtitle language available for...

Страница 12: ...eleted It may be advisable to back up your files before formatting If the USB storage device has several partitions the PVR system can record the data on any one of them only FAT32 system Time Shift f...

Страница 13: ...l or thermal changes of elements of this unit as well as failure of internal elements of the USB port Such damages are not warrantee cases Warning usage of external USB drives containing BIN files in...

Страница 14: ...ovie While playback press button to pause press to resume playback Press button to stop playback When you select a file to play you can delete the selected file by pressing Red button then OK on the R...

Страница 15: ...und No audio signal or the signal cord is improperly not connected Connect the audio signal cord properly Set the sound system properly The RC does not work Batteries are improperly installed or exhau...

Страница 16: ...unction USB movie photo and audio support Electric shock protection class Nominal voltage range of the LED TV Unit dimensions with stand without stand Net weight 100 240 V 50 Hz 731 x 200 x 4 81 mm 73...

Страница 17: ...17 15 CI USB 17 18 18 18 20 20 20 21 21 21 22 22 22 22 23 23 24 24 24 25 25 26 26 27 27 28 28 28 29 29 29 29 30 32 32 32 33 33...

Страница 18: ...18 16 220...

Страница 19: ...19 17 LED 10 18 2 5...

Страница 20: ...20 18 4 200x100 VESA 4 2 4...

Страница 21: ...21 19 75 DVD VCDR CAMCORDER L R RCA VGA VGA VGA PC HDMI HDMI HDMI 5 1 PCMCIA CI 75...

Страница 22: ...CH CH TV CH CH 5 STANDBY SCART USB HDMI2 VGA HDMI1 PCMCIA YPbPr DVI HDMI 30 30 3 1 2 SOURCE MENU V V CH CH Standby VIDEO L R SCART DIGITAL AUDIO OUTPUT COAXIAL HDMI2 RF HDMI1 COMMON INTERFACE CI HEAD...

Страница 23: ...1 EPG DTV 12 FAV TV DTV 13 VOL 14 15 AUDIO 16 MUTE USB 18 LIST USB HOLD 19 INDEX 20 USB 21 INFO 22 FREEZE 23 EXIT 25 CH CH 26 REC 27 RECALL DTV REVEAL USB USB 8 9 10 17 24 DTV VOL CH FREEZE EPG 1 2 3...

Страница 24: ...24 22 VOL VOL MUTE RECALL TV CH CH 0 9 1 2 AAA 1 5V 3 8 30 1 2 3 INFO FREEZE AUDIO TV Nicam CH CH 79 79 79 6 57 3E3U 3 0 0 9 86 OK TEXT TEXT HOLD INDEX LIST REVEAL...

Страница 25: ...25 23 1 MENU 2 VOL OK SOURCE 3 CH 4 VOL CH 5 MENU DTV ATV CI OK MENU OK ATV ATV DTV ATV DTV MENU DTV OK DTV DTV MENU ATV DTV FAV...

Страница 26: ...26 24 CI DTV CI PCMCIA CI CI CI CI OK MENU NTSC 4 3 16 9 x1 x2 PC SPDIF OK MENU AD DTV USB...

Страница 27: ...27 25 AD Audio Description SPDIF PCM AUTO OK MENU DTV OSD PVR HDMI CEC OK MENU OSD DTV DTV PVR DTV Time Shift USB...

Страница 28: ...28 26 OK MENU 6666 TV DTV EPG DTV EPG 8 EPG INFO USB REC...

Страница 29: ...SB PVR FAT32 CI DTV CI PCMCIA CI CI CI CI CI CAM c USB AVI MKV MPG DAT MP4 TS VOB WMV V9 H263 MPEG 4 MPEGII XVID PCM WAV MP3 DD AC3 USB USB 2 0 500 FAT16 FAT32 USB 5 500 USB USB 1 1 2 0 USB 500 USB Ti...

Страница 30: ...30 28 OK OK USB USB USB BIN USB USB USB OK VOL VOL USB OK OK OK PLAY OK OK...

Страница 31: ...31 29 OK PLAY PAUSE REPEAT H CH...

Страница 32: ...32 30 VGA...

Страница 33: ...1 1 2 1 3 2 4 1 5 8 31 5 80 7 1366 x 768 16 9 160 150 AL SEC P AM B G DK I 2 x 8 x2 NICAM RCA USB VGA HDMI 33 7 1 6 YUV 3 5 1...

Страница 34: ...DVB T2 DVB C PCMCIA CI CI 3D ATV DTV 100 500 1000 PVR Timeshift II 100 240 50 731 x 200 x 4 81 731 x 70 x 430 4 44 Licensed by TELEFUNKEN Licenses GmbH 5 35 oC 45 75 750 10 0 40 35 80 750 15 TF LED32S...

Страница 35: ...5 15150 10 1 15150 2002 96 35...

Страница 36: ...9 123 343 269 29 48 269 19 48 18 5 343 278 90 91 278 90 92 264 62 77 19 25 498 484 29 05 20 45 6 4932 33 51 85 21 162 3412 43 07 52 43 20 39 43 85 07 22 156 3952 42 66 27 53 41 66 23 173 8362 45 73 68...

Страница 37: ...9 00 50 66 73 94 863 299 30 60 67 18 4912 21 01 49 25 50 34 68 39 846 336 33 33 336 85 11 69 5 812 327 24 62 295 84 14 70 62 812 320 09 30 320 02 27 71 3 8452 35 11 80 55 43 63 55 43 39 66 31 91 72 26...

Страница 38: ...9 14 27 12 54 06456 2 17 82 13 24 0564 64 69 53 64 69 32 64 61 73 14 66 0532 615 621 15 18 0382 78 37 73 78 37 55 16 28 032 239 55 77 032 239 51 52 17 15 06444 4 02 89 18 55 06444 4 22 18 19 39 050 2...

Страница 39: ...16 06 44 28 0552 43 40 33 45 179 0342 77 33 22 72 27 22 46 2 0800 504 504 044 412 42 19 47 14 048 734 98 15 48 9 0629 49 18 81 067 597 56 15 49 62 05653 5 27 71 067 431 46 46 50 26 0624 52 77 77 050 8...

Страница 40: ...1 2 3 12...

Страница 41: ...1 12 2 3 4 5 6 7 Java www telefunken electronics ru QR...

Страница 42: ......

Отзывы: