SeaBat UI - User Manual
Quick Guide
3
2 Quick Guide
2.1 Introduction
This chapter will give a brief explanation how to start the SeaBat UI, what
is needed for using the SeaBat and how to improve the performance after
the sonar is pinging.
2.2 Steps
a. Before the SeaBat UI can be started a valid license has to be
installed in the 7KControlCenter. See the Operation Manual of the
sonar how to install the license.
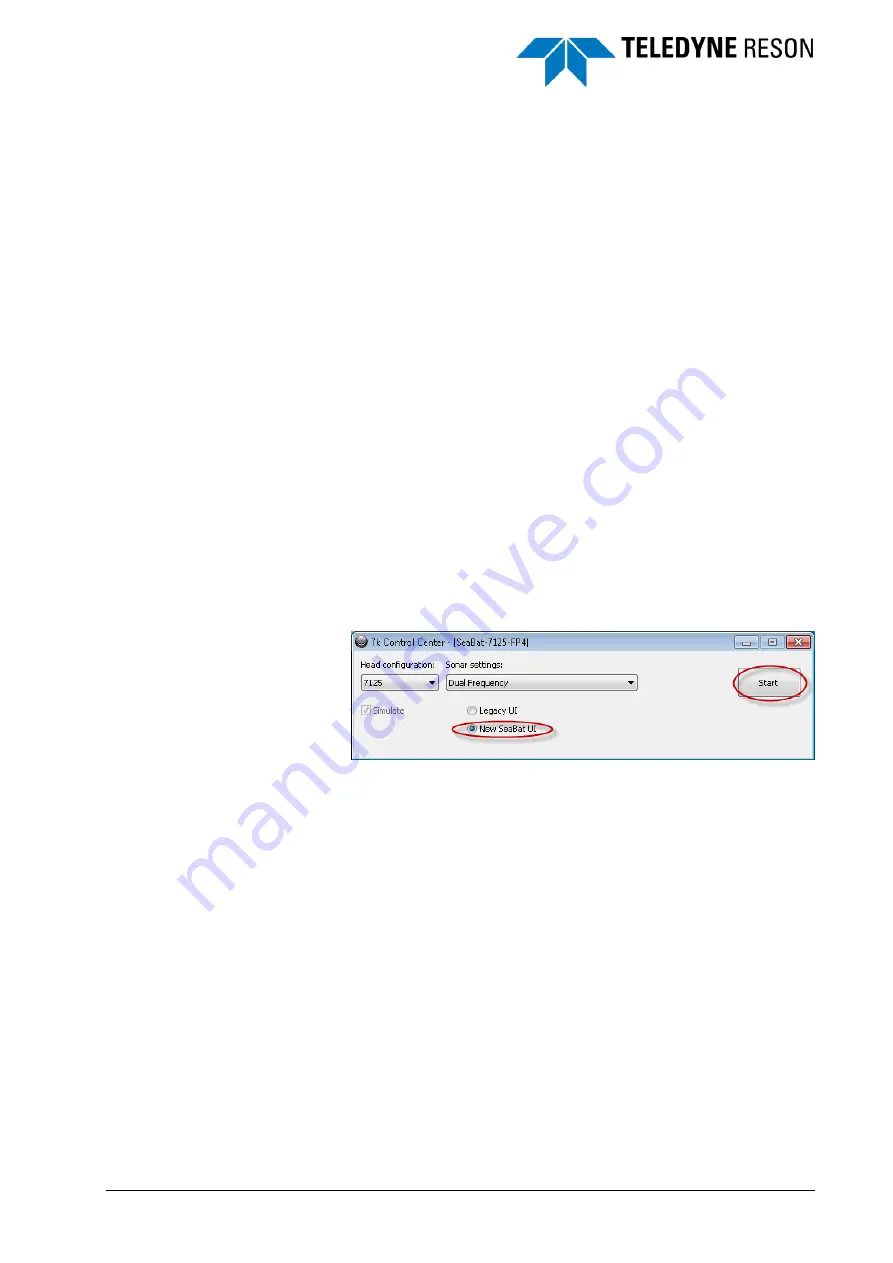
b. When the license is installed select in the 7KControlCenter the option
New SeaBat UI and click on the Start button to open the SeaBat UI.
Figure 2-1
Selection and Start of New SeaBat UI
c. The SeaBat UI will open in the Operation mode with the four screens
displayed and a normalization process will run indicated by a
progress bar.
d. The external clock with 1PPS and the sound velocity probe have to
be interfaced with the 7K system. This can be done in the IO Module
(see page 28).
e. For a roll and/or pitch stabilization the motion sensor has to be
connected to the right port on the sonar system.
Enable in the hardware the roll stabilization and select the right
settings (see page 41).
f.
When the 1PPS is coming in and the roll / pitch stabilization is
working the sonar can be started.
g. Open the Main pane to start the sonar (see page 18). Set the power
and the gain to start the sonar pinging. Change the range so the data
is properly displayed in the wedge (see page 19).
h. Select the right frequency, pulse type and beam mode in the
Advanced pane (see page 22)


