
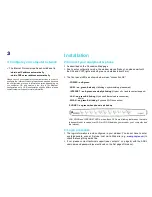

Installation
1/ Configure your computer network
.
•
The Internet Protocol properties should be set to:
- obtain an IP address automatically
- obtain DNS server address automatically
Please consult your computer system instructions in order to
configure the Internet Protocol properties as needed because
the configuration process & information varies depending on
you computer OS and version. Also: this is for Ethernet
configuration only; USB configuration slightly differs, please
contact technical support for more information.
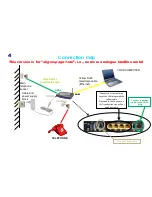
2/ Connect your equipment & phone
•
As described on the 'Connexion Map' page
•
Due to auto configuration mode, the modem may self-reboot, so please wait until
the DSL and VOIP lights are both green and steady (about 5 mn)
•
The front panel LEDs as shown below mean "connection OK":
-
POWER : on & green
-
ADSL : on, green & steady
(if blinking = synchronizing, please wait)
-
INTERNET : on & green, eventually blinking
(if red or off = trouble, contact support)
-
LAN
: on, green & blinking
(if you use Ethernet cable connection)
and/or
-
WLAN : on, green & blinking
(if you use Wi-Fi connection)
-PHONE1 : on green when phone is picked up
LAN, WLAN and INTERNET LEDs : when these LEDs are blinking that means that data
is transmitted or received over LAN or WLAN between your modem, your computer and
the internet
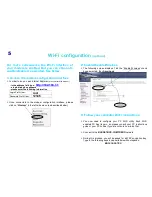
3/ Login procedure
•
The login information is auto-configured in your modem. You do not have to enter
any id/password, even at first use. Just visit a Web site (e.g.,
www.google.com
) to
check that everything works fine.
•
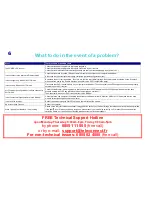
If not, please contact technical support (see contact n° on page 6) with the ADSL
user name and password (as mentioned on the first page of this doc).
3


