Teleco TEV20D Скачать руководство пользователя страница 11

English

   - 66 -

recorded).  Press  the 

OK

  button  to  view  the 

Play 

Options

. Select an option then press 

OK

 button.

Note:

 Viewing main menu and menu items will not be available 

during the playback.

Press the 

Stop

 button to stop a playback and return to 

the 

Recordings

.

Slow Forward

If  you  press 

Pause

  button  while  watching  recorded 

programmes, the slow forward feature will be available. 
You can  use 

Rapid advance

 button  to slow forward. 

Pressing 

Rapid  advance

  button  consecutively  will 

change slow forwarding speed.

Select  the 

Recording  Settings

  item  in  the 

Media 

Browser>Settings

settings.

Format Disk:

 You can use the 

Format Disk

 feature for 

formatting the connected USB disk. Your PIN is required 
to use the 

Format Disk

 feature.

Note:

0000

 or 

1234

the 

First Time Installation

IMPORTANT:

 Formatting your USB drive will erase ALL 

a format but you will lose ALL your data.
If  “

USB  disk  writing  speed  too  slow  to  record

” 

message  is  displayed  on  the  screen  while  starting  a 
recording, try restarting the recording. If you still get the 
same error, it is possible that your USB disk does not 
meet the speed requirements. Try connecting another 
USB disk.

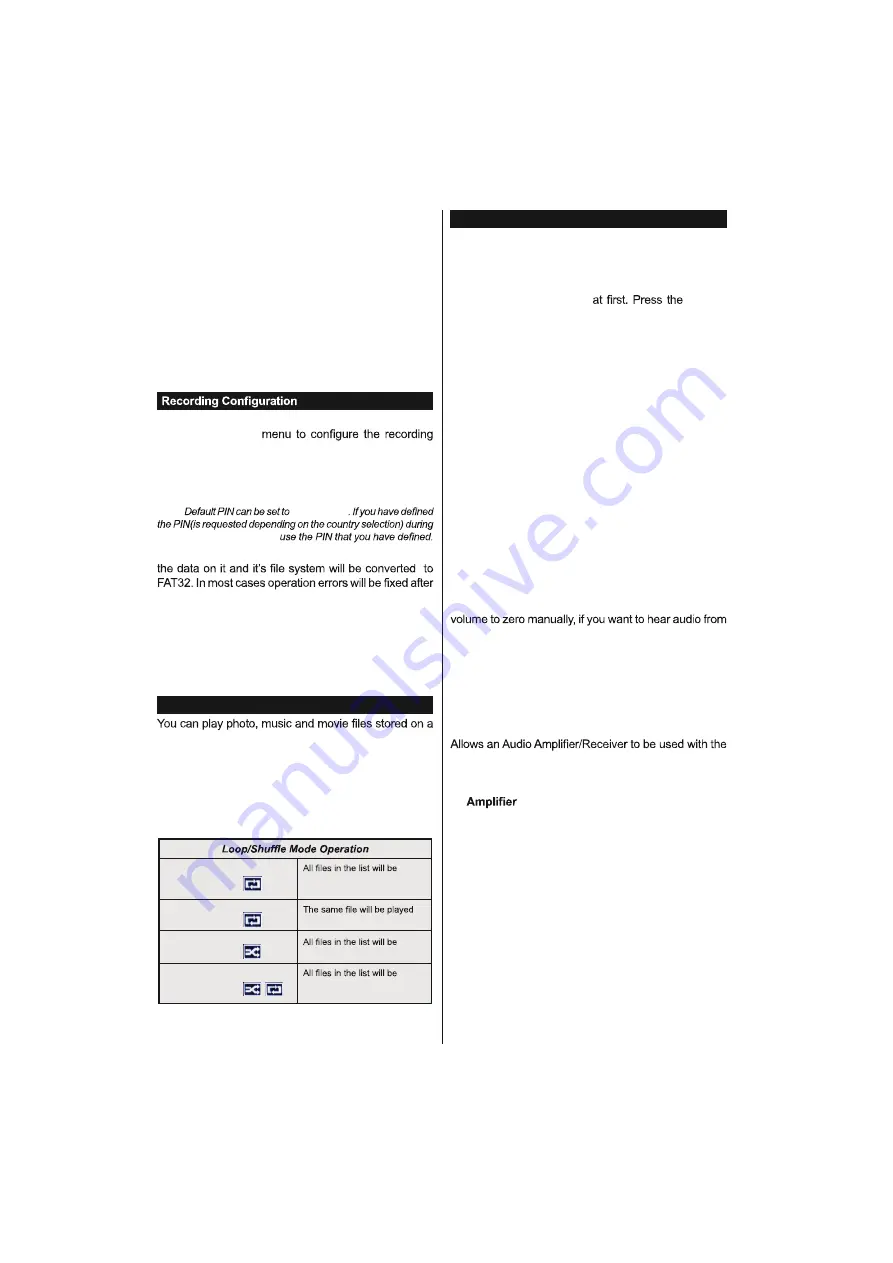
Media Browser Menu

USB disk by connecting it to your TV. Connect a USB 
disk  to  one  of the  USB  inputs located  on  the  side  of 
the TV. Pressing the 

Menu

 button while in the 

Media 

Browser

  mode  will  access  the 

Picture

Sound

  and 

Settings

  menu  options.  Pressing  the 

Menu

  button 

again will exit from this screen. You can set your 

Media

Browser

 preferences by using the 

Settings

 menu.

Start playback with the 

Play 

button and activate 

continuously played in original 
order

Start playback with the 

OK 

button and activate 

continuously (repeat)

Start playback with the 

Play

button and activate 

played once in random order

Start playback with the 

Play

button and activate 

continuously played in the 
same random order.

CEC and CEC RC Passthrough

This function allows to control the CEC-enabled devices, 
that  are  connected  through  HDMI  ports  by  using  the 
remote control of the TV.
The 

CEC

 option in the 

System>Settings>More

 menu 

should  be  set  as 

Enabled

Source

button and select the HDMI input of the connected CEC 
device from the 

Sources List

 menu. When new CEC 

source  device is connected, it will be listed in source 
menu with its own name instead of the connected HDMI 
ports name(such as DVD Player, Recorder 1 etc.).
The  TV remote  is  automatically  able  to  perform  the 
main functions after the connected HDMI source  has 
been selected.
To terminate this operation and control the TV via the 
remote again, press 

Quick Menu

 button on the remote, 

highlight the 

CEC RC Passthrough

 and set as 

Off

 by 

pressing Left or Right button. This feature can also be 
enabled or disabled under the 

System>Settings>More

menu.
The  TV  supports  also ARC(Audio  Return  Channel) 
feature. This feature is an audio link meant to replace 
other cables between the TV and the audio system (A/V 
receiver or speaker system).
When ARC is active, TV does not mute its other audio 
outputs  automatically.  So  you  need  to  decrease TV 

connected audio device only (same as other optical or 
co-axial  digital  audio  outputs).  If  you  want  to  change 
connected device’s volume level, you should select that 
device from the source list. In that case volume control 
keys are directed to connected audio device.

Note:

 ARC is supported only via the HDMI1 input.

System Audio Control

TV.  The  volume  can  be  controlled  using  the  remote 
control  of  the  TV.  To  activate  this  feature  set  the 

Speakers

 option in the 

System>Settings>More

 menu 

as 

. The TV speakers will be muted and the 

sound of the watched source will be provided from the 
connected sound system.

Note:

 The audio device should support System Audio Control 

feature and 

CEC

 option should be set as 

Enabled

.

Содержание TEV20D

Страница 1: ......

Страница 2: ...onnect the TV set from the mains The mains plug is used to disconnect TV set from the mains and therefore it must remain readily operable If the TV set is not disconnected electrically from the mains...

Страница 3: ...circumstances create a system has therefore to be provided through a device providing electrical isolationbelow a certain frequency range galvanic isolator see EN 60728 11 WARNING This product or the...

Страница 4: ...to connect other devices with HDMI sockets USB input OSD menu system Scart socket for external devices such as DVD Players PVR video games etc Stereo sound system Teletext Headphone connection Automa...

Страница 5: ...e the channel and adjust the volume by using the Volume and Programme buttons on the remote Inserting the Batteries into the Remote Removethescrew thatsecure the battery compartment the cover gently I...

Страница 6: ...this battery contains lead Products Battery TV Broadcasting PAL BG DK II SECAM BG DK Receiving Channels VHF BAND I III UHF BAND U HYPERBAND Digital Reception Fully integrated digital terrestrial cabl...

Страница 7: ...n information reveal in TXT mode 12 My button 1 13 Coloured Buttons Follow the on screen instructions for coloured button functions 14 Language Switches between sound modes analogue TV displays and ch...

Страница 8: ...le s RED and WHITE inputs If an external device is connected via the SCART socket the TV will automatically switch to AV mode When receiving DTV channels Mpeg4 H 264 or while in Media Browser mode out...

Страница 9: ...na type Press OK to continue Select an available satellite on the next screen and press OK to scan for services Single Satellite Cable If you have multiple receivers and a single satellite cable syste...

Страница 10: ...an play the recordings only via your TV Lip Sync delay may occur during the timeshifting Radio record is supported The TV can record programmes up to ten hours Recorded programmes are split into 4GB p...

Страница 11: ...ith the Play button and activate continuously played in the same random order CEC and CEC RC Passthrough This functionallowsto controlthe CEC enabled devices that are connected through HDMI ports by u...

Страница 12: ...temperature value Cool Normal arm and Custom options are available hite Point If the Colour Temp option is set as Custom this setting will be available Increase the warmth or coolness of the picture...

Страница 13: ...dules when available Language You may set a different language depending on the broadcaster and the country Parental Enter correct password to change parental settings You can easily adjust Menu Lock...

Страница 14: ...l the volume of the audio device Installation Menu Contents Automatic channel scan Retune Displays automatic tuning options Digital Aerial Searches and stores aerial DVB stations Digital Cable Searche...

Страница 15: ...led disables access to the broadcast Note If the country option in the First Time Installation is set as France Italy or Austria Maturity Lock s value will be set to 18 as default Child Lock If this o...

Страница 16: ...or more individual events at the same time interval Teletext Services Press the Text button to enter Press again to activate mix mode which allows you to see the teletext page and the TV broadcast at...

Страница 17: ...he TV and then re inserting the USB device USB is too slow If a USB disk writing speed too slow to record message is displayed on the screen while starting a recording try restarting the recording If...

Страница 18: ...i 480p O 576i 576p O 720p O 1080i O DMI 480i 480p O 576i 576p O 720p O 1080i O 1080p O Not Available O Available In some cases a signal on the TV may not be displayed properly The problem may be an in...

Страница 19: ...PEG 640x480 30fps 10 Mbps Other 1080P 30fps 40 Mbps avi MPEG1 2 MPEG4 Sorenson H 263 H 263 H 264 WMV3 Motion JPEG mkv MPEG1 2 MPEG4 H 263 H 264 WMV3 Motion JPEG asf Sorenson H 263 H 264 WMV3 Motion JP...

Страница 20: ...ps asf MPEG1 2 Layer1 32Kbps 448Kbps MPEG1 2 Layer2 8Kbps 384Kbps MPEG1 2 Layer3 8Kbps 320Kbps WMA 128bps 320Kbps WMA 10 Pro M0 192kbps WMA 10 Pro M1 384kbps WMA 10 Pro M2 768kbps mkv mka MPEG1 2 Laye...

Страница 21: ...bps AAC HEAAC swf MPEG1 2 Layer3 8Kbps 320Kbps ec3 EAC3 32Kbps 6Mbps rm rmvb ra AAC HEAAC LBR cook 6Kbps 128Kbps wma wmv WMA 128bps 320Kbps WMA 10 Pro M0 192kbps WMA 10 Pro M1 384kbps WMA 10 Pro M2 76...

Страница 22: ...nectors by using DVI converter cable DVI to HDMI cable not supplied you can refer to the following resolution information 72Hz 75Hz 640x400 640x480 800x600 832x624 1024x768 1152x864 1152x870 1280x768...

Страница 23: ...ing clean the disc with a cleaning cloth Wipe the disc from the center out commercially available cleaners or anti static spray intended for vinyl LPs This product incorporates copyright protection te...

Страница 24: ...ed on the disc only the available language on the disc will be heard 10 Some DVDs may not contain root and or title menus 11 Reverse stepping is not available 12 For your convenience If you attempt to...

Страница 25: ...Audio xxxx mp3 12 cm It depends on MP3 quality MP3 is recorded as a Digital Signal with better audio quality less distortion and less deterioration of audio quality over time PICTURE CD Video still pi...

Страница 26: ...ion buttons 5 OK Select 6 Back 7 Angel 8 Info 9 Display DVD Menu 10 Zoom 11 Language selection 12 Subtitle 13 Rapid reverse 14 Play 15 Stop 16 Rapid advance 17 Pause 18 Root 19 Title 20 Repeat 21 Sear...

Страница 27: ...counter mode selection during playback Press repeatedly to switch between modes E Auto language X X ME Displays TV menu O Enter View Play REE O Displays repeat options RE R C Returns back to the prev...

Страница 28: ...n rogr mme buttons or a numeric button on the remote control or press the middle of the control switch on the TV in The TV will then switch on 4 Adjust the antenna position for better reception or rei...

Отзывы: