Note
We recommend plugging all interconnected communication devices to the same grounded power out-
let.
3.5.1.1 Connecting
• Make sure the on/off power supply switch is in the OFF position (0).
• Make sure the power supply is NOT connected to the mains or to the device.
• Connect all data cables.
• Connect the external adapter power cable to the device.
• Connect the adapter power cable to the main supply (wall socket).
• Put the device's on/off power supply switch in the ON position (1).
3.5.1.2 Disconnecting
• Put the on/off power supply switch in the OFF position (0).
• Disconnect the adapter power cable from the main supply (wall socket).
• Remove the power supply cable from the device.
• Disconnect the data cables.
3.6 RST button
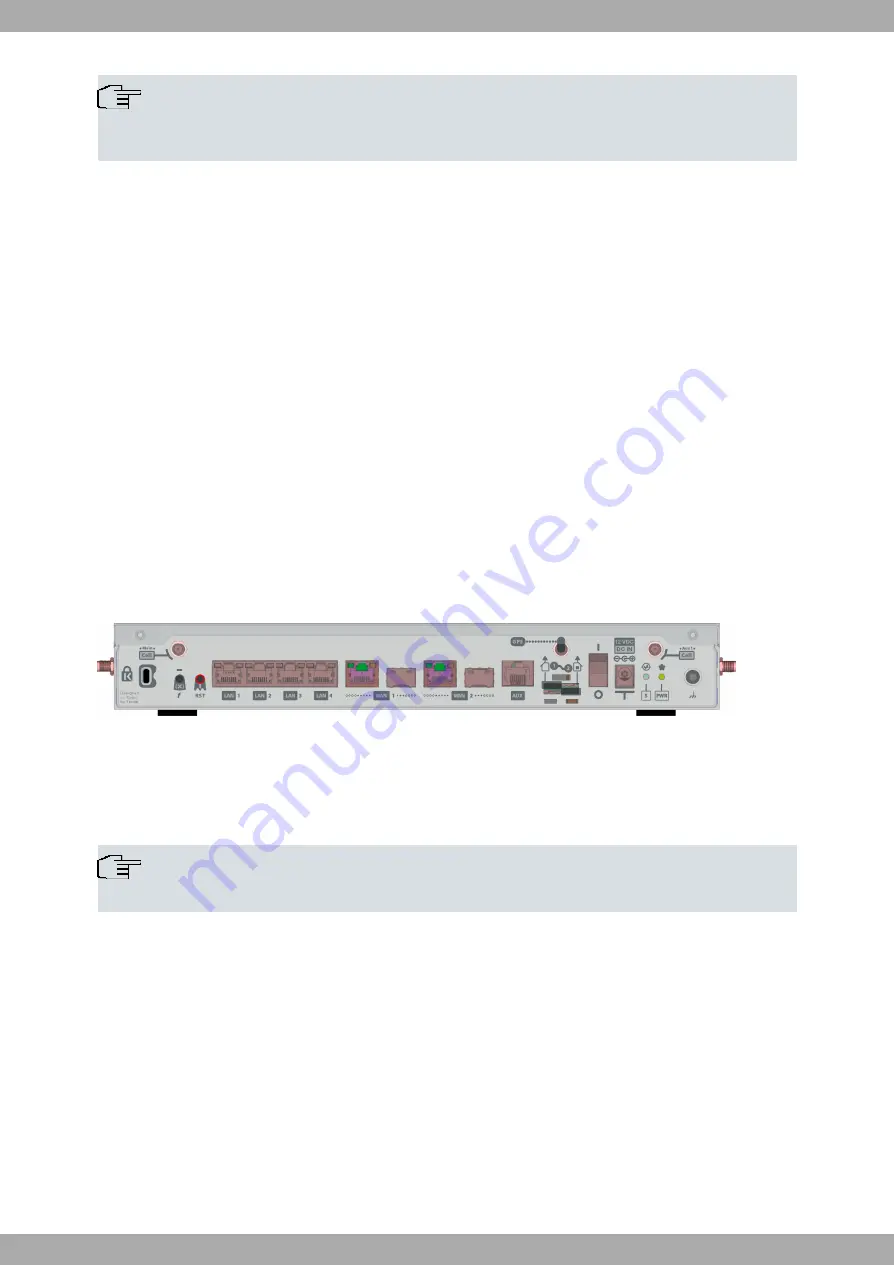
The different RST button features are described below.
Fig. 10:
RST button
3.6.1 Rebooting the device
Once the device is operating normally, pressing the RST button will force a restart.
Note
It will also force the embedded Access Point (if present) to restart.
3.6.2 Default configuration
The RST button allows you to boot the device with its default configuration (including the embedded Access Point, if
present). To do so, follow these steps:
• With the device switched off, press and hold the RST button down while you turn the router on using the ON/OFF
switch (1).
• The PWR LED (green) will light up and LED 'S' will begin to blink (amber). It will carry on blinking for 10 seconds.
• To boot the device with the default configuration, release the RST button while LED 'S' is still blinking (i.e., before
the 10-second period expires).
Teldat S.A.
3 Components and Power Supply
RS1800 series
13


