24
User’s Guide
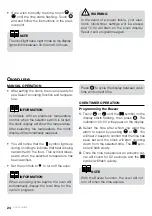
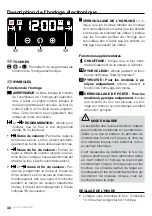
• If you wish to modify the time, touch
or
until the time starts flashing. Touch
and and follow the instructions in the previ-
ous point.
NoTE
The clock light has a night mode so the display
light will dim between 00:00 and 6:00 hours.
WaRNING
In the event of a power failure, your elec-
tronic clock/timer settings will be erased
and 12:00 will flash on the clock display.
Reset it and programme again.
oven use
Press
to cycle the display between cook
time and current time.
oVEN TIMER opERaTIoN
programming the Buzzer
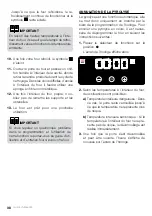
1.
Touch
or
until the
symbol on the
display starts flashing, then press
. The
indication ‘00:00’ will appear on the display.
2.
Select the time after which you want the
alarm to sound by pressing
or
. You
will hear 2 beeps to confirm that the time has
been set and the clock will start counting
down from the selected time. The
sym-
bol will flash slowly.
3.
Once the time has expired, an acoustic sig-
nal will sound for 90 seconds and the
symbol will flash quickly.
NoTE
With the Buzzer function, the oven will not
turn off when the time expires.
MaNUal opERaTIoN
• After setting the clock, the oven is ready for
use. Select a cooking function and tempera-
ture.
INFoRMaTIoN
In models with an electronic temperature
control, when the selector switch is turned,
the clock display will show the temperature.
After selecting the temperature, the clock
display will automatically reappear.
• You will notice that the
symbol lights up
during cooking to indicate that heat is being
transmitted to the food. This symbol disap-
pears when the selected temperature has
been reached.
• Set the controls to
to turn off the oven.
INFoRMaTIoN
When a cooking cycle begins, the oven will
automatically display the total time for the
cycle in progress.

