User Guide - 2.20 Disk modes
Teenage Engineering
– User Guide (LD)
Janvier 2019
46/59
2.20 Disk modes
2.20.1 Introduction
There are a couple of ways to connect the OP-Z to a computer. To update the firmware of the
unit or to perform a factory reset, you can use upgrade mode.
To add, remove or modify the OP-Z content, use content mode. Both modes connect the OP-
Z to a computer using USB. Remember to always safely eject the OP-Z disk before
disconnecting from the computer or unplugging USB.
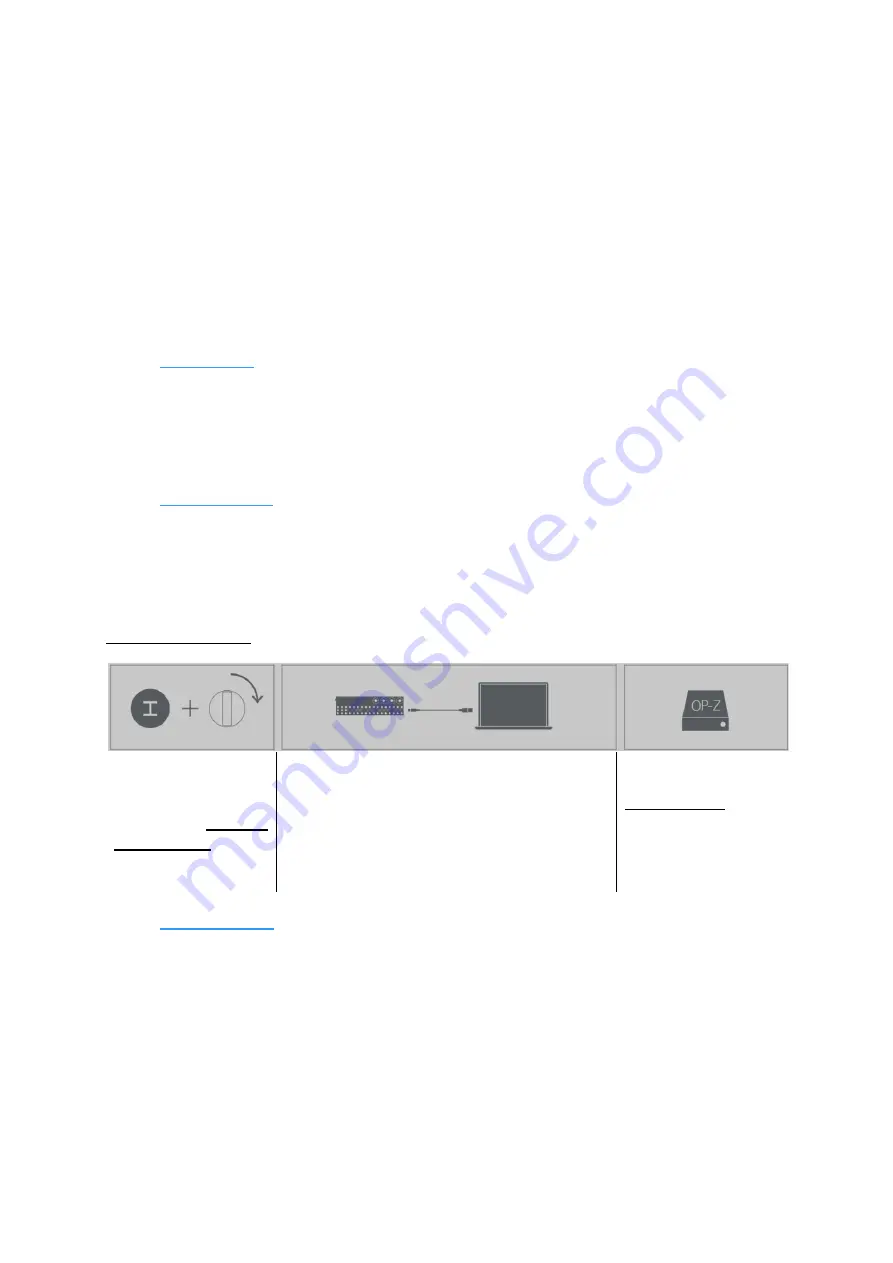
2.20.2 Content mode
Content mode allows you to backup and restore content on OP-Z, as well as adding custom
content, such as adding your own sounds. This is also where you manage your projects and
access your bounces
Finally you can use content mode to configure MIDI and DMX.
Enter content mode like this:
Press and hold the
TRACK button while
turning on the unit
OP-Z will start in
content mode, and all
“track LEDs”1-16 will
be green
Connect your OP-Z to your computer via the
USB cable provided.
Once connected it will show up in the computer
as an external removable USB disk
Open the OP-Z disk on
your
computer
to
access the files
Note: remember to
eject the disk before
disconnecting
2.20.3 Import sounds
You can add your own sounds and sample packs to OP-Z. The supported file format is the
OP-1
“.aif” sample format. For drum tracks it is the drum sample format and for synth tracks it
is the synth sample format.
You can either export samples from OP-1, build your own packs using the OP-1 drum utility,
or download packs from the web. To import sounds and sample packs into OP-Z do the
following:


