page 7
10/2018
TEDIA
®
USB converters UC-232 and UC-485
page 8
10/2018
TEDIA
®
USB converters UC-232 and UC-485
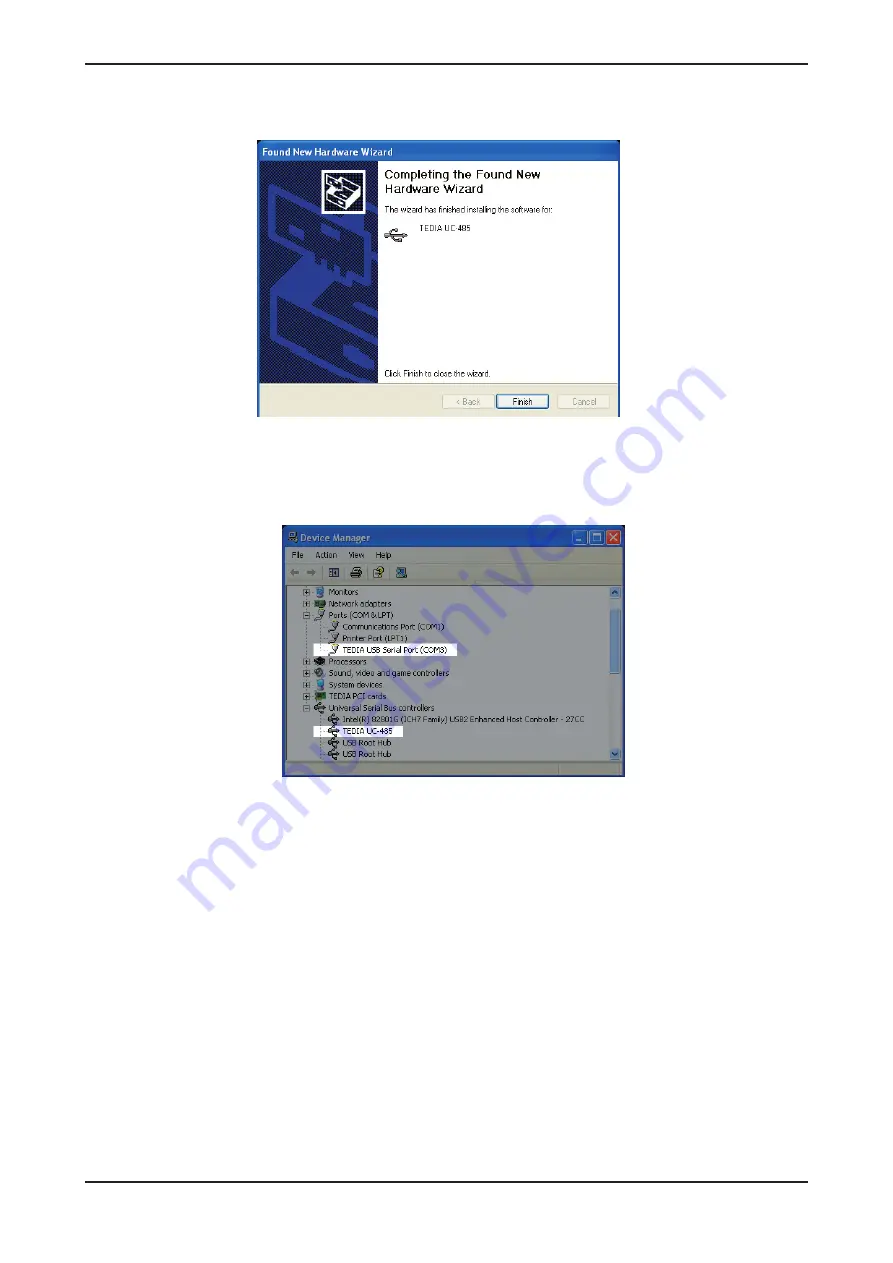
6) After Windows XP copies the required driver files, Windows display a message indicating that the
installation was successful (Figure 8). Click „Finish“ to complete the installation.
7) The next step is the installation of virtual COM port emulation drivers. The procedure for installing
is identical to that for installing the system driver from the first screen of the Found New Hardware
Wizard (step 2).
8) Both the system driver and virtual COM port driver is now installed. You can verify the correct
installation in the Device Manager under “Ports (COM & LPT)” and “Universal Serial Bus Controllers”
sections (see Figure 9). The device is now ready to use on COM3.
Note:
Not all devices will install to COM3. The COM port allocation is determined by the installation
wizard on the basis of the next free com port as designated in the PC registry.
Fig. 8. Successful driver installation.
Fig. 9. TEDIA USB converter with the virtual COM port successfully installed.


