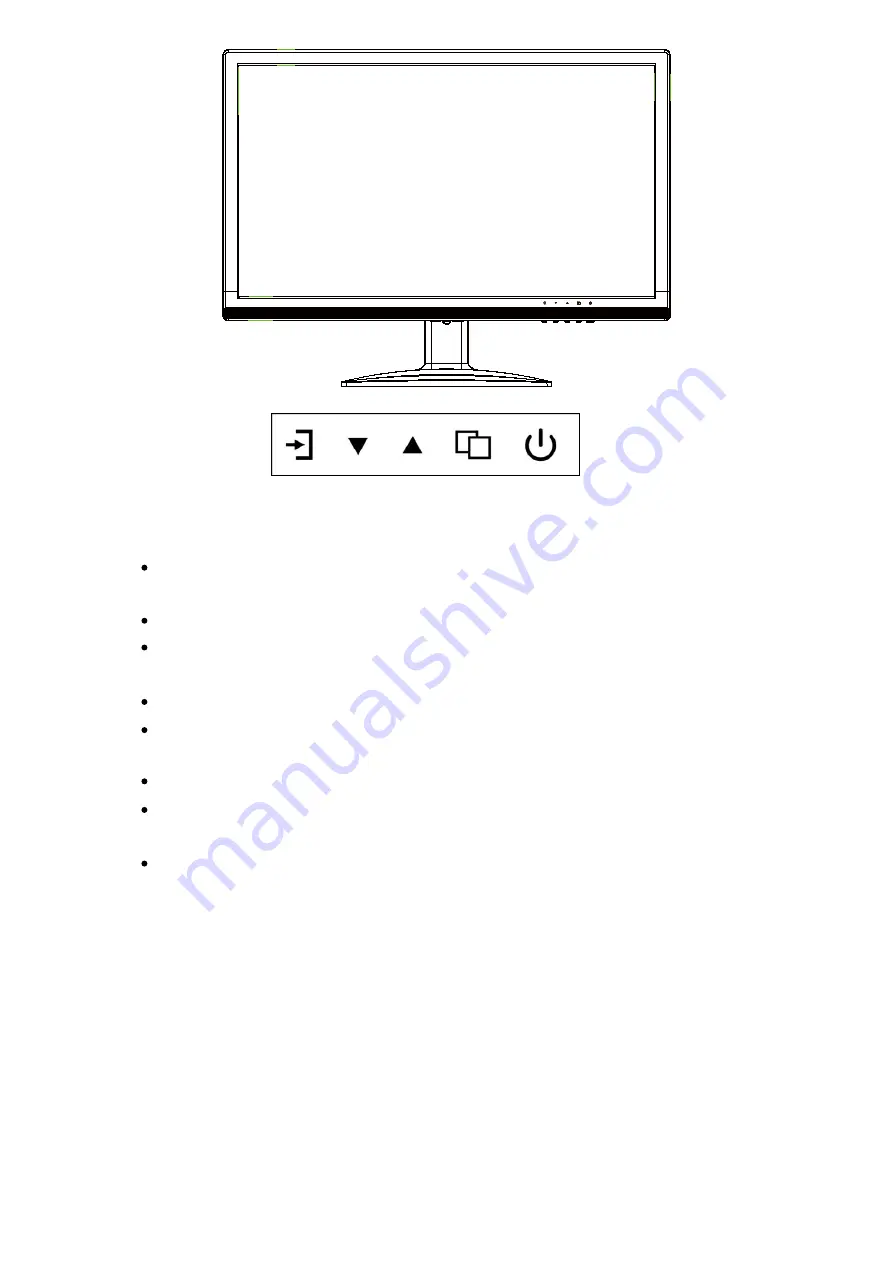
TECHVIEW QM-3580 Скачать руководство пользователя страница 4


A. 

“Source” button                           


  Press the button to display all the input channel menus of devices connected. 

B. 

“Up” button


  Press the button to move the cursor up to the required function. 

Press the button to choose function in the OSD menu. 

C. 

“Down” button


  Press the button to move the cursor down to the required function. 
  Press the button to choose function in the OSD menu. 

D. 

“Menu” button


  Press the button to display the OSD main menu. 
  Choose an affirming button in OSD menu. 

E

. “Power” button


  Press the button to turn on or off the display. 


PC Menu: 

The  PC  menu  can  set  contrast,  brightness  and  colour  temperature.  Press  the 

▲▼


buttons to move or press the menu button to confirm and exit. 

A           B           C            D               E

Содержание QM-3580

Страница 1: ...1 19 5 LED Surveillance Monitor QM 3580 User Manual...

Страница 2: ......

Страница 3: ...BNC Video Output E BNC Video Input F S Video Input G VGA 15 Pin Input H HDMI Input Main Menu Press the menu button on the bottom left of the screen the main menu will be displayed on the screen The s...

Страница 4: ...on Press the button to move the cursor down to the required function Press the button to choose function in the OSD menu D Menu button Press the button to display the OSD main menu Choose an affirming...

Страница 5: ...xit Picture Menu The Picture menu can set contrast brightness hue saturation sharpness colour temperature overscan and picture mode Press the buttons to move or press the menu button to confirm and ex...

Страница 6: ...sition duration transparency and reset defaults Press the buttons to move or press the menu button to confirm and exit Geometry Menu The Geometry menu can set H position V position clock phase and aut...

Страница 7: ...rouble shooting Please refer to the table below for trouble shooting methods Problem Handling method 1 2 3 4 5 6 7 8 9 10 11 No image or sound Inferior sound normal image Inferior image normal sound P...

Страница 8: ...eaning it 3 Rubbing or knocking the housing or LED screen with hard objects might cause scratches Safety Notice and observe all the warnings and illustrations Do not adjust maintain or modify if you a...

Страница 9: ...ive gas If the product is installed on the wall please make sure the wall s load bearing is enough To avoid falling and possibly injuring people Specifications Panel Size 19 5 Aspect Ratio 16 9 Resolu...

Отзывы: