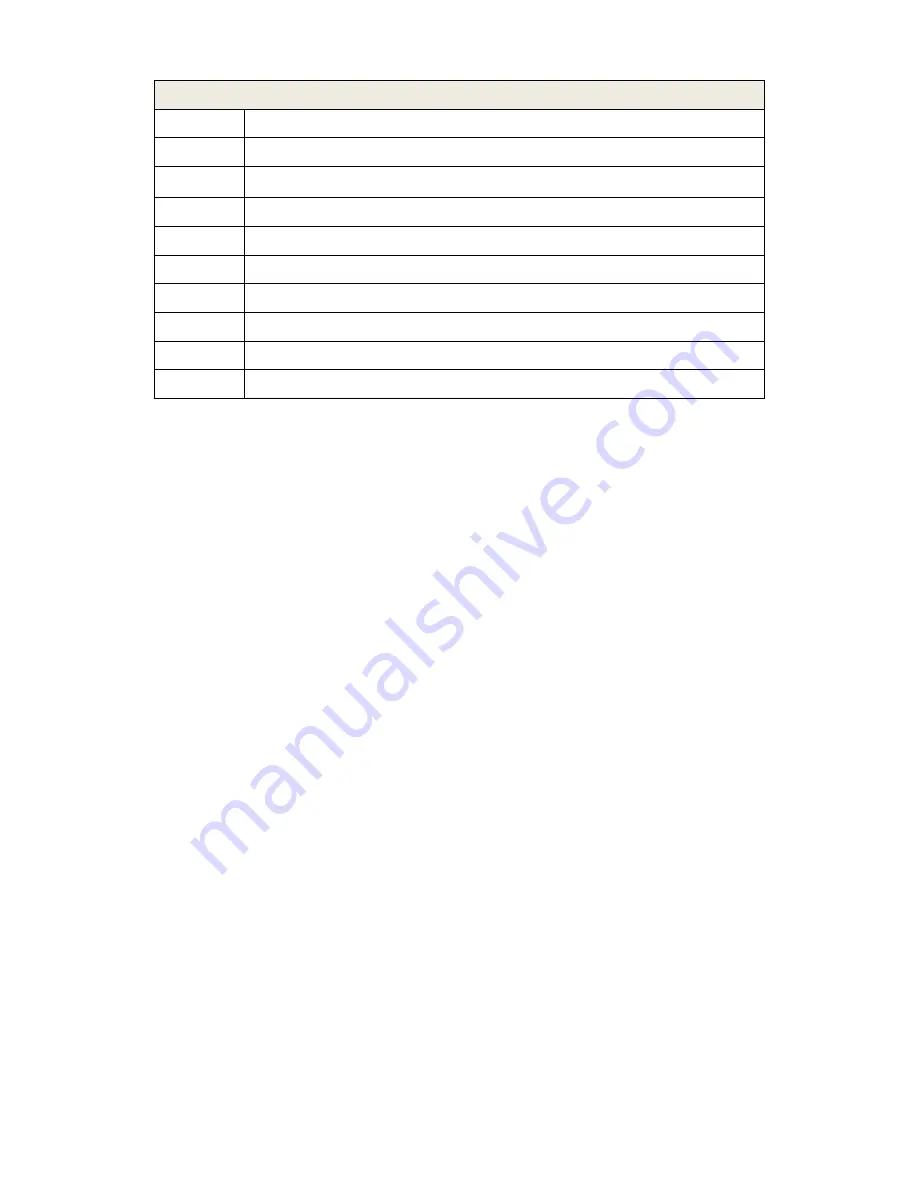
TECHVIEW QM-3578 Скачать руководство пользователя страница 7


Method 

Change to another channel or source 

Check if the video line is connected 

Check if the audio line is connected


Possible interference with another electrical product 

Adjust the fine tuning setting 

Adjust the luminance setting 

Adjust the contrast ratio setting 

Adjust the colour setting 

Check the systems settings to see if it is set correctly 

10 

Check if the power is connected and turned on 


Cleaning Methods:   

1.


Please wipe dust and clean particles by using a clean lint free cloth. 

2.


If it is still not clean, please use a proper screen cleaning liquid solution and cloth. Wipe it 

dry after cleaning it. 
3.


Rubbing or knocking the housing or LED screen with hard objects might cause scratches. 


Safety: 


Notice and observe all the warnings and illustrations. 


Do not adjust, maintain or modify if you are not a qualified person. 


Do not open or remove the rear cover, box or cover board of the product. Please contact 
the dealer or after-sales service center when needed to check internally. 


Do not squeeze or cut the power cable, especially on the plug, outlet or the place where 
the cable extends out of the product. 


Do not put the product in inflammable or corrosive environments which might cause fire 
or damage the product.   


Please cut off power or the connecting line immediately if there is smoking, off-odour or 
abnormal noise. Contact the after-sales service center to maintain after confirming there is 
no more smoking.   


Do not expose the product to the rain or chemicals. If the product is moist, please dry it 

Содержание QM-3578

Страница 1: ...1 17 LED Surveillance Monitor QM 3578 User Manual...

Страница 2: ...5mm Audio Input D BNC Video Output E BNC Video Input F S Video Input G VGA 15 Pin Input H HDMI Input Main Menu Press the menu button on the bottom left of the screen the main menu will be displayed on...

Страница 3: ...Down button Press the button to move the cursor down to the required function Press the button to choose function in the OSD menu D Menu button Press the button to display the OSD main menu Choose an...

Страница 4: ...xit Picture Menu The Picture menu can set contrast brightness hue saturation sharpness colour temperature overscan and picture mode Press the buttons to move or press the menu button to confirm and ex...

Страница 5: ...sition duration transparency and reset defaults Press the buttons to move or press the menu button to confirm and exit Geometry Menu The Geometry menu can set H position V position clock phase and aut...

Страница 6: ...rouble shooting Please refer to the table below for trouble shooting methods Problem Handling method 1 2 3 4 5 6 7 8 9 10 11 No image or sound Inferior sound normal image Inferior image normal sound P...

Страница 7: ...or LED screen with hard objects might cause scratches Safety Notice and observe all the warnings and illustrations Do not adjust maintain or modify if you are not a qualified person Do not open or rem...

Страница 8: ...all please make sure the wall s load bearing is enough To avoid falling and possibly injuring people Specifications Panel Size 17 Aspect Ratio 4 3 Resolution 1280 x 1024 Brightness 250cd m Response Ti...

Отзывы: