TechOnVision Divisio TOV270H Скачать руководство пользователя страница 11

9  Page

Press  the  M  button  to  display  the  OSD  menu  window.  Use  the  ▲  or  ▼  button  to  move  to  the 

desired  mode,  then  press  the  S  button  to  select  the  sub  menu  and  adjust  it  using  the  ▲  or 

▼  button.  (Items  can  be  deactivated  depending  on  the  input  signal.)
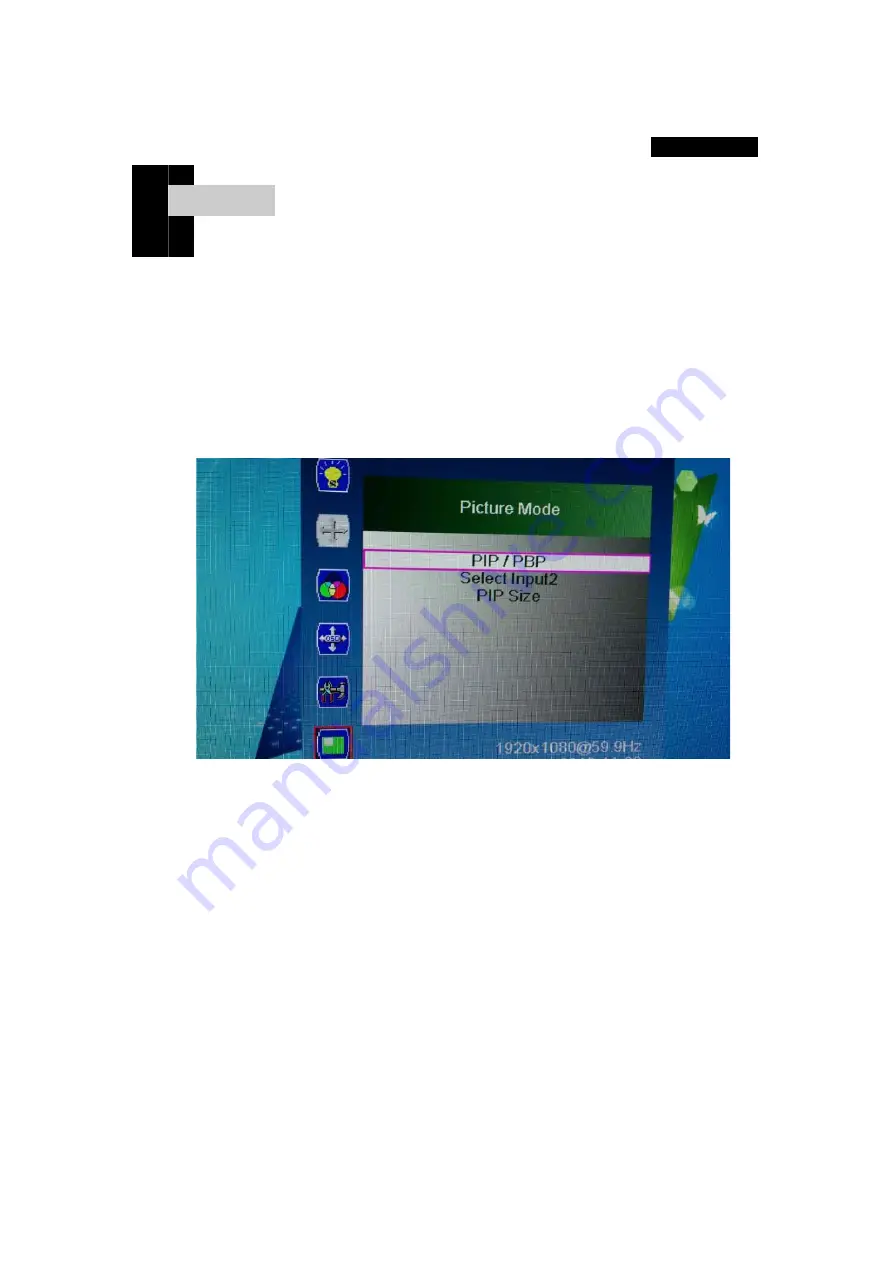
4-6  Screen

Picture  mode  -  PIP  /  PBP,  2nd  input  method  selection,  PIP  size  selection

Selection  screen  description

1)

PIP/PBP

PIP  /  PBP  function  can  be  used.

2)

Select  Input2

You  can  select  the  second  input  method.

3)

PIP  Size

You  can  adjust  the  size  of  the  PIP  screen.

4)

5)

Chap t er .  5

[  Screen  adjustment      ]

Содержание Divisio TOV270H

Страница 1: ...es harmful electromagnetic waves by providing high definition image quality and power saving function with simple design In addition it is designed to be safe easy to use saves installation space We p...

Страница 2: ...ower cord excessively or stretch it over heavy objects Do not use multiple outlets or power plugs in one outlet Place the monitor at a distance from the wall to ensure proper ventilation If the monito...

Страница 3: ...mmended resolution This monitor is PLUG PLAY type and does not need special driver The required drivers are provided by the video card manufacturer within the computer and may be on the CD that comes...

Страница 4: ...d Connecting the power adapter to the monitor may cause malfunction Please connect the adapter and monitor first then connect the power cord to the adapter 2 Please connect each cable to the monitor t...

Страница 5: ...heck the signal cable of the monitor and the computer and connect them again Try auto tuning The screen is not clear Make sure the resolution is set to the recommended resolution The screen is unstabl...

Страница 6: ...onitor 50 50 2 SWAP button Switch the monitor screen between PC1 and PC2 3 button Used to raise the setting item from the OSD menu 4 button Use to lower the setting item in the OSD menu 5 S button Use...

Страница 7: ...u and adjust it using the or button Items can be deactivated depending on the input signal 4 2 Screen Brightness Adjust brightness contrast gamma etc Selection screen description 1 Brightness adjustme...

Страница 8: ...esired mode then press the S button to select the sub menu and adjust it using the or button Items can be deactivated depending on the input signal 4 3 Screen Color adjustment Adjust color temperature...

Страница 9: ...on the input signal 4 4 Screen OSD adjustment Position adjustment transparency timer Selection screen description 1 Adjust left and right Moves the OSD position from the center to the desired positio...

Страница 10: ...ng on the input signal 4 5 Screen Other Language used Mute Input mode Over Scan Initialize Selection screen description 1 Language OSD language can be selected as the national language of 7 countries...

Страница 11: ...t using the or button Items can be deactivated depending on the input signal 4 6 Screen Picture mode PIP PBP 2nd input method selection PIP size selection Selection screen description 1 PIP PBP PIP PB...

Страница 12: ...al input output HDMI 1 HDMI 2 DVI DP Size WxDx W 625mm x 380mm x 50mm With stand Vertical 454mm width 170mm Weight Kg Unpacked 8 1Kg Packing 9 5Kg Climate conditions 0 40 C Product specifications are...

Страница 13: ...us we will process it free of charge from the repair date We recommend keeping receipts In the following cases the parts and service charge will be charged during the warranty period 1 When a malfunct...

Страница 14: ...epair parts but can not repair them Free exchange of products If it can not be repaired because it does not have parts to repair Product Exchange Performance due to intentional negligence of the consu...

Отзывы: