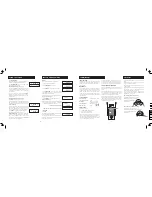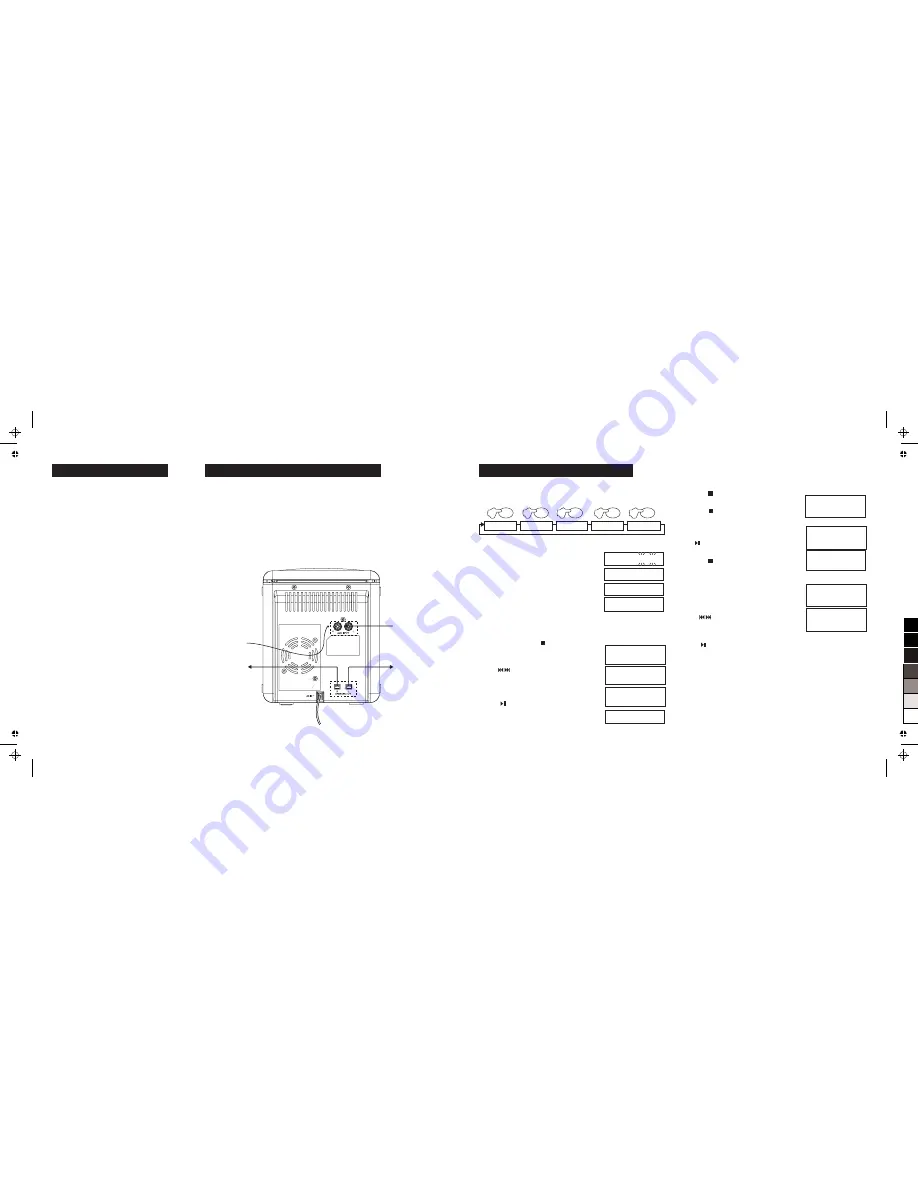
The Modes are:
NORMAL PLAY:
(NO ICON)
REPEAT 1
: Repeat one track continuously.
REPEAT ALL
: Repeat the entire CD continuously
RANDOM
: The Player plays all the tracks on a CD
randomly and then stops..
RANDOM WITH REPEAT.
The Player plays and
continuously repeats all tracks on a CD randomly
PROGRAM PLAY
PROGRAM PLAY allows up to 20 selected
tracks on the disc to be played in any order.
1. Load a CD; Press
STOP
2. Press
PROGRAM
00
/
P 02
appears.
The display prompts you to enter a track
3. Press
to locate the desired track.
4. Press
PROG
to confirm.
00
/
P 02
appears
5. Repeat steps 3 and 4 to program more tracks.
Up to 20 tracks may programmed.
6. Press
to play the program. “PROGRAM”
displays continuously on the screen to indicate
Program Play.
To cancel a program before it plays:
Press
STOP
To cancel a program during Program Play:
Press
STOP
. The disc will stop but the program
is retained in the memory.
The number of tracks displayed is the number of
tracks on the disc
not
the tracks in the program.
Press to replay the program.
To erase the program completely:
Press
STOP
twice.
The word “PROGRAM” disappears.
Editing a Program
From STOP mode during program play:
1. Press
PROG
repeatedly until you reach the track
you want to replace.
2. Press
to locate the desired new track.
3. Press
PROG
again to confirm.
4. Press to play the program.
The full program will now play but when it reaches
P-03, instead of track 11, track 7 will play.
CD MODE AND PROGRAM PLAY
REPEAT 1
REPEAT ALL
RANDOM
RANDOM/REPEAT
NORMAL
MODE
Each press of the
MODE
key changes the way in which the disc is played. MODE
can be ACCESSED when the disc is playing or paused.
The modes can be cycled continuously as shown below
:
7
5
MODE
1
MODE
2
MODE
3
MODE
4
REPEAT
REPEAT
RANDOM
RANDOM
REPEAT
CD
00
P 01
CD
05
P 01
CD
00
P 02
PROGRAM
PROGRAM
CD
12
15:30
PROGRAM
CD
05
P 01
CD
12
15:30
PROGRAM
CD
11
P 03
PROGRAM
CD
07
P 03
PROGRAM
Preliminaries
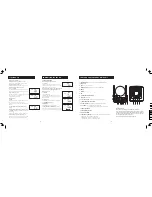
Loudspeaker Connections
!
Check that the mains voltage on the rating
!
Plug in the loudspeakers as shown in the diagram below. The connectors will fit only one way
plate which is located at the rear of the unit
round. Plug the connectors in firmly but do not force them.
matches the mains voltage in your area.
Auxiliary Connections
!
Unwrap the power cord
!
Aux
Use this to connect the audio line output of an external unit such as a tape recorder, TV set,
!
Uncoil the FM antenna.
second CD player etc. You can connect the headphone output of an MP3 player to this input with
a suitable adaptor cable (not supplied)
Make sure there is a suitable power point within
easy reach. The mains plug must not be
Final Connections
obstructed and must be freely operable at all
!
Extend the FM antenna. Do NOT cut it short!
times.
!
Connect the power cord to the mains point but do not switch on.
The system can be used freestanding or wall
mounted
If you are free standing the system, site the system
on a stable surface (ideally a stout shelf) where it
is unlikely to fall or get knocked over. This is
specially important in the case of the speakers.
The radio performance of the system is
dependent on the aerial. If you plan to wall mount
the unit make sure that there is adequate signal
strength in your proposed location before drilling
the wall.
The FM aerial should be moved around to get the
optimum results.
Do not extend or cut the FM
antenna lead.
The MW aerial is internal to the system, so if you
need good medium wave reception, try the
system in different locations before making a final
choice.
Make sure that you position the unit where the
remote handset can easily be operated in direct
line of sight and no more than 15 metres away.
SITING AND PLACEMENT
CONNECTING THE SYSTEM
2
AUX INPUT
From tape deck
MP3 player, etc
TO LEFT
LOUDSPEAKER
TO RIGHT
LOUDSPEAKER
FM ANTENNA
CABLE
MAINS POWER CORD
0
5
25
75
95
100


